Curved Cuts |
| Bevel Cuts |
|
|
|
|
|
|
1.Scribe a curved line on your workpiece with a sharp pencil or scratch awl.
2.Adjust
3.Maintaining a slow, even pressure, feed the workpiece into the blade. Approaching a tight radius, slow down your feed rate, but don’t stop. The blade must do the cutting; don’t force the piece into the blade faster than the machine can handle, especially on a curve. This will cause the blade to twist, which increases the risk of breakage. At all times, keep the workpiece flat against the table, and keep an eye on the blade to make sure it doesn’t twist.
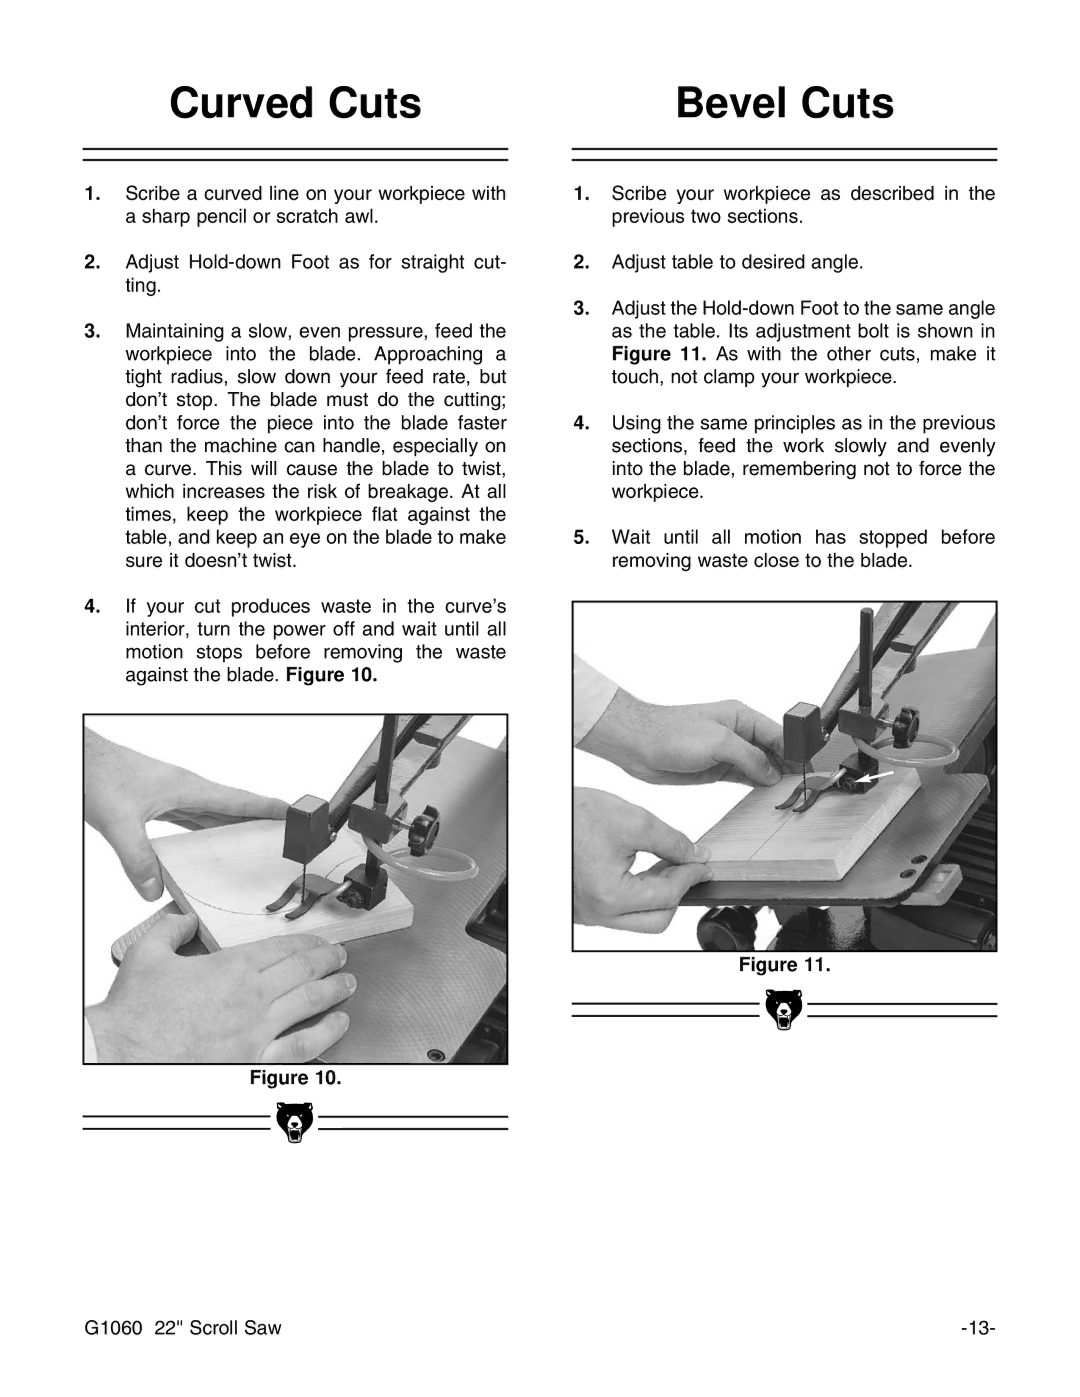
4.If your cut produces waste in the curve’s interior, turn the power off and wait until all motion stops before removing the waste against the blade. Figure 10.
Figure 10.
1.Scribe your workpiece as described in the previous two sections.
2.Adjust table to desired angle.
3.Adjust the
4.Using the same principles as in the previous sections, feed the work slowly and evenly into the blade, remembering not to force the workpiece.
5.Wait until all motion has stopped before removing waste close to the blade.
Figure 11.
|
|
|
|
|
|
|
|
|
|
|
|
G1060 22'' Scroll Saw | |||