Changing Blades |
| Positive Table Stop |
|
|
|
|
|
|
After changing a blade, the upper and lower blade support bearings and guide blocks must be readjusted. Always adjust the guide assemblies away from the blade before installing a new blade or making blade adjustments.
To change blades:
1.Make sure machine is off and unplugged.
2.Open upper and lower wheel covers.
3.Remove the fence assembly.
4.Release tension on the bandsaw blade.
5.Remove table insert and setscrew from the table.
6.Slip blade off wheels and guide it through the table slot.
7.To install a new blade, reverse the above procedure.
After correctly setting blade tension and tracking, readjust the upper and lower support bearings and guide block assemblies.
Wear gloves and safety glasses when han- dling blades. Coiled blades will spring open as they are uncoiled. Blades are very sharp. Failure to exercise care may result in seri- ous personal injury.
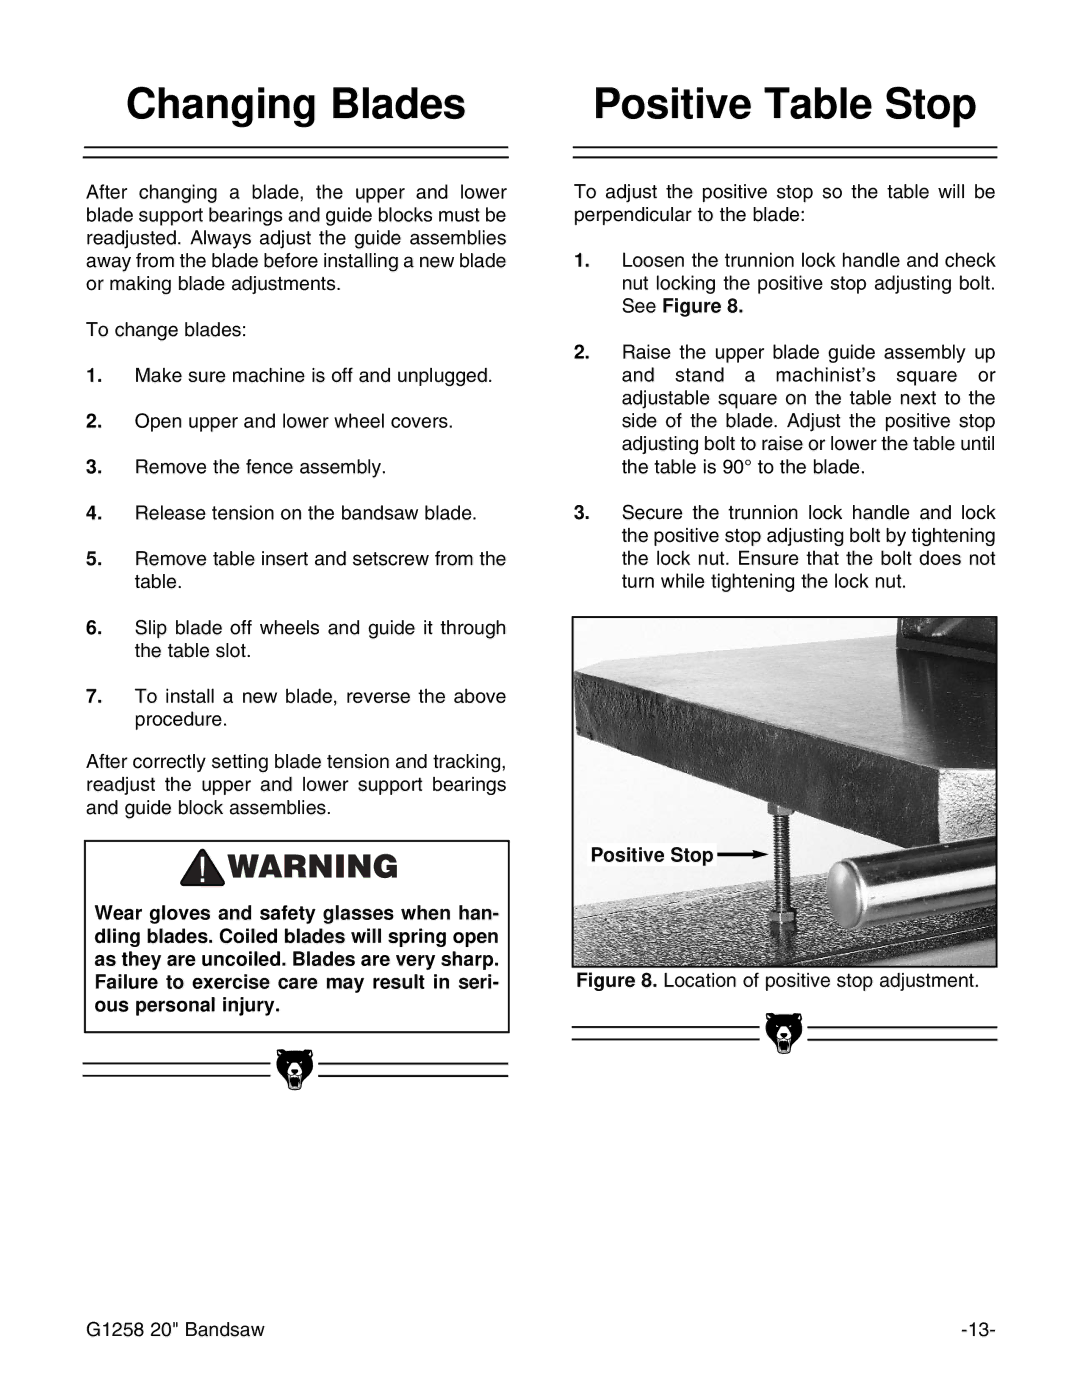
To adjust the positive stop so the table will be perpendicular to the blade:
1.Loosen the trunnion lock handle and check nut locking the positive stop adjusting bolt. See Figure 8.
2.Raise the upper blade guide assembly up and stand a machinist’s square or adjustable square on the table next to the side of the blade. Adjust the positive stop adjusting bolt to raise or lower the table until the table is 90° to the blade.
3.Secure the trunnion lock handle and lock the positive stop adjusting bolt by tightening the lock nut. Ensure that the bolt does not turn while tightening the lock nut.
Positive Stop ![]()
Figure 8. Location of positive stop adjustment.
|
|
|
|
|
|
|
|
|
|
|
|
G1258 20" Bandsaw | |||
