DRILL OPERATION, CONT’D
Operating the drill
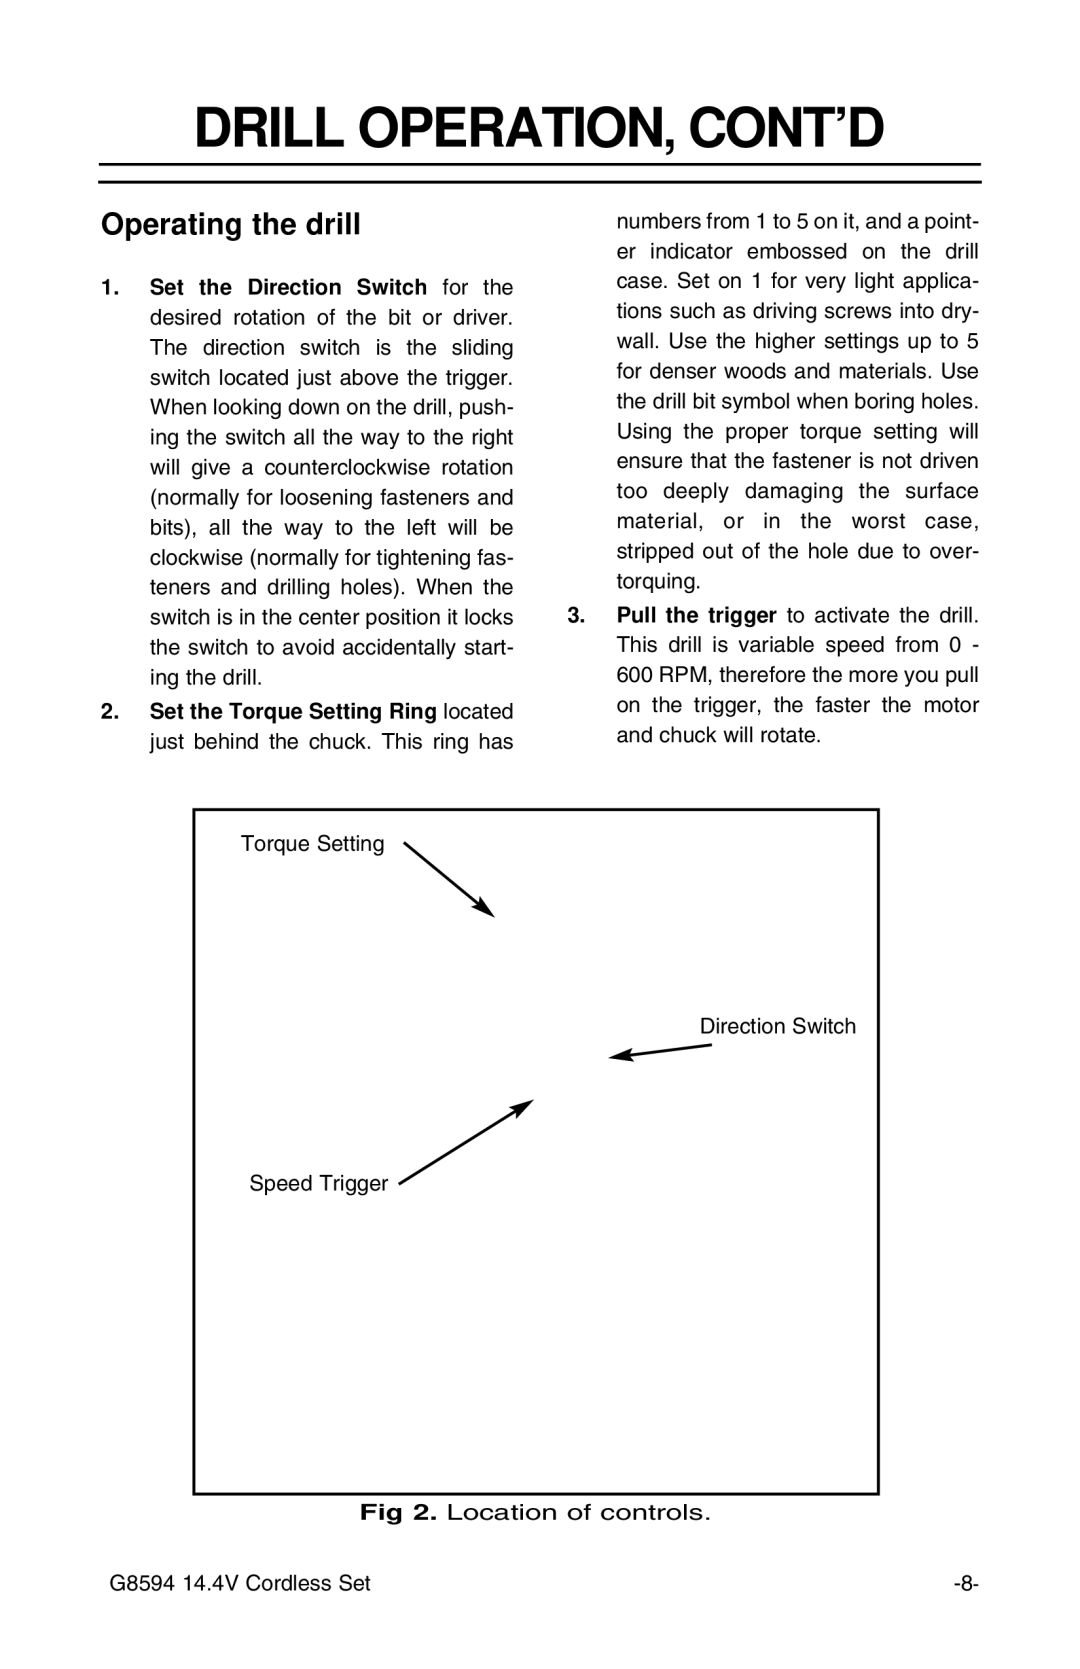
1.Set the Direction Switch for the desired rotation of the bit or driver. The direction switch is the sliding switch located just above the trigger. When looking down on the drill, push- ing the switch all the way to the right will give a counterclockwise rotation (normally for loosening fasteners and bits), all the way to the left will be clockwise (normally for tightening fas- teners and drilling holes). When the switch is in the center position it locks the switch to avoid accidentally start- ing the drill.
2.Set the Torque Setting Ring located just behind the chuck. This ring has
numbers from 1 to 5 on it, and a point- er indicator embossed on the drill case. Set on 1 for very light applica- tions such as driving screws into dry- wall. Use the higher settings up to 5 for denser woods and materials. Use the drill bit symbol when boring holes. Using the proper torque setting will ensure that the fastener is not driven too deeply damaging the surface material, or in the worst case, stripped out of the hole due to over- torquing.
3.Pull the trigger to activate the drill. This drill is variable speed from 0 - 600 RPM, therefore the more you pull on the trigger, the faster the motor and chuck will rotate.
Torque Setting
Direction Switch
Speed Trigger
Fig 2. Location of controls.
G8594 14.4V Cordless Set |