Replacing
Sandpaper Flaps
Remove the Flap Sander from the machine. Set the assembly down on a bench or table top and then remove the top plate. It will be easier to reassemble the brushes and sandpaper if they are not all removed from the lower plate at the same time. Note that each retaining strip holds two pieces of the 114mm x 152mm (4.5" x 6.0") sandpaper. Select the proper replacement grit and cut to size.
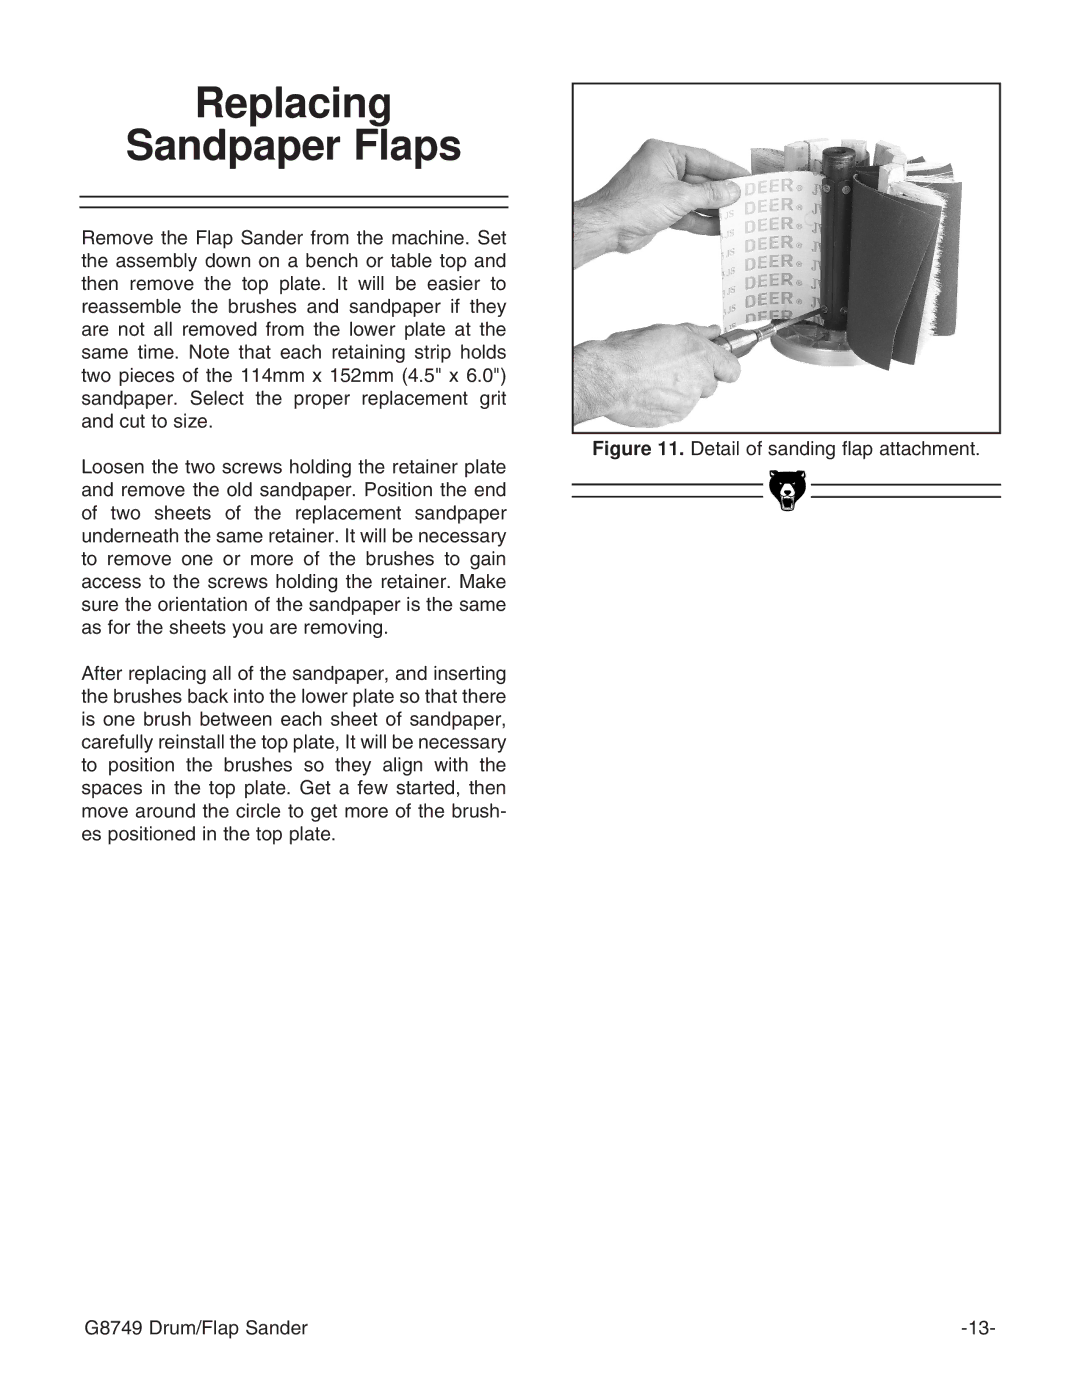
Loosen the two screws holding the retainer plate and remove the old sandpaper. Position the end of two sheets of the replacement sandpaper underneath the same retainer. It will be necessary to remove one or more of the brushes to gain access to the screws holding the retainer. Make sure the orientation of the sandpaper is the same as for the sheets you are removing.
After replacing all of the sandpaper, and inserting the brushes back into the lower plate so that there is one brush between each sheet of sandpaper, carefully reinstall the top plate, It will be necessary to position the brushes so they align with the spaces in the top plate. Get a few started, then move around the circle to get more of the brush- es positioned in the top plate.
Figure 11. Detail of sanding flap attachment.
G8749 Drum/Flap Sander |