3.Using a wood mallet, tap the point of the spur center into the center of the workpiece, so that it leaves a center mark, then remove the spur center.
4.Using a 1/8" drill bit, drill a 1⁄4" deep hole at the center mark. (Additionally, if the end of your workpiece is square, cut 1⁄8" deep saw kerfs across the corners to help embed the spur center.)
5.Cut the corners off your workpiece if it is over 2" x 2" to make turning safer and easier.
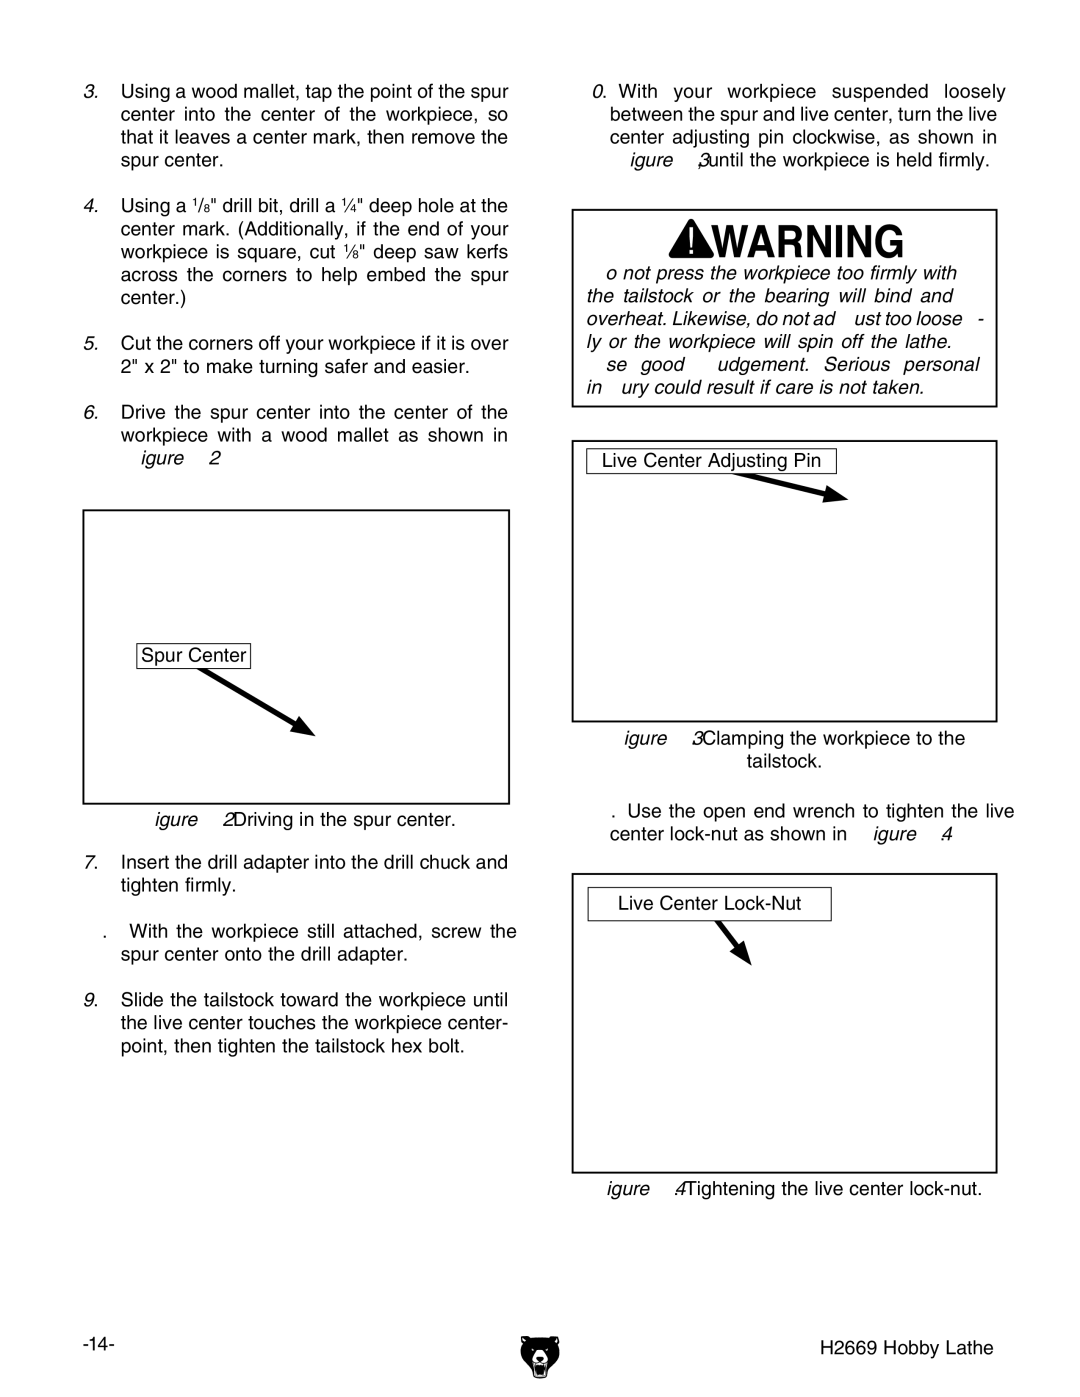
6.Drive the spur center into the center of the workpiece with a wood mallet as shown in Figure 12.
Spur Center
Figure 12. Driving in the spur center.
7. Insert the drill adapter into the drill chuck and tighten firmly.
8. With the workpiece still attached, screw the spur center onto the drill adapter.
9. Slide the tailstock toward the workpiece until the live center touches the workpiece center- point, then tighten the tailstock hex bolt.
10. With your workpiece suspended loosely between the spur and live center, turn the live center adjusting pin clockwise, as shown in Figure 13, until the workpiece is held firmly.
Do not press the workpiece too firmly with the tailstock or the bearing will bind and overheat. Likewise, do not adjust too loose- ly or the workpiece will spin off the lathe. Use good judgement. Serious personal injury could result if care is not taken.
Live Center Adjusting Pin
Figure 13. Clamping the workpiece to the
tailstock.
11. Use the open end wrench to tighten the live center lock-nut as shown in Figure 14.
Live Center Lock-Nut
Figure 14. Tightening the live center lock-nut.
H2669 Hobby Lathe |