4.Remove the outer wheel flange and the paper disc. Pull the wheel free from the arbor, but leave the paper disc and a wheel flange on the other side of the wheel.
NEVER assemble a grinding wheel on the arbor without paper or fiber discs between the wheel and the flange. Omitting the discs can put uneven stress on the wheel, causing it to crack and possibly fly apart. ALWAYS “ring test” a wheel before assembly to make certain it has no cracks or flaws.
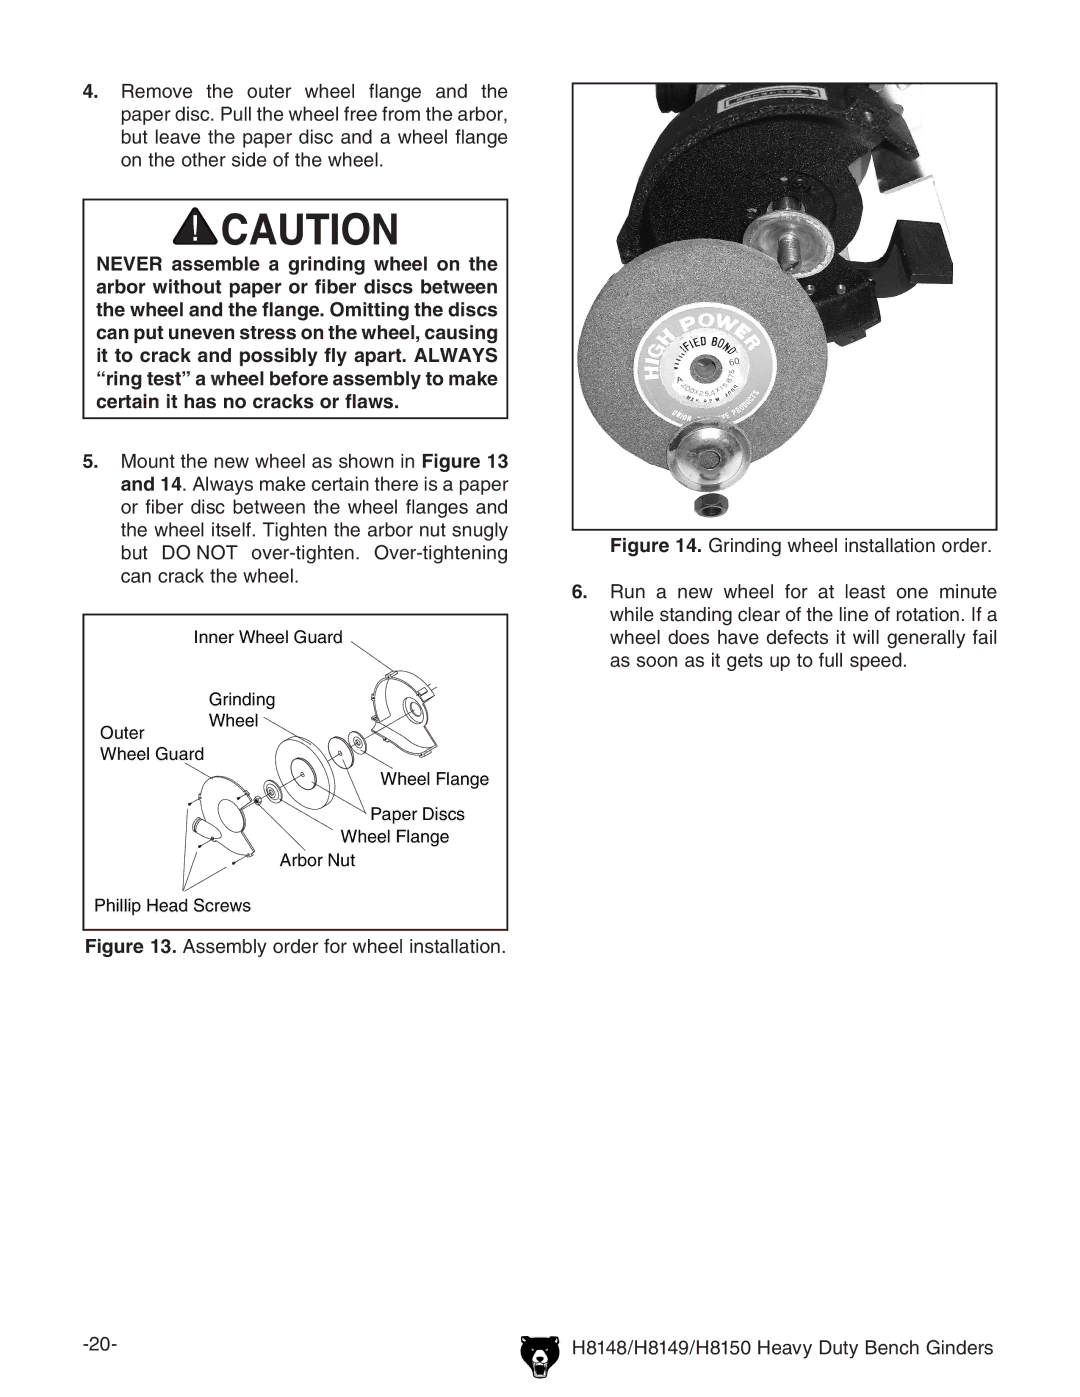
5.Mount the new wheel as shown in Figure 13 and 14. Always make certain there is a paper or fiber disc between the wheel flanges and the wheel itself. Tighten the arbor nut snugly but DO NOT
�����������������
���������
������ ����� ![]()
�����������
������������
�����������
������������
���������
�������������������