Grizzly T10024 To assemble the jig for beveled chisels, To sharpen beveled chisels

Models: T10024

1 6
Download 6 pages 52.77 Kb
Page 3
Image 3
To assemble the jig for beveled chisels:

The chisel sharpening jig is capable of accurately sharpening a variety of chisels. The jig must be assembled and used differently depending on the tool you are sharpening and the way you want it to be sharpened.

To assemble the jig for beveled chisels:

1.Completely disassemble the chisel sharpen- ing jig as shown in Figure 5.

Figure 5. Jig disassembled.

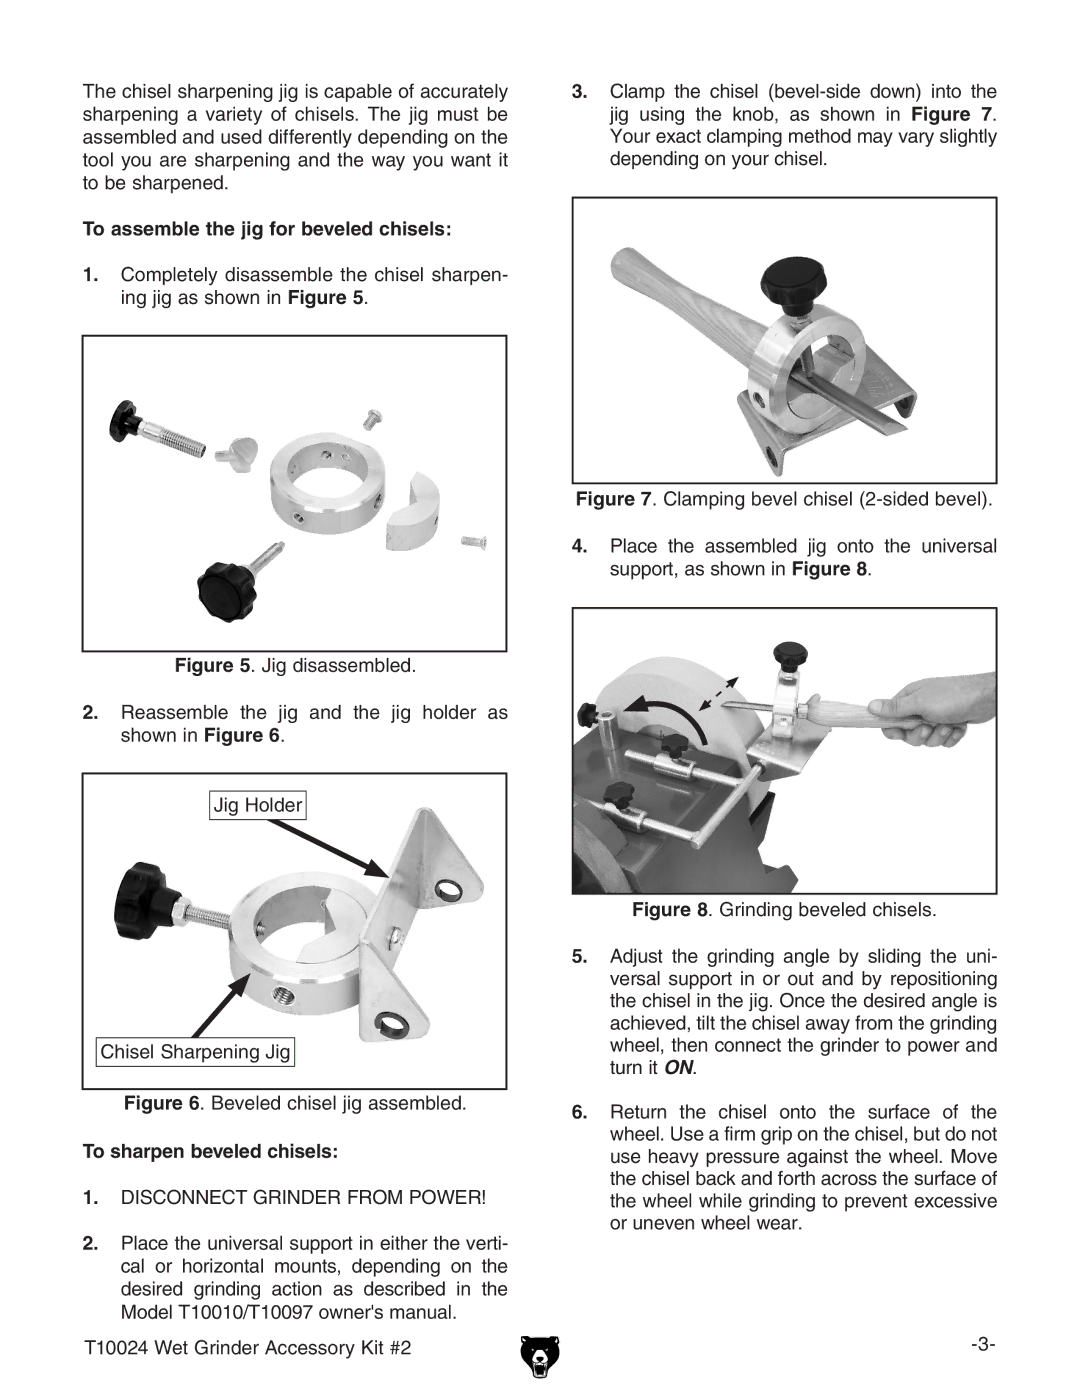
2.Reassemble the jig and the jig holder as shown in Figure 6.

Jig Holder

Chisel Sharpening Jig

Figure 6. Beveled chisel jig assembled.

To sharpen beveled chisels:

1.DISCONNECT GRINDER FROM POWER!

2.Place the universal support in either the verti- cal or horizontal mounts, depending on the desired grinding action as described in the Model T10010/T10097 owner's manual.

T10024 Wet Grinder Accessory Kit #2

3.Clamp the chisel (bevel-side down) into the jig using the knob, as shown in Figure 7. Your exact clamping method may vary slightly depending on your chisel.

Figure 7. Clamping bevel chisel (2-sided bevel).

4.Place the assembled jig onto the universal support, as shown in Figure 8.

Figure 8. Grinding beveled chisels.

5.Adjust the grinding angle by sliding the uni- versal support in or out and by repositioning the chisel in the jig. Once the desired angle is achieved, tilt the chisel away from the grinding wheel, then connect the grinder to power and turn it ON.

6.Return the chisel onto the surface of the wheel. Use a firm grip on the chisel, but do not use heavy pressure against the wheel. Move the chisel back and forth across the surface of the wheel while grinding to prevent excessive or uneven wheel wear.

-3-

Page 3
Image 3
Grizzly T10024 instruction sheet To assemble the jig for beveled chisels, To sharpen beveled chisels