6Select the line »DISEqC Mode« with »V« or »Λ«.
Select »DiSEqC 1.0« or »DiSEqC 1.1« in
accordance with the existing antenna system with »<« or »>«.
–DiSEqC 1.0 allows up to four satellites to be received simultaneously.
–DiSEqC 1.1 allows up to 16 satellites to be received simultaneously.
7Select the line »LNB Selection« with »V« or »Λ«.
Select the setting for the respective satellites with »<« or »>«.
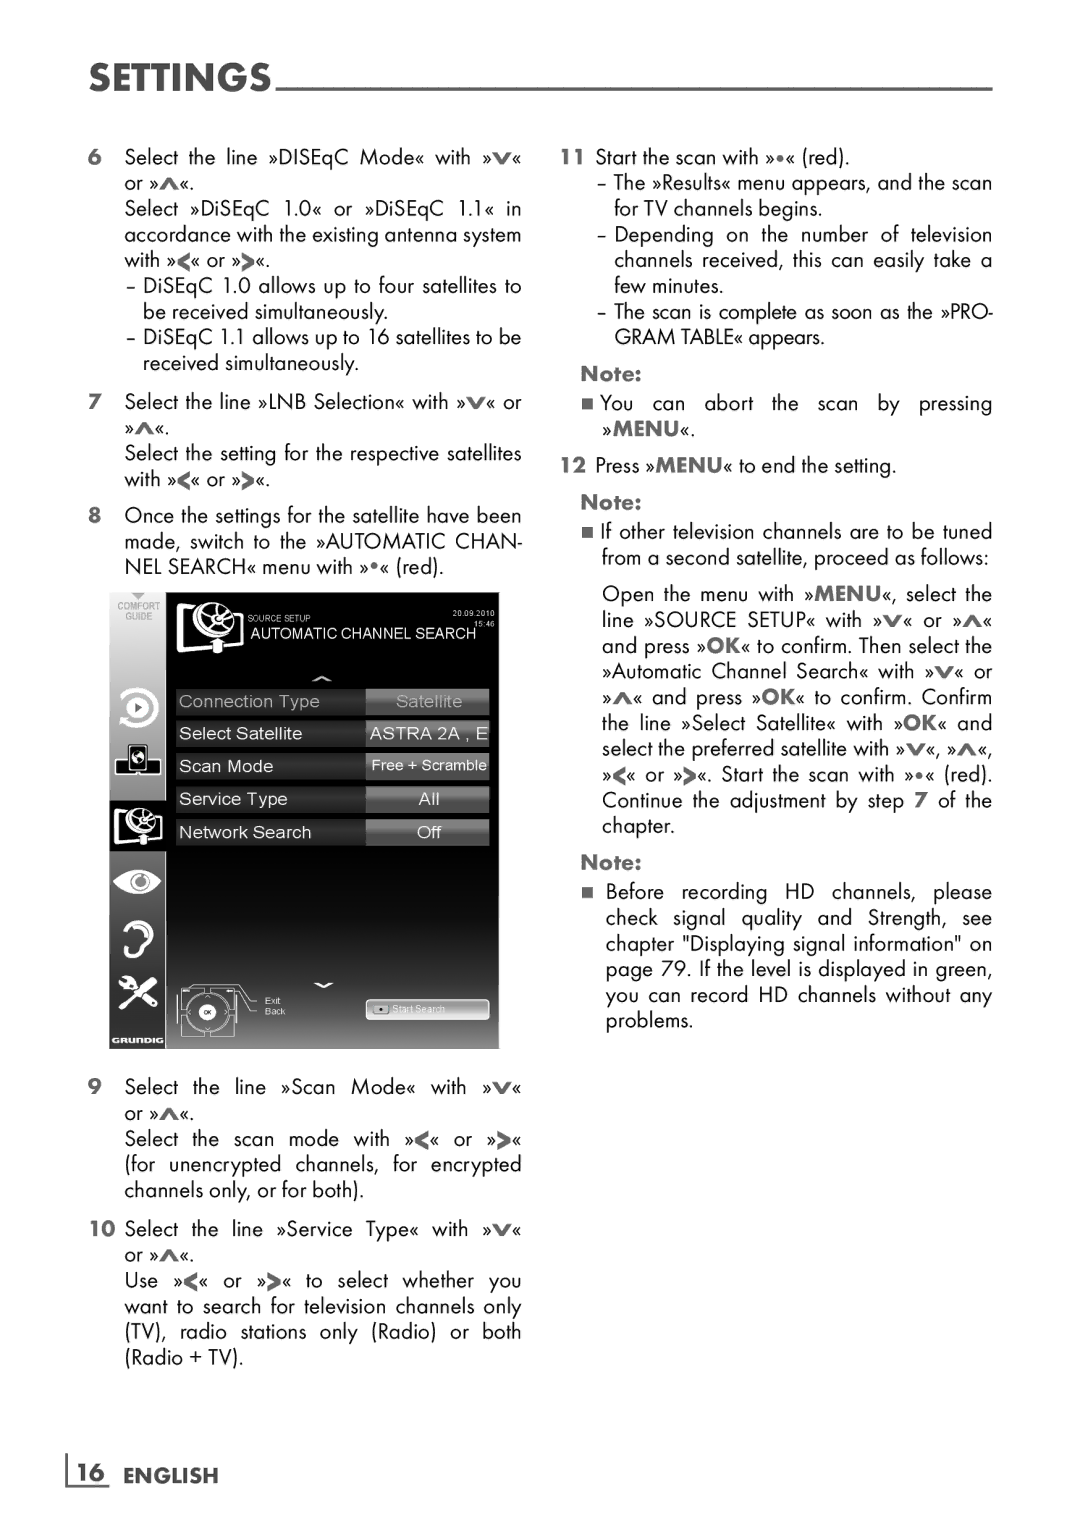
8Once the settings for the satellite have been made, switch to the »AUTOMATIC CHAN- NEL SEARCH« menu with »« (red).
20.09.2010
SOURCE SETUP15:46
AUTOMATIC CHANNEL SEARCH
Connection Type | Satellite |
Select Satellite | ASTRA 2A , E |
Scan Mode | Free + Scramble |
Service Type | All |
Network Search | Off |
Exit | Start Search |
Back |
9Select the line »Scan Mode« with »V« or »Λ«.
Select the scan mode with »<« or »>« (for unencrypted channels, for encrypted channels only, or for both).
10 Select the line »Service Type« with »V« or »Λ«.
Use »<« or »>« to select whether you want to search for television channels only (TV), radio stations only (Radio) or both (Radio + TV).
11Start the scan with »« (red).
–The »Results« menu appears, and the scan for TV channels begins.
–Depending on the number of television channels received, this can easily take a few minutes.
–The scan is complete as soon as the »PRO- GRAM TABLE« appears.
Note:
7You can abort the scan by pressing »MENU«.
12Press »MENU« to end the setting.
Note:
7If other television channels are to be tuned from a second satellite, proceed as follows:
Open the menu with »MENU«, select the line »SOURCE SETUP« with »V« or »Λ« and press »OK« to confirm. Then select the
»Automatic Channel Search« with »V« or »Λ« and press »OK« to confirm. Confirm
the line »Select Satellite« with »OK« and
select the preferred satellite with »V«, »Λ«, »<« or »>«. Start the scan with »« (red). Continue the adjustment by step 7 of the chapter.
Note:
7Before recording HD channels, please check signal quality and Strength, see chapter "Displaying signal information" on page 79. If the level is displayed in green, you can record HD channels without any problems.