SMART Inter@ctive TV AND HOME NETWORK-
Wired network settings
There are two ways of making the wired network settings.
AAutomatic wired network connection,
all connection settings (»IP Address«, »Net- mask«, »Gateway« and »DNS«) are ob- tained from modem automatically.
BManual wired network connection,
all connection settings (»IP Address«, »Net- mask«, »Gateway« and »DNS«) must be configured manually.
Automatic wired network connection
Most of the home networks are Dynamic. If you have a dynamic network, you must use a DSL modem that supports DHCP. A Television con- nected to the same network with a Modem or IP sharer that support DHCP obtains the »DNS« values that are required for »IP Address«, »Net- mask«, »Gateway« and internet access auto- matically, and thus you are not required to enter those values manually.
1Open the menu with »MENU«.
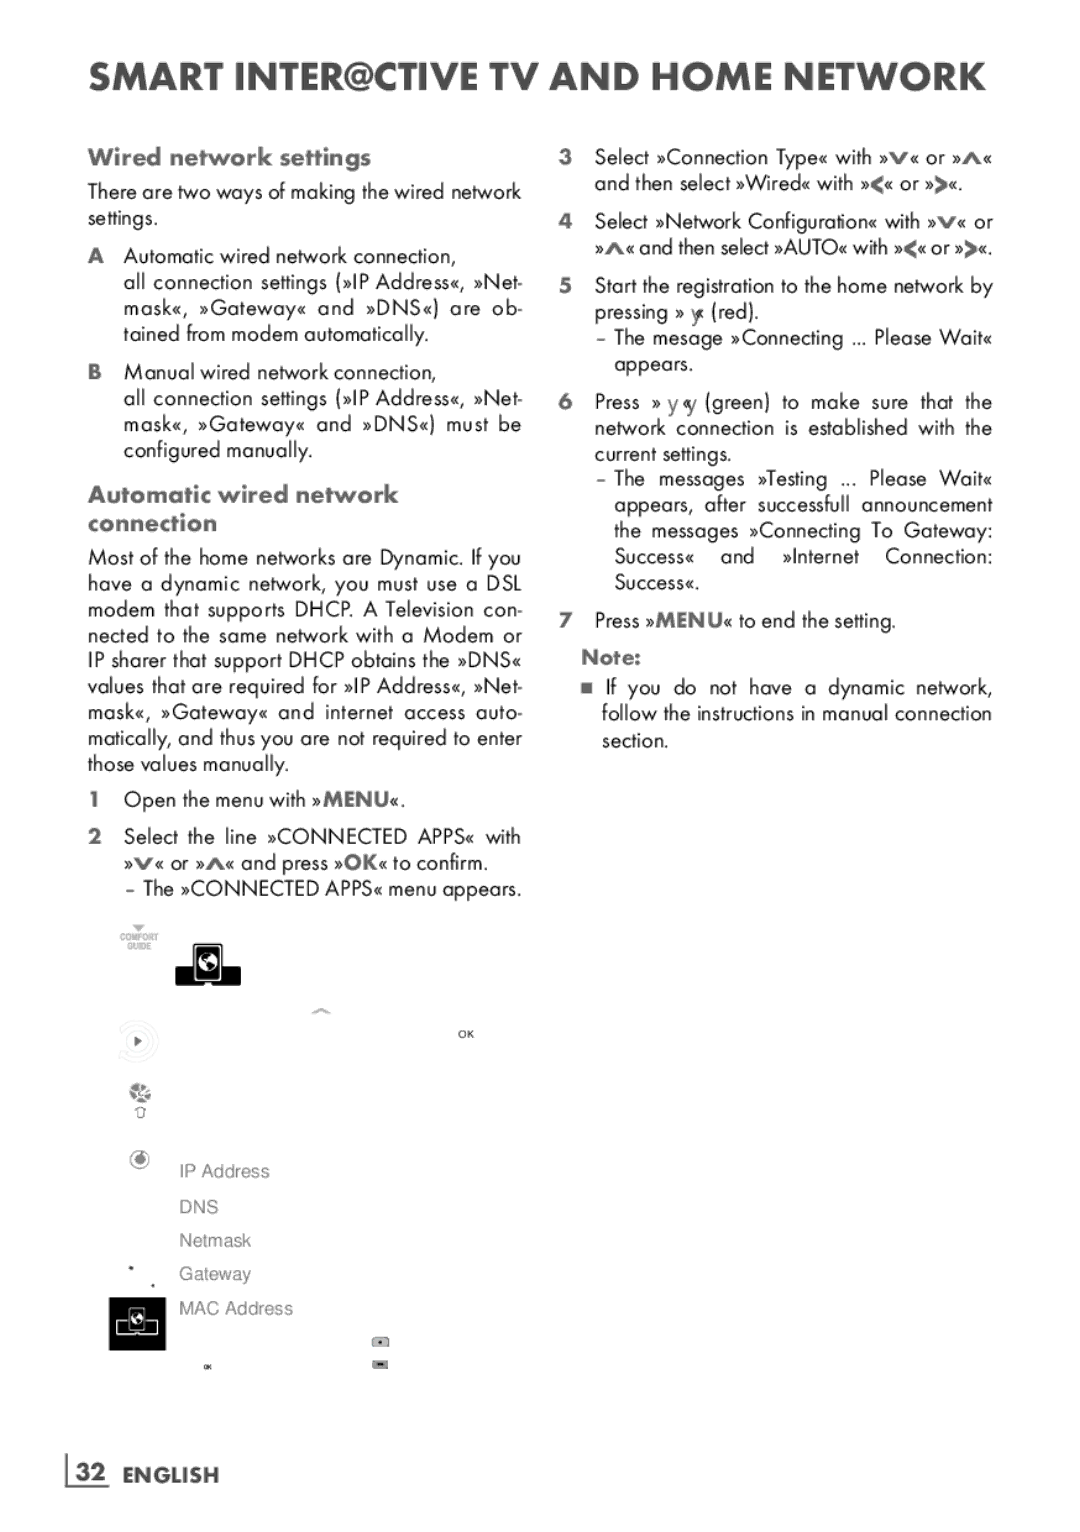
2Select the line »CONNECTED APPS« with »V« or »Λ« and press »OK« to confirm.
– The »CONNECTED APPS« menu appears.
|
|
| dd.mm.yyyy |
CONNECTED APPS | hh:mm | ||
| |||
inter@ctive Applications |
| OK | |
Network Settings |
|
|
|
Connection Type |
| Wired |
|
Network Configuration |
| AUTO |
|
IP Address | 10.134.151.15 | ||
DNS | 10.134.150.8 | ||
Netmask | 255.255.255.0 | ||
Gateway | 10.134.151.254 | ||
MAC Address | E1:DF:BF:92:00:11 | ||
|
| Connect |
|
Exit |
| Test Connection | |
Back |
| ||
3Select »Connection Type« with »V« or »Λ« and then select »Wired« with »<« or »>«.
4Select »Network Configuration« with »V« or »Λ« and then select »AUTO« with »<« or »>«.
5Start the registration to the home network by pressing »« (red).
–The mesage »Connecting ... Please Wait« appears.
6Press »« (green) to make sure that the network connection is established with the current settings.
–The messages »Testing ... Please Wait« appears, after successfull announcement the messages »Connecting To Gateway: Success« and »Internet Connection: Success«.
7Press »MENU« to end the setting.
Note:
7If you do not have a dynamic network, follow the instructions in manual connection section.