800 MILLENNIUM specifications
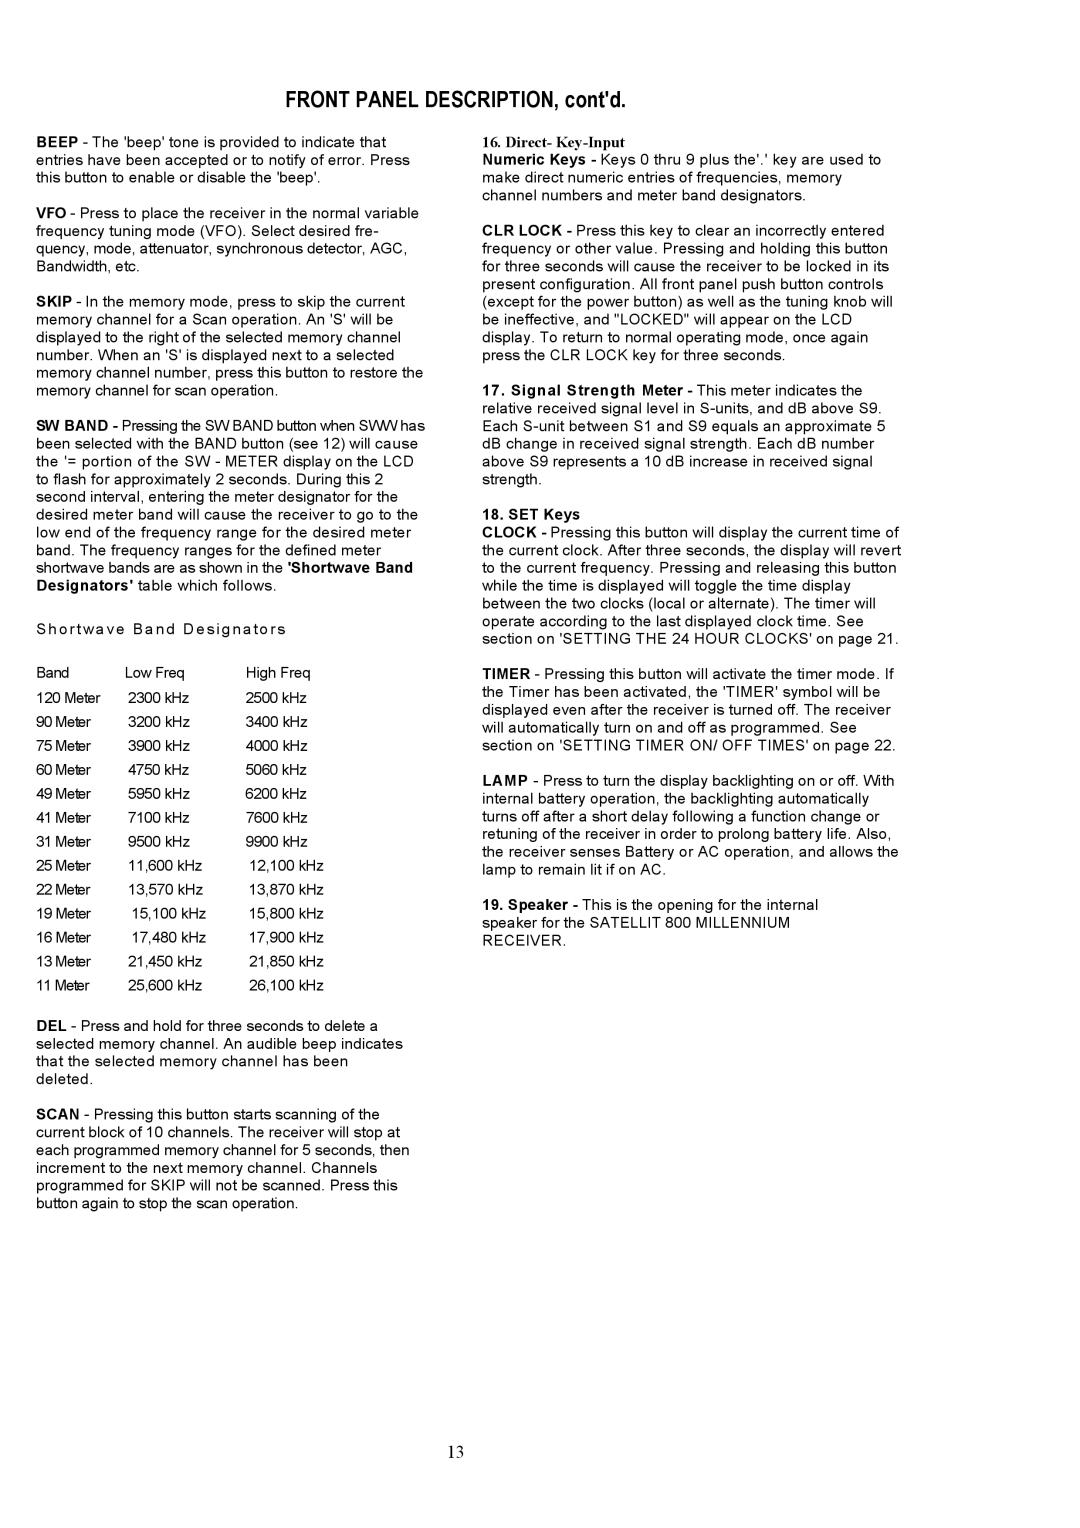
The Grundig 800 MILENNIUM is a sophisticated and versatile radio that has gained immense popularity among audio enthusiasts and casual listeners alike. This high-quality device is designed to provide exceptional sound performance, while also being easy to use and highly portable.One of the standout features of the Grundig 800 MILENNIUM is its wide tuning range. It covers AM, FM, and shortwave bands, allowing users to access an extensive array of radio stations from around the world. The digital tuning system ensures precise frequency selection, while the large backlit LCD display makes it easy to tune in and see the station information, even in low-light conditions.
Sound quality is another area where the Grundig 800 MILENNIUM excels. Equipped with a high-fidelity speaker, it delivers clear and powerful audio that enhances the listening experience. The built-in bass and treble controls allow users to customize the sound to their personal preferences, providing a richer auditory experience.
Portability is a key characteristic of this device. It features a compact design, making it easy to carry around for on-the-go listening. The sturdy handle is ideal for outdoor use, allowing users to take it to picnics, camping trips, or beach outings. The radio is powered by both AC and battery options, offering flexibility in usage.
In terms of modern technology, the Grundig 800 MILENNIUM is equipped with a telescopic antenna that enhances reception, especially for shortwave stations. Additionally, the radio features preset station memory, allowing users to store their favorite channels for easy access. This is particularly useful for those who have specific stations they tune into regularly.
Another attractive characteristic of the Grundig 800 MILENNIUM is its built-in alarm function. Users can wake up to their favorite radio station or a buzzer, making it a functional addition to any bedside table.
Overall, the Grundig 800 MILENNIUM stands out for its combination of advanced features, superior sound quality, and user-friendly design. Whether for home use or portability, it offers a reliable and enjoyable listening experience that caters to a wide range of audio preferences.
