
HRF-663ATA2, HRF-663ITA2 specifications
The Haier HRF-663ITA2 and HRF-663ATA2 are cutting-edge refrigeration solutions designed to meet the diverse needs of households looking for reliability and efficiency. These models stand out in the market due to their innovative features, advanced technologies, and user-centric design.One of the primary features of both models is their impressive storage capacity. With ample space for frozen and fresh foods, families can store a wide variety of items without worrying about running out of room. The interior layout is thoughtfully designed for easy access, with adjustable shelves that allow users to customize their storage according to their preferences.
A standout technology in the Haier HRF-663ITA2 and HRF-663ATA2 is the No Frost system. This technology prevents the accumulation of ice inside the freezer compartment, thereby eliminating the need for manual defrosting. Users can enjoy hassle-free maintenance while ensuring that their food remains perfectly frozen and preserved.
Energy efficiency is another hallmark of these models. Both refrigerators are designed with energy-saving technologies that reduce power consumption, helping consumers to lower their utility bills. The inverter compressor operates quietly and adapts to temperature fluctuations, ensuring optimal cooling performance while promoting energy conservation.
The models feature a sleek and modern design that seamlessly blends into any kitchen decor. The exterior finish is stylish and easy to clean, while the interior features bright LED lighting, making it easier to see and access food items, even in low-light conditions.
Additional characteristics include a multi-air flow system that ensures even cooling throughout the refrigerator, preventing hot spots and preserving the freshness of food for longer periods. Furthermore, both models are equipped with a water dispenser, providing easy access to chilled water without the need for plumbing.
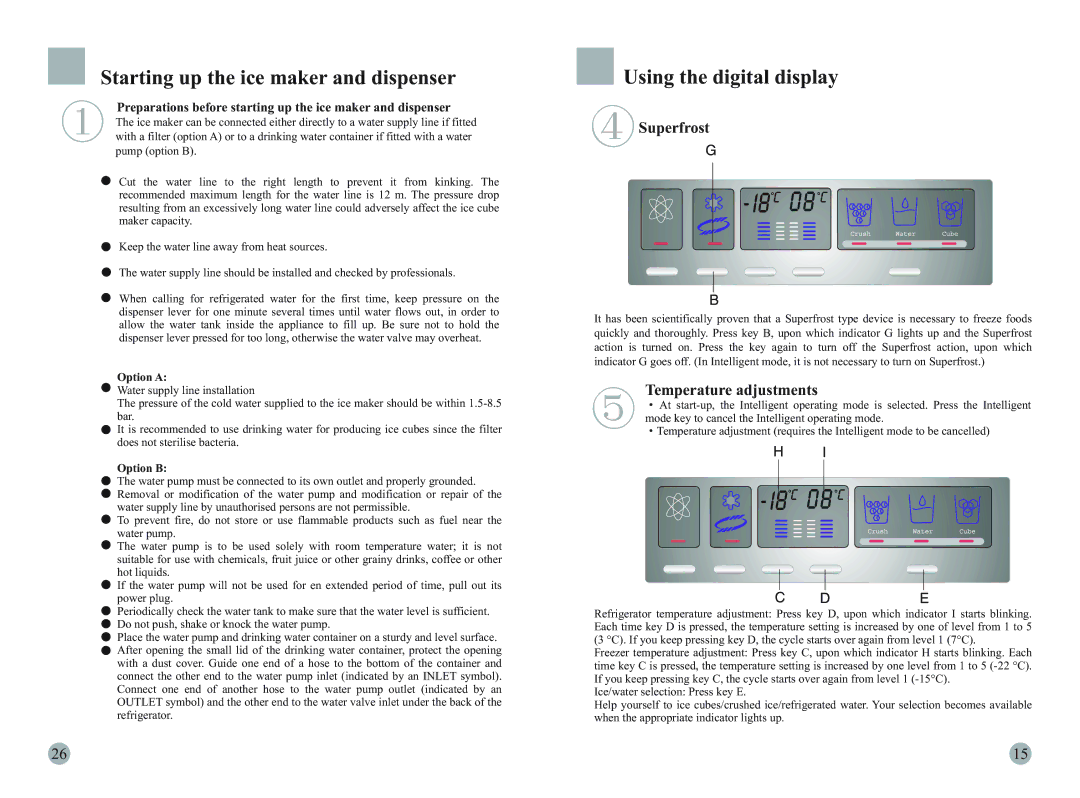
In terms of user convenience, the HRF-663ITA2 and HRF-663ATA2 also come with user-friendly controls, allowing owners to easily set the desired temperatures and manage various functions without any hassle.
Overall, the Haier HRF-663ITA2 and HRF-663ATA2 offer an excellent combination of style, efficiency, and advanced technology, making them ideal choices for modern households seeking reliable refrigeration solutions.