840195501 ENv02.qxd:840124300 ENv02.qxd 11/19/10 9:38 AM Page 6
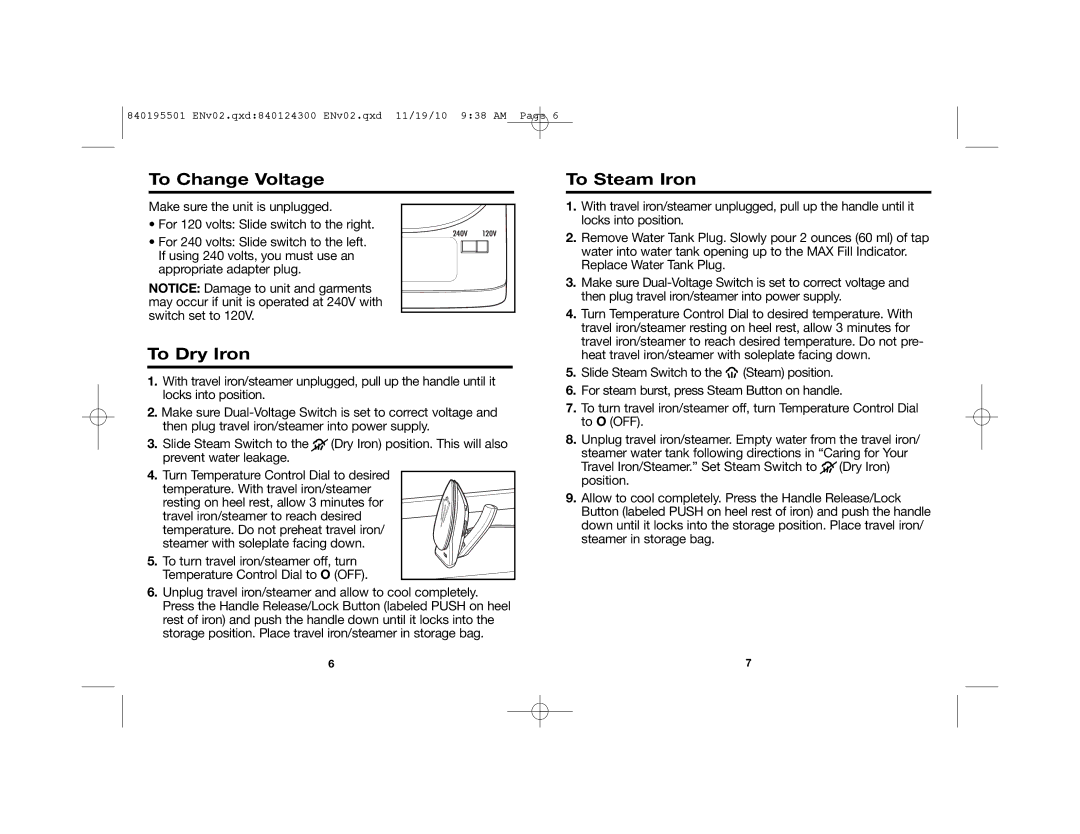
To Change Voltage
Make sure the unit is unplugged.
•For 120 volts: Slide switch to the right.
•For 240 volts: Slide switch to the left. If using 240 volts, you must use an appropriate adapter plug.
NOTICE: Damage to unit and garments may occur if unit is operated at 240V with switch set to 120V.
To Dry Iron
1.With travel iron/steamer unplugged, pull up the handle until it locks into position.
2.Make sure
3.Slide Steam Switch to the ![]() (Dry Iron) position. This will also prevent water leakage.
(Dry Iron) position. This will also prevent water leakage.
4.Turn Temperature Control Dial to desired
temperature. With travel iron/steamer resting on heel rest, allow 3 minutes for travel iron/steamer to reach desired temperature. Do not preheat travel iron/ steamer with soleplate facing down.
5. To turn travel iron/steamer off, turn![]() Temperature Control Dial to O (OFF).
Temperature Control Dial to O (OFF). ![]()
6.Unplug travel iron/steamer and allow to cool completely. Press the Handle Release/Lock Button (labeled PUSH on heel rest of iron) and push the handle down until it locks into the storage position. Place travel iron/steamer in storage bag.
To Steam Iron
1.With travel iron/steamer unplugged, pull up the handle until it locks into position.
2.Remove Water Tank Plug. Slowly pour 2 ounces (60 ml) of tap water into water tank opening up to the MAX Fill Indicator. Replace Water Tank Plug.
3.Make sure
4.Turn Temperature Control Dial to desired temperature. With travel iron/steamer resting on heel rest, allow 3 minutes for travel iron/steamer to reach desired temperature. Do not pre- heat travel iron/steamer with soleplate facing down.
5.Slide Steam Switch to the ![]()
![]()
![]() (Steam) position.
(Steam) position.
6.For steam burst, press Steam Button on handle.
7.To turn travel iron/steamer off, turn Temperature Control Dial to O (OFF).
8.Unplug travel iron/steamer. Empty water from the travel iron/ steamer water tank following directions in “Caring for Your
Travel Iron/Steamer.” Set Steam Switch to ![]() (Dry Iron) position.
(Dry Iron) position.
9.Allow to cool completely. Press the Handle Release/Lock Button (labeled PUSH on heel rest of iron) and push the handle down until it locks into the storage position. Place travel iron/ steamer in storage bag.
6 | 7 | ||
|
|
|
|
|
|
|
|
|
|
|
|