Warning: The Torch Handle is now active. Do not touch anything grounded while per- forming the next step.
11.While holding the Torch Handle away from any grounding points, press and hold the Trigger Switch to begin feeding the welding wire through the Torch Cable until it reaches the Torch Head.
Turn the Wire Feed Speed Control clockwise to increase the wire feed. If the wire is not feeding properly, It may also be necessary to increase the tension of the Wire Tension Control knob by turning it clockwise.
12.Release the Trigger Switch and flip the Power Switch to the OFF (0) position.
13.Close all unit compartment doors. The unit is now ready for welding.
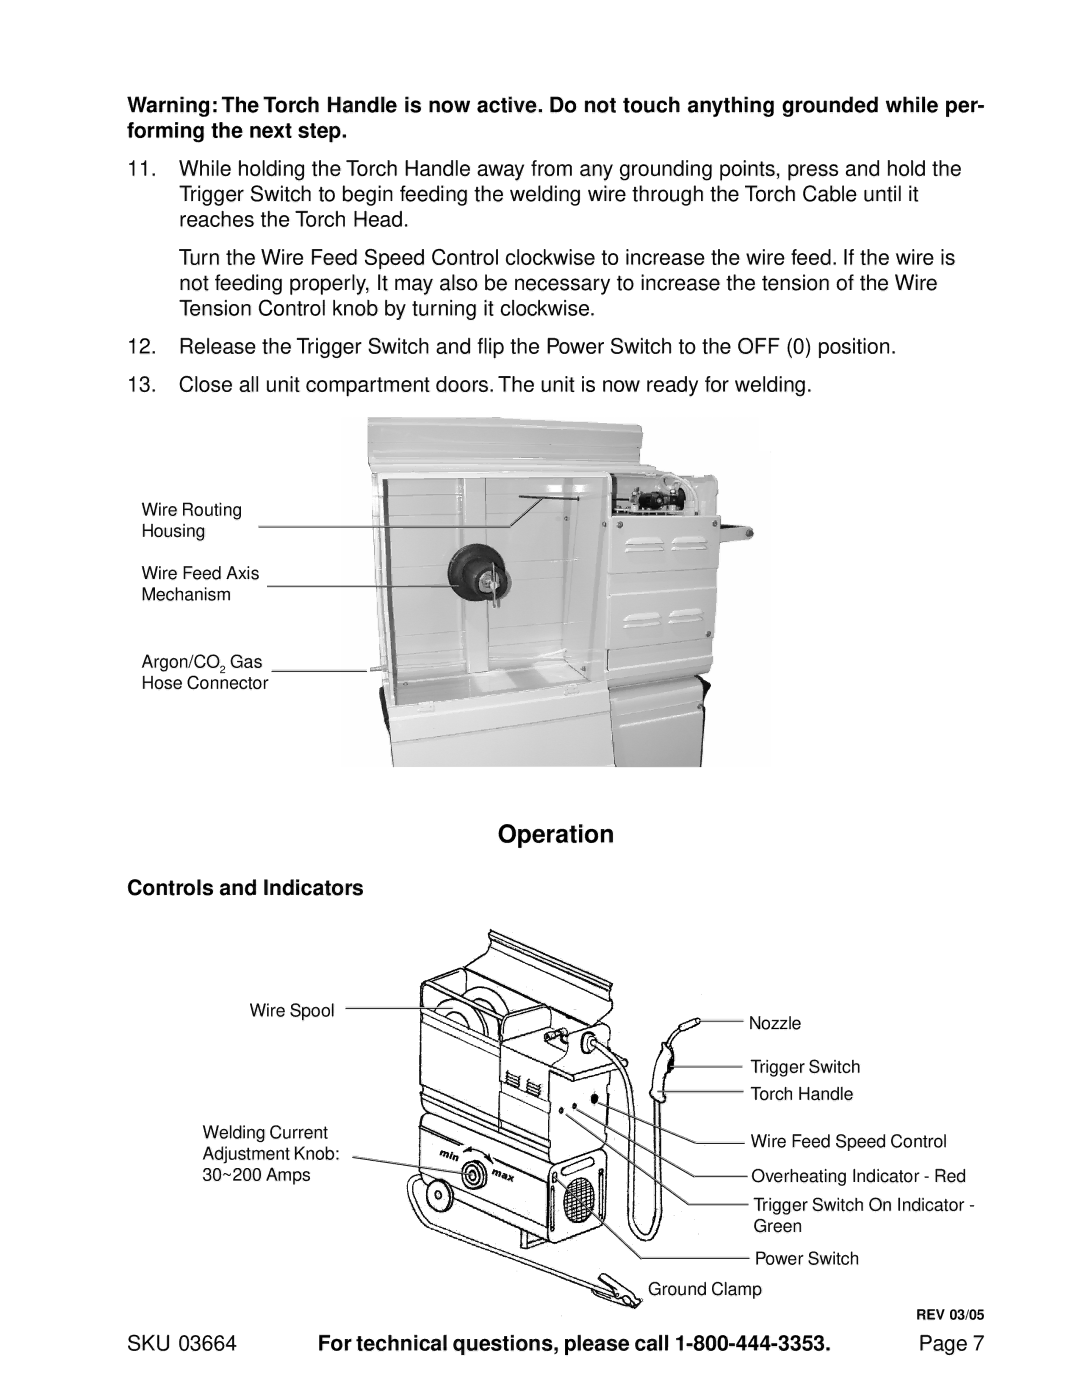
Wire Routing
Housing
Wire Feed Axis
Mechanism
Argon/CO2 Gas
Hose Connector
Operation
Controls and Indicators
Wire Spool
|
|
|
|
|
|
|
|
| Nozzle | |
|
|
|
|
|
|
| ||||
|
|
|
|
|
|
|
|
|
| Trigger Switch |
|
|
|
|
|
|
| ||||
Welding Current |
|
|
|
|
|
|
|
|
| Torch Handle |
|
|
|
|
|
| |||||
|
|
|
|
|
|
|
|
| Wire Feed Speed Control | |
Adjustment Knob: |
|
|
|
|
|
|
|
|
| |
|
|
|
|
|
|
|
|
|
| |
30~200 Amps |
|
|
|
|
|
|
|
|
| Overheating Indicator - Red |
|
|
|
|
|
|
|
| |||
|
|
|
|
|
|
|
|
|
| Trigger Switch On Indicator - |
|
|
|
|
|
|
|
|
| ||
|
|
|
|
|
|
|
|
|
| Green |
|
|
|
|
|
|
|
|
|
| Power Switch |
|
|
|
|
|
|
|
|
|
| |
| Ground Clamp | |||||||||
|
|
|
|
|
|
|
|
|
| REV 03/05 |
SKU 03664 | For technical questions, please call | Page 7 |