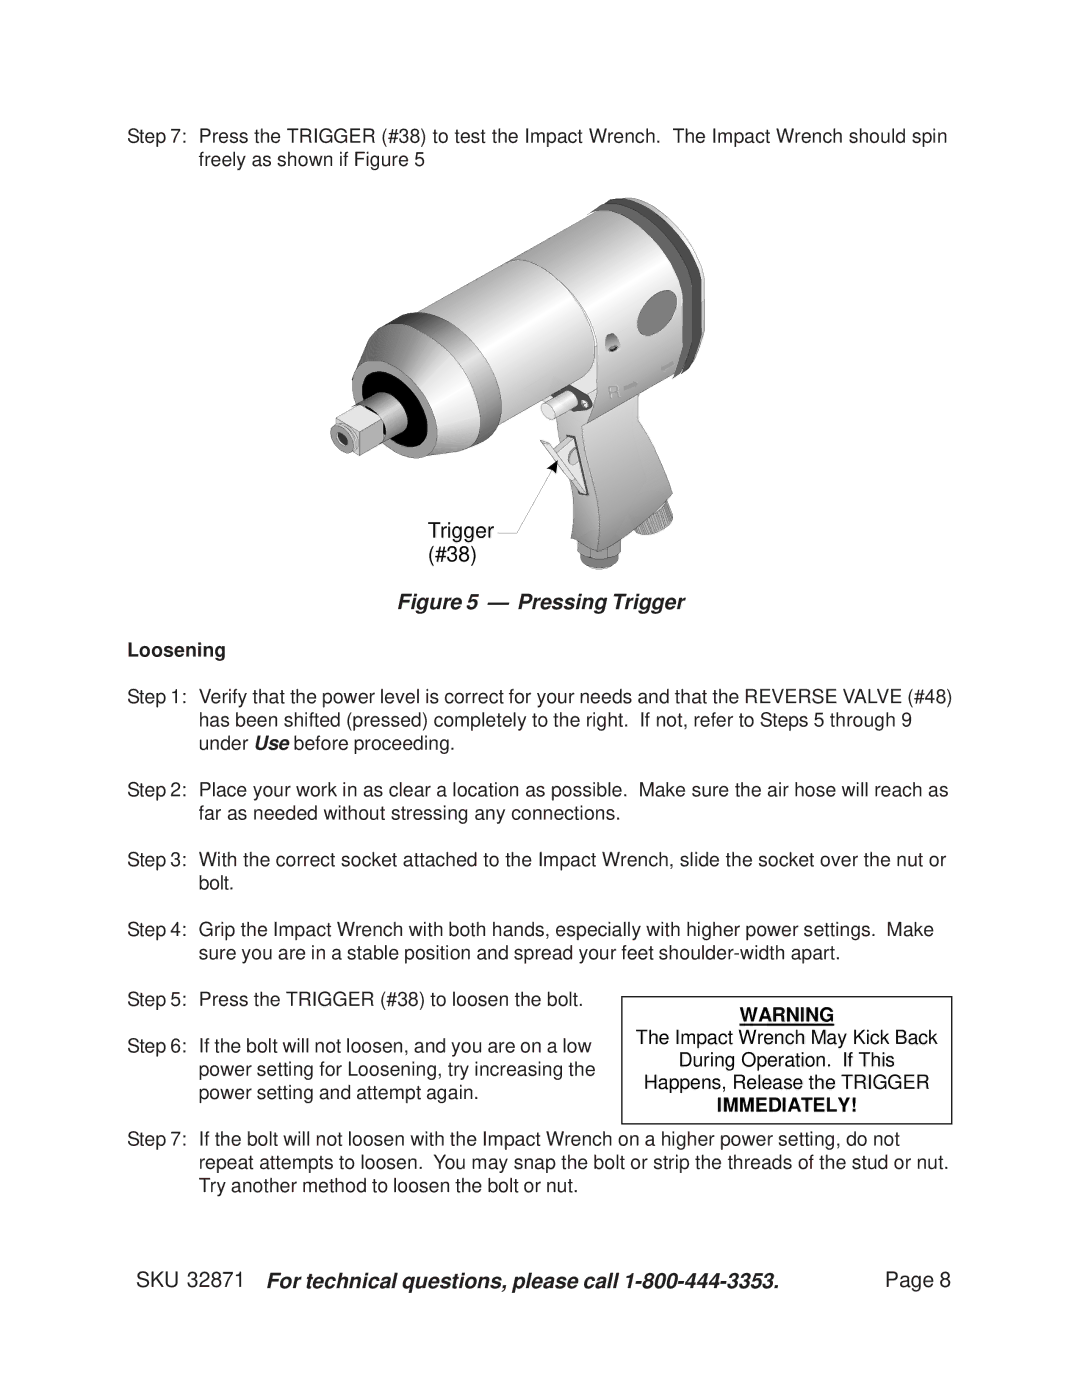
Step 7: Press the TRIGGER (#38) to test the Impact Wrench. The Impact Wrench should spin freely as shown if Figure 5
Trigger 
 (#38)
(#38) 


Figure 5 — Pressing Trigger
Loosening
Step 1: Verify that the power level is correct for your needs and that the REVERSE VALVE (#48) has been shifted (pressed) completely to the right. If not, refer to Steps 5 through 9 under Use before proceeding.
Step 2: Place your work in as clear a location as possible. Make sure the air hose will reach as far as needed without stressing any connections.
Step 3: With the correct socket attached to the Impact Wrench, slide the socket over the nut or bolt.
Step 4: Grip the Impact Wrench with both hands, especially with higher power settings. Make sure you are in a stable position and spread your feet
Step 5: Press the TRIGGER (#38) to loosen the bolt.
Step 6: If the bolt will not loosen, and you are on a low power setting for Loosening, try increasing the power setting and attempt again.
Step 7: If the bolt will not loosen with the Impact Wrench on a higher power setting, do not repeat attempts to loosen. You may snap the bolt or strip the threads of the stud or nut. Try another method to loosen the bolt or nut.
SKU 32871 For technical questions, please call | Page 8 |