Starting the Grinder
WARNING:
Ensure the GRINDER is not locked ON before plugging it in. Check the SLIDE SWITCH (#19)
and make sure it is in the OFF position before plugging it into the power source.
Step 1: To turn the Grinder ON, push the Slide Switch (#19) forward with your thumb to the front position and the Grinder begins running.
Step 2: To turn the Grinder OFF, move the Slide Switch (#19) backward with your thumb to the rear position until the Grinder stops running.
Using the Grinder
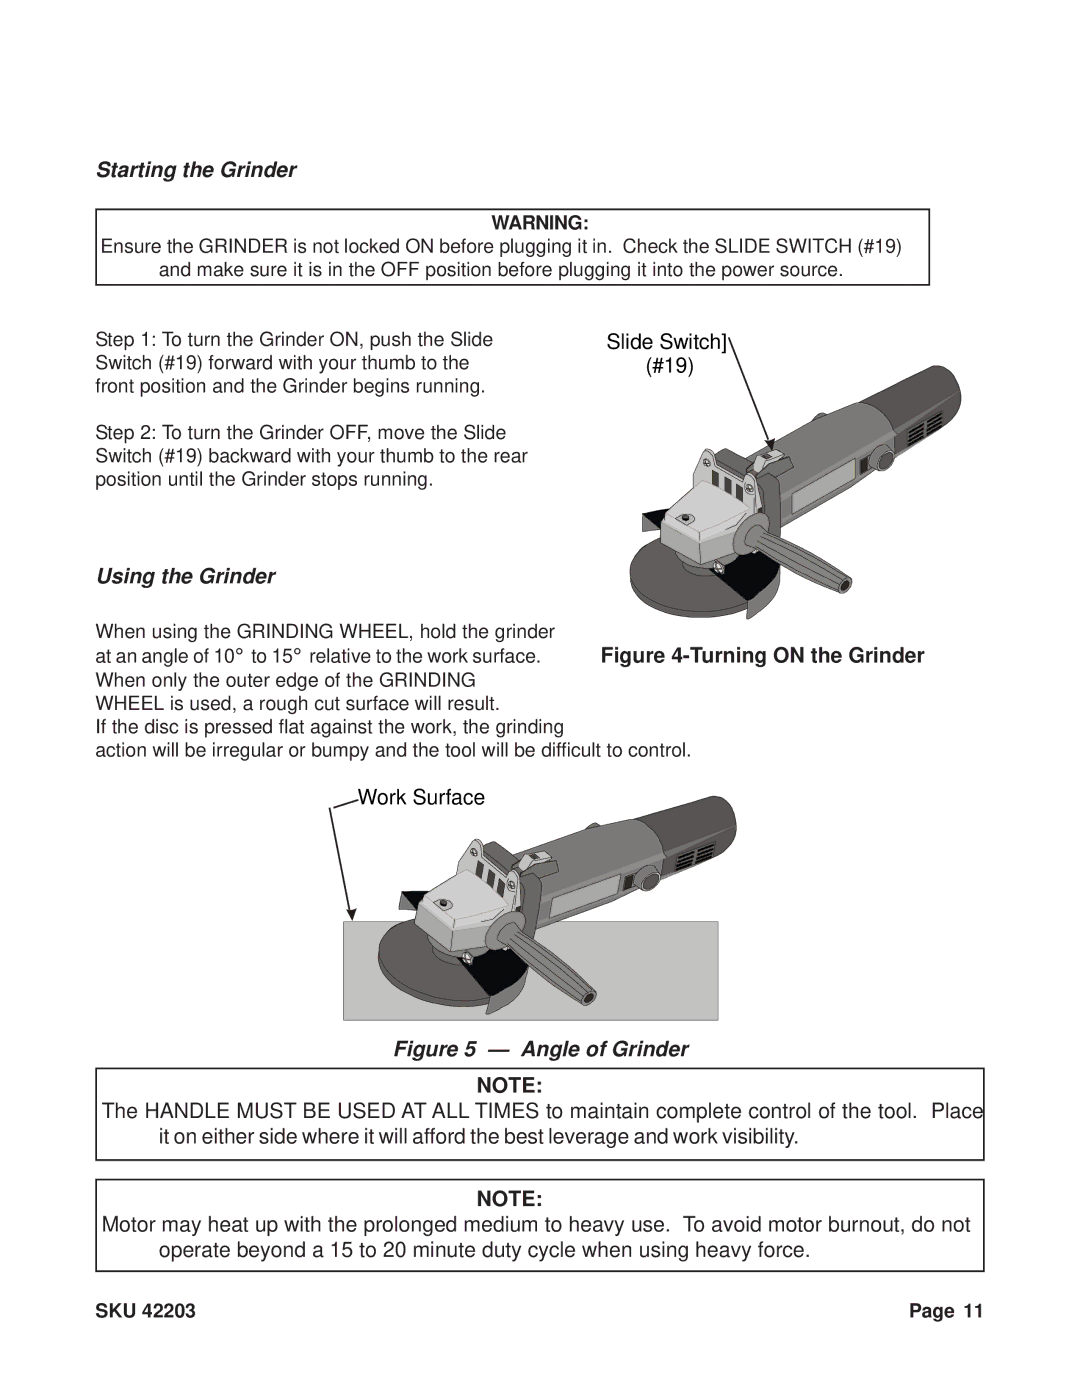
When using the GRINDING WHEEL, hold the grinder at an angle of 10° to 15° relative to the work surface. When only the outer edge of the GRINDING WHEEL is used, a rough cut surface will result.
If the disc is pressed flat against the work, the grinding
action will be irregular or bumpy and the tool will be difficult to control.
Work Surface
Figure 5 — Angle of Grinder
NOTE:
The HANDLE MUST BE USED AT ALL TIMES to maintain complete control of the tool. Place it on either side where it will afford the best leverage and work visibility.
NOTE:
Motor may heat up with the prolonged medium to heavy use. To avoid motor burnout, do not operate beyond a 15 to 20 minute duty cycle when using heavy force.
SKU 42203 | Page 11 |