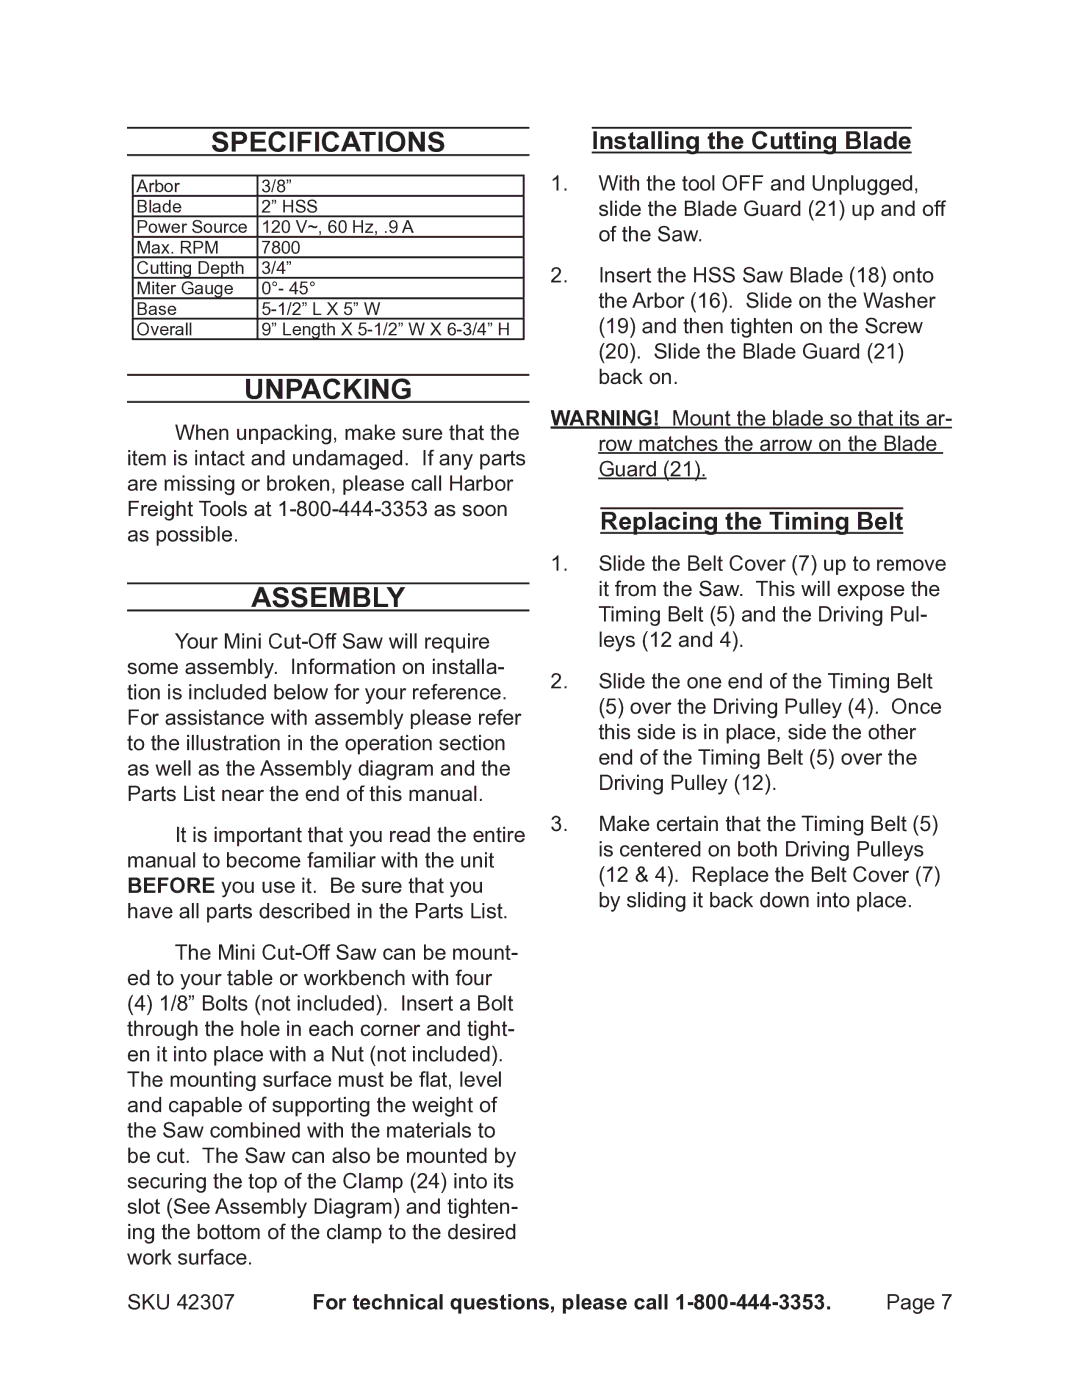
Specifications
Arbor | 3/8” |
Blade | 2” HSS |
Power Source | 120 V~, 60 Hz, .9 A |
Max. RPM | 7800 |
Cutting Depth | 3/4” |
Miter Gauge | 0°- 45° |
Base | |
Overall | 9” Length X |
Unpacking
When unpacking, make sure that the item is intact and undamaged. If any parts are missing or broken, please call Harbor Freight Tools at
Assembly
Your Mini
It is important that you read the entire manual to become familiar with the unit BEFORE you use it. Be sure that you have all parts described in the Parts List.
The Mini
(4)1/8” Bolts (not included). Insert a Bolt through the hole in each corner and tight- en it into place with a Nut (not included).
The mounting surface must be flat, level and capable of supporting the weight of the Saw combined with the materials to be cut. The Saw can also be mounted by securing the top of the Clamp (24) into its slot (See Assembly Diagram) and tighten- ing the bottom of the clamp to the desired work surface.
Installing the Cutting Blade
1.With the tool OFF and Unplugged, slide the Blade Guard (21) up and off of the Saw.
2.Insert the HSS Saw Blade (18) onto the Arbor (16). Slide on the Washer
(19)and then tighten on the Screw
(20).Slide the Blade Guard (21) back on.
WARNING! Mount the blade so that its ar- row matches the arrow on the Blade Guard (21).
Replacing the Timing Belt
1.Slide the Belt Cover (7) up to remove it from the Saw. This will expose the Timing Belt (5) and the Driving Pul- leys (12 and 4).
2.Slide the one end of the Timing Belt
(5) over the Driving Pulley (4). Once this side is in place, side the other end of the Timing Belt (5) over the Driving Pulley (12).
3.Make certain that the Timing Belt (5) is centered on both Driving Pulleys (12 & 4). Replace the Belt Cover (7) by sliding it back down into place.
SKU 42307 | For technical questions, please call | Page 7 |
