Operation
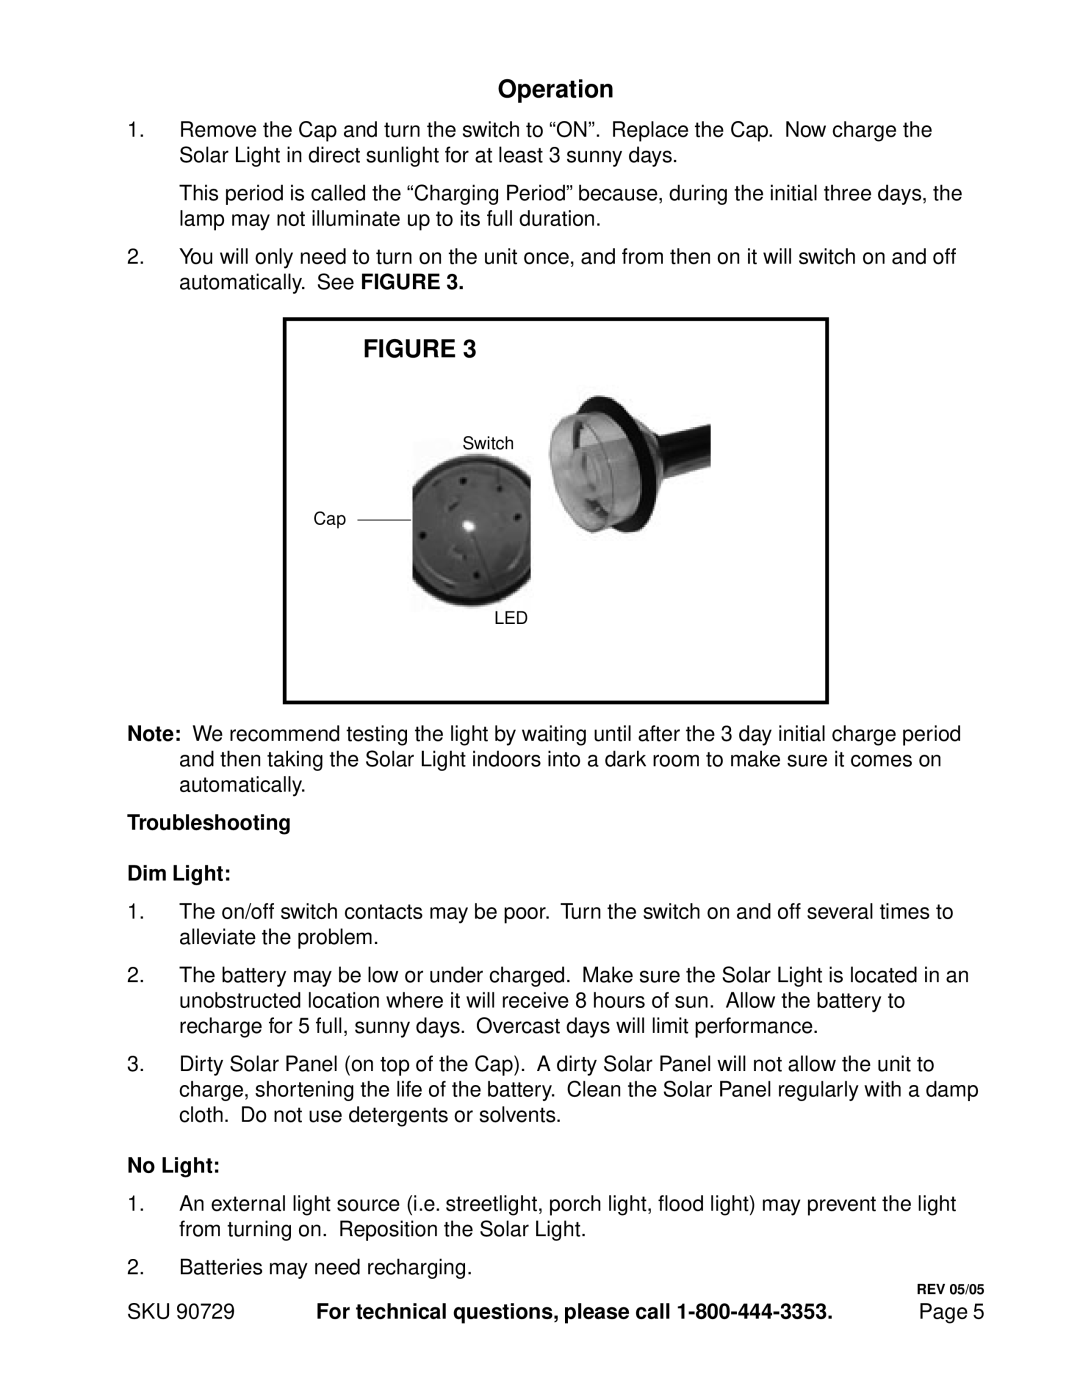
1.Remove the Cap and turn the switch to “ON”. Replace the Cap. Now charge the Solar Light in direct sunlight for at least 3 sunny days.
This period is called the “Charging Period” because, during the initial three days, the lamp may not illuminate up to its full duration.
2.You will only need to turn on the unit once, and from then on it will switch on and off automatically. See FIGURE 3.
FIGURE 3
SwitchSwitch
Cap
LED
Note: We recommend testing the light by waiting until after the 3 day initial charge period and then taking the Solar Light indoors into a dark room to make sure it comes on automatically.
Troubleshooting
Dim Light:
1.The on/off switch contacts may be poor. Turn the switch on and off several times to alleviate the problem.
2.The battery may be low or under charged. Make sure the Solar Light is located in an unobstructed location where it will receive 8 hours of sun. Allow the battery to recharge for 5 full, sunny days. Overcast days will limit performance.
3.Dirty Solar Panel (on top of the Cap). A dirty Solar Panel will not allow the unit to charge, shortening the life of the battery. Clean the Solar Panel regularly with a damp cloth. Do not use detergents or solvents.
No Light:
1.An external light source (i.e. streetlight, porch light, flood light) may prevent the light from turning on. Reposition the Solar Light.
2.Batteries may need recharging.
REV 05/05
SKU 90729 | For technical questions, please call | Page 5 |
