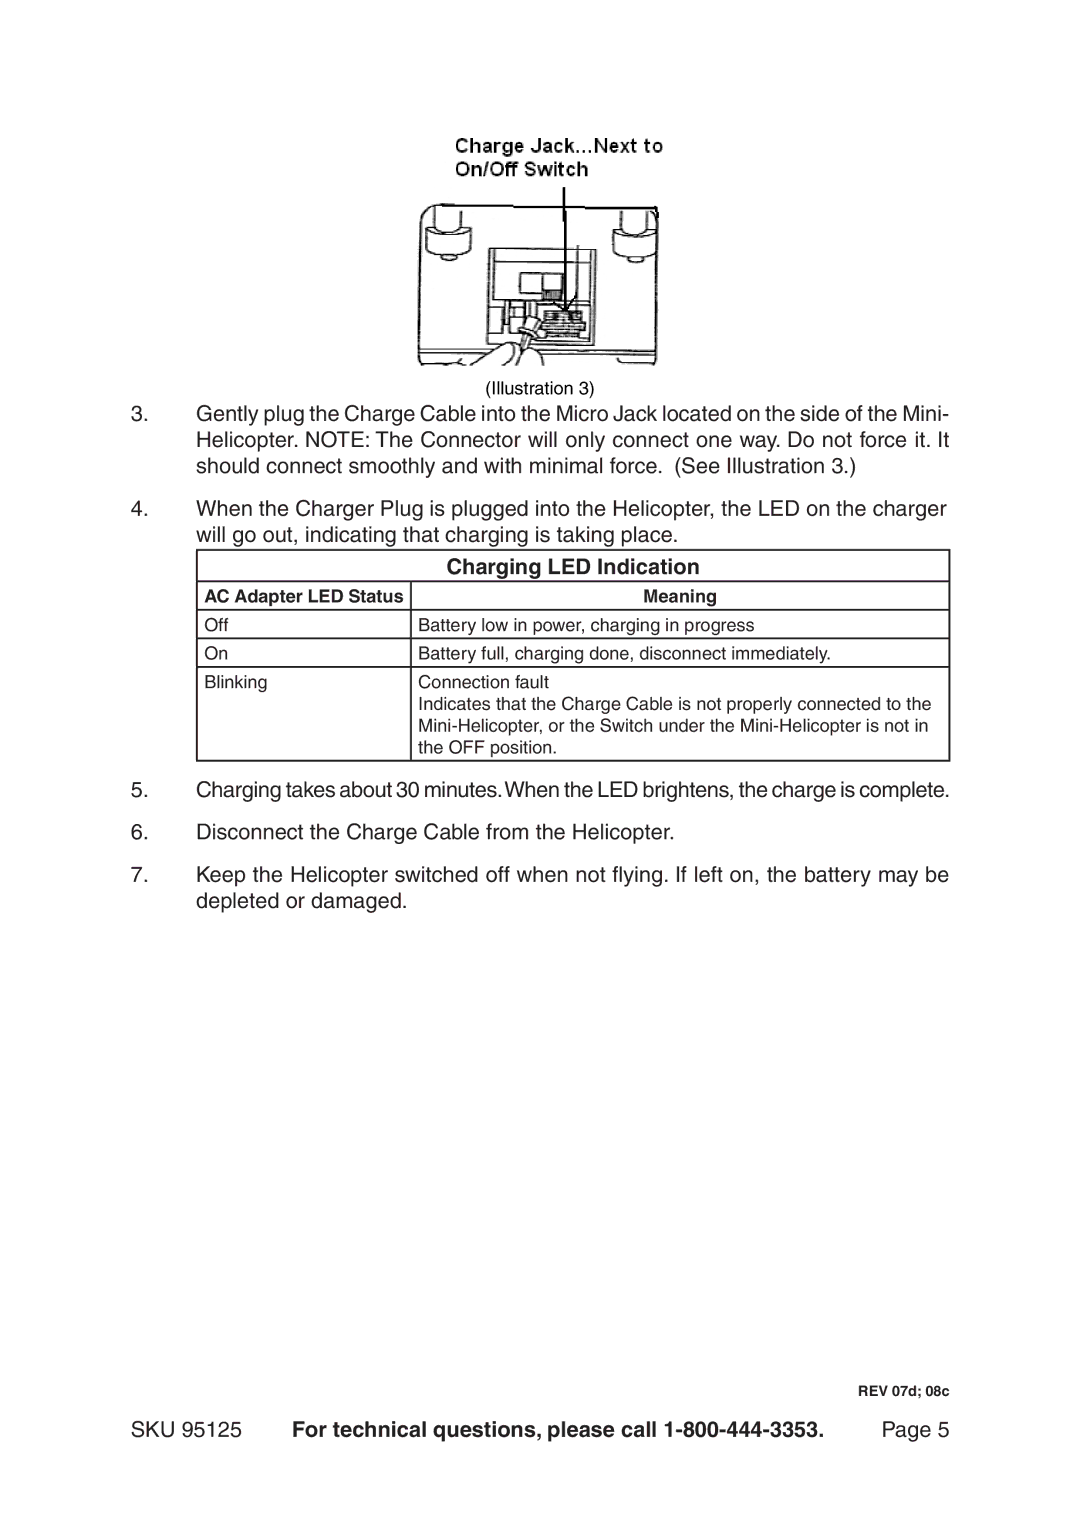
(Illustration 3)
3.Gently plug the Charge Cable into the Micro Jack located on the side of the Mini- Helicopter. NOTE: The Connector will only connect one way. Do not force it. It should connect smoothly and with minimal force. (See Illustration 3.)
4.When the Charger Plug is plugged into the Helicopter, the LED on the charger will go out, indicating that charging is taking place.
| Charging LED Indication |
AC Adapter LED Status | Meaning |
|
|
Off | Battery low in power, charging in progress |
|
|
On | Battery full, charging done, disconnect immediately. |
|
|
Blinking | Connection fault |
| Indicates that the Charge Cable is not properly connected to the |
| |
| the OFF position. |
|
|
5.Charging takes about 30 minutes.When the LED brightens, the charge is complete.
6.Disconnect the Charge Cable from the Helicopter.
7.Keep the Helicopter switched off when not flying. If left on, the battery may be depleted or damaged.
REV 07d; 08c
SKU 95125 | For technical questions, please call | Page 5 |
