AVR1550 specifications
The Harman-Kardon AVR1550 is a home theater receiver that has gained recognition for its remarkable blend of modern technology and classic audio performance. This model is designed to deliver a high-quality sound experience, catering to both audiophiles and casual listeners who seek an immersive home entertainment solution.One of the standout features of the AVR1550 is its powerful amplification, boasting up to 50 watts per channel. This allows users to enjoy rich and dynamic sound across various media, from movies to music. The receiver supports multiple audio formats, including Dolby Digital and DTS, ensuring compatibility with a wide range of movies and gaming experiences. Additionally, it features a 5.1-channel configuration, which provides a complete surround sound experience, enveloping listeners in their favorite content.
The AVR1550 incorporates several advanced technologies that enhance its performance. For instance, it is equipped with a multi-room audio setup, allowing users to enjoy different audio sources in various rooms simultaneously. This feature is particularly advantageous for larger homes where different family members may want to listen to different music or watch different programs.
Another notable characteristic of the AVR1550 is its user-friendly interface. The setup process is straightforward, aided by an on-screen display that guides users through the configuration of speakers and inputs. This accessibility makes it easier for anyone to optimize their home theater system without needing a deep understanding of audio equipment.
Connectivity is another vital aspect of the Harman-Kardon AVR1550. It offers multiple HDMI inputs, enabling users to connect various devices ranging from gaming consoles to Blu-ray players. This versatility ensures that the receiver can seamlessly integrate into any entertainment setup. Additionally, the AVR1550 supports component and composite video connections, making it adaptable for older equipment as well.
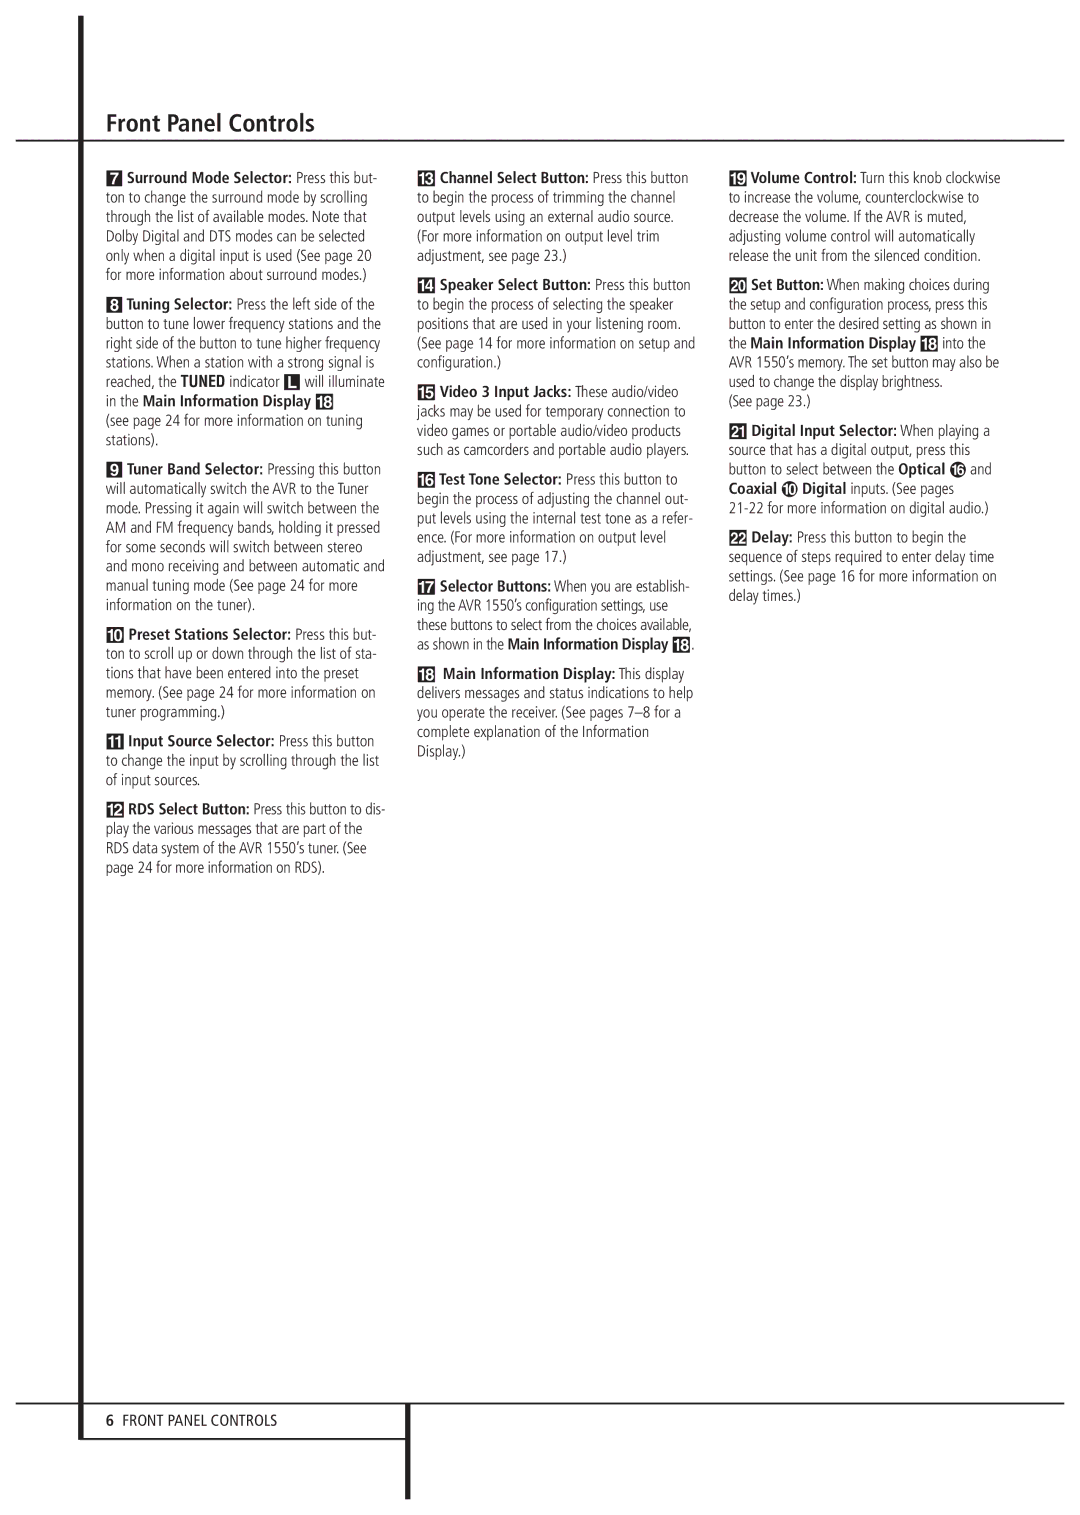
The design of the AVR1550 is both elegant and functional. With its sleek lines and minimalist aesthetics, it can fit seamlessly into any home theater setup without being obtrusive. The intuitive front panel controls also allow for easy adjustments on-the-fly.
In conclusion, the Harman-Kardon AVR1550 stands out for its powerful audio performance, advanced features, and elegant design. It remains a solid choice for anyone looking to enhance their home entertainment experience with quality sound and user-friendly technology. Whether for movie nights or music sessions, the AVR1550 delivers a compelling audio performance that caters to a variety of listening needs.