Harman-Kardon AVR 160 owner manual Getting Started, Source Assignment Worksheet, English

Models: AVR 160

1 48
Download 48 pages 57.57 Kb
Page 19
Image 19
GETTING STARTED

Installing the AVR 160 and connecting it to the other system components can be complex. To simplify installation, it is suggested that you design your system before you begin connecting wires and cables.

Although the rear-panel jacks allow for a variety of audio and video connections to other components, the AVR’s software organizes the connections into 6 conventional sources: DVD (Blu-ray Disc player or DVD player), CD, Tape (audio recorder), Video 1 (VCR), Video 2 (Cable/Sat) and Video 3 (TV). Each of these sources uses dedicated analog audio inputs, and the DVD and Video 1/2/3 sources also use dedicated composite video inputs.

The AVR 160 also features six digital audio inputs (two each coaxial and optical on the rear panel, and one of each type on the front panel). The digital audio inputs, which offer improved performance when available on the source device, may be assigned to any source, as explained in the Initial Setup section.

The two component video inputs offer improved video performance when available on the source device and video display, and may also be assigned to any source.

The 6-/8-Channel Analog Audio Inputs are selected as a separate source, but may only be used with one of the two component video inputs.

For superior audio and video performance, the AVR 160 is equipped with three dedicated HDMI inputs, which may be used with any type of source device that has an HDMI output. The HDMI inputs may be used with an analog or digital audio input or one of the component video inputs. This flexibility facilitates using the AVR with sources that do not output multichannel audio through their HDMI outputs.

Table A1 in the appendix indicates the default device types for each source, and the default audio/video connection assignments. If the defaults suit your system, then connect your devices to the audio/video inputs shown. Otherwise, design your system as explained below.

1.Best video connection type for your system: Examine the video inputs on your TV or video display. Write down the best available video connection type here: ____________.

The options, in order of preference, are: HDMI, DVI (must be HDCP- compliant), component video or composite video. This is the “system- best” video connection for your system.

GETTING STARTED

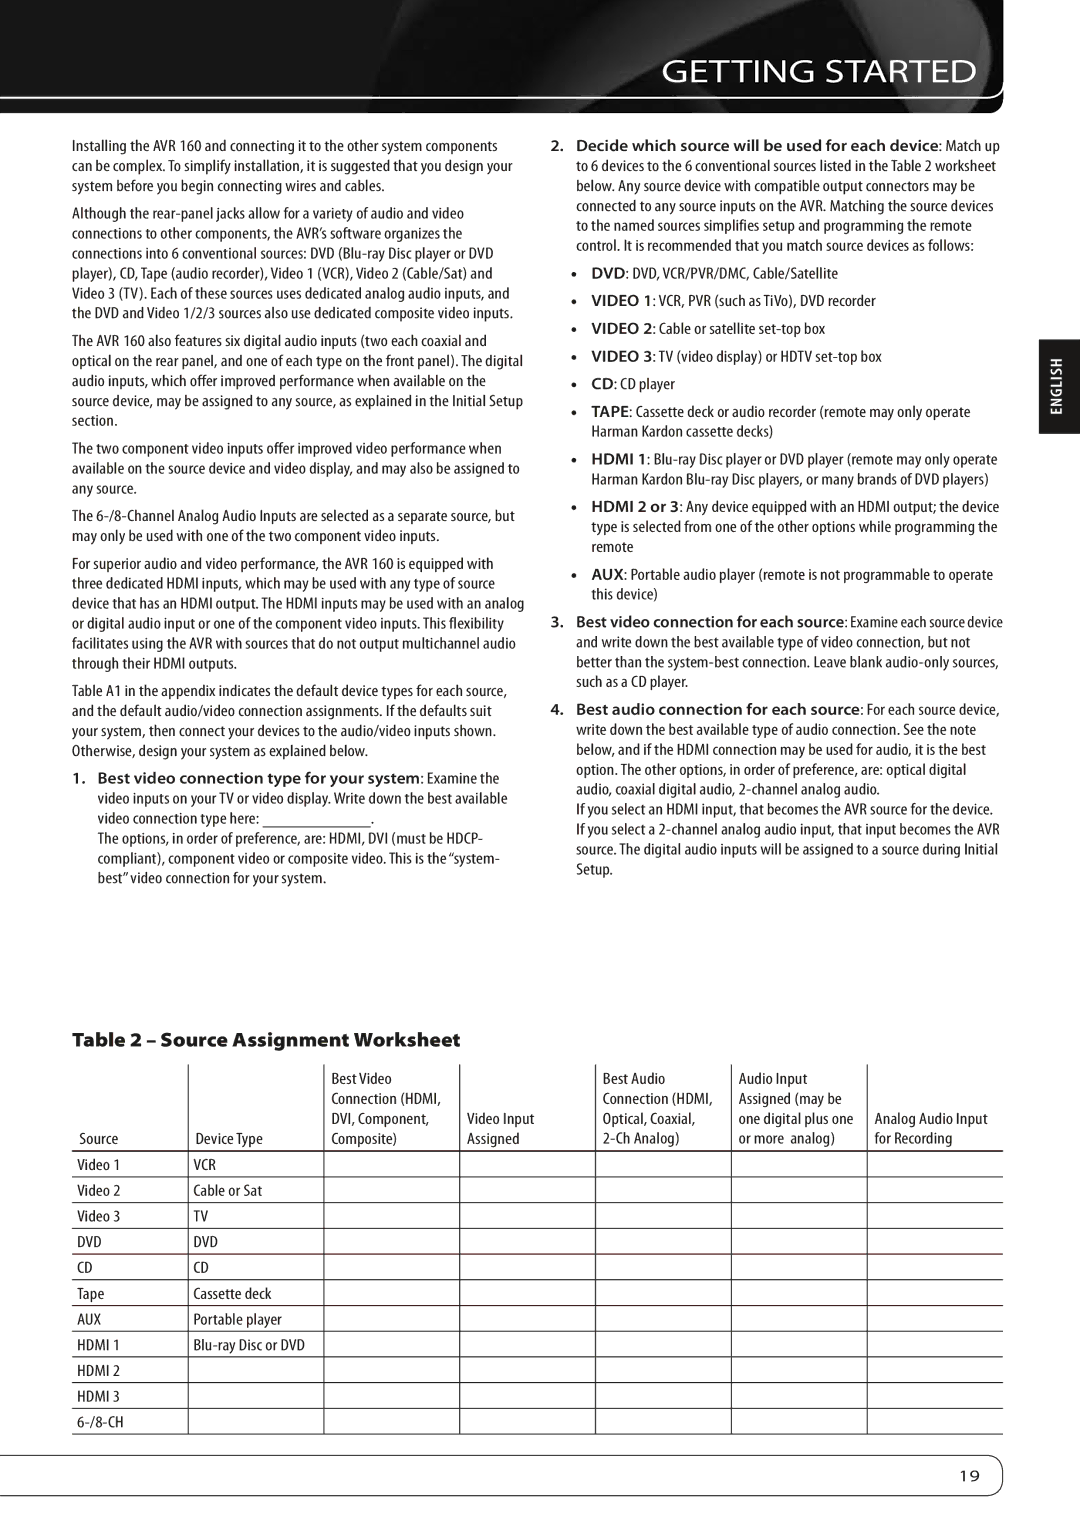
2.Decide which source will be used for each device: Match up to 6 devices to the 6 conventional sources listed in the Table 2 worksheet below. Any source device with compatible output connectors may be connected to any source inputs on the AVR. Matching the source devices to the named sources simplifies setup and programming the remote control. It is recommended that you match source devices as follows:

DVD: DVD, VCR/PVR/DMC, Cable/Satellite

VIDEO 1: VCR, PVR (such as TiVo), DVD recorder

VIDEO 2: Cable or satellite set-top box

VIDEO 3: TV (video display) or HDTV set-top box

CD: CD player

TAPE: Cassette deck or audio recorder (remote may only operate Harman Kardon cassette decks)

HDMI 1: Blu-ray Disc player or DVD player (remote may only operate Harman Kardon Blu-ray Disc players, or many brands of DVD players)

HDMI 2 or 3: Any device equipped with an HDMI output; the device type is selected from one of the other options while programming the remote

AUX: Portable audio player (remote is not programmable to operate this device)

3.Best video connection for each source: Examine each source device and write down the best available type of video connection, but not better than the system-best connection. Leave blank audio-only sources, such as a CD player.

4.Best audio connection for each source: For each source device, write down the best available type of audio connection. See the note below, and if the HDMI connection may be used for audio, it is the best option. The other options, in order of preference, are: optical digital audio, coaxial digital audio, 2-channel analog audio.

If you select an HDMI input, that becomes the AVR source for the device. If you select a 2-channel analog audio input, that input becomes the AVR source. The digital audio inputs will be assigned to a source during Initial Setup.

ENGLISH

Table 2 – Source Assignment Worksheet


Best Video


Best Audio

Audio Input


Connection (HDMI,


Connection (HDMI,

Assigned (may be


DVI, Component,

Video Input

Optical, Coaxial,

one digital plus one

Analog Audio Input

Source

Device Type

Composite)

Assigned

2-Ch Analog)

or more analog)

for Recording


Video 1

VCR


Video 2

Cable or Sat


Video 3

TV


DVD

DVD


CD

CD


Tape

Cassette deck


AUX

Portable player


HDMI 1

Blu-ray Disc or DVD


HDMI 2


HDMI 3


6-/8-CH


19

Page 19
Image 19
Harman-Kardon AVR 160 owner manual Getting Started, Source Assignment Worksheet, English