AVR

Any changes will be reflected in the total Number Of Speakers displayed at the top of the screen.

The Assigned AMP setting includes four options:

ssSurround Back: Select the Surr. Back option if your main system is a 7.1-channel system and you are using surround back left and surround back right speakers.

ssZone 2: Select the Zone 2 option if your main system is a 5.1-channel system and you want to use the Assigned Amp speaker outputs to power speakers in Zone 2. See Install a Multizone System, on page 21, for more information.

ssFront Height: Select the Front Height option if your main system is a 7.1-channel system and you are using Front Height speakers with Dolby Pro Logic IIz.

ssOff: Select Off if you have not connected speakers to the Assigned Amp speaker outputs.

NOTE: When you set Assigned AMP to “Zone 2,” the speakers connected to the Assigned Amp outputs will not be configured during the EzSet/EQ process. Configure the speakers manually, as explained below.

When you have finished, select the Back option or use the Back/Exit button.

Crossover (Size)

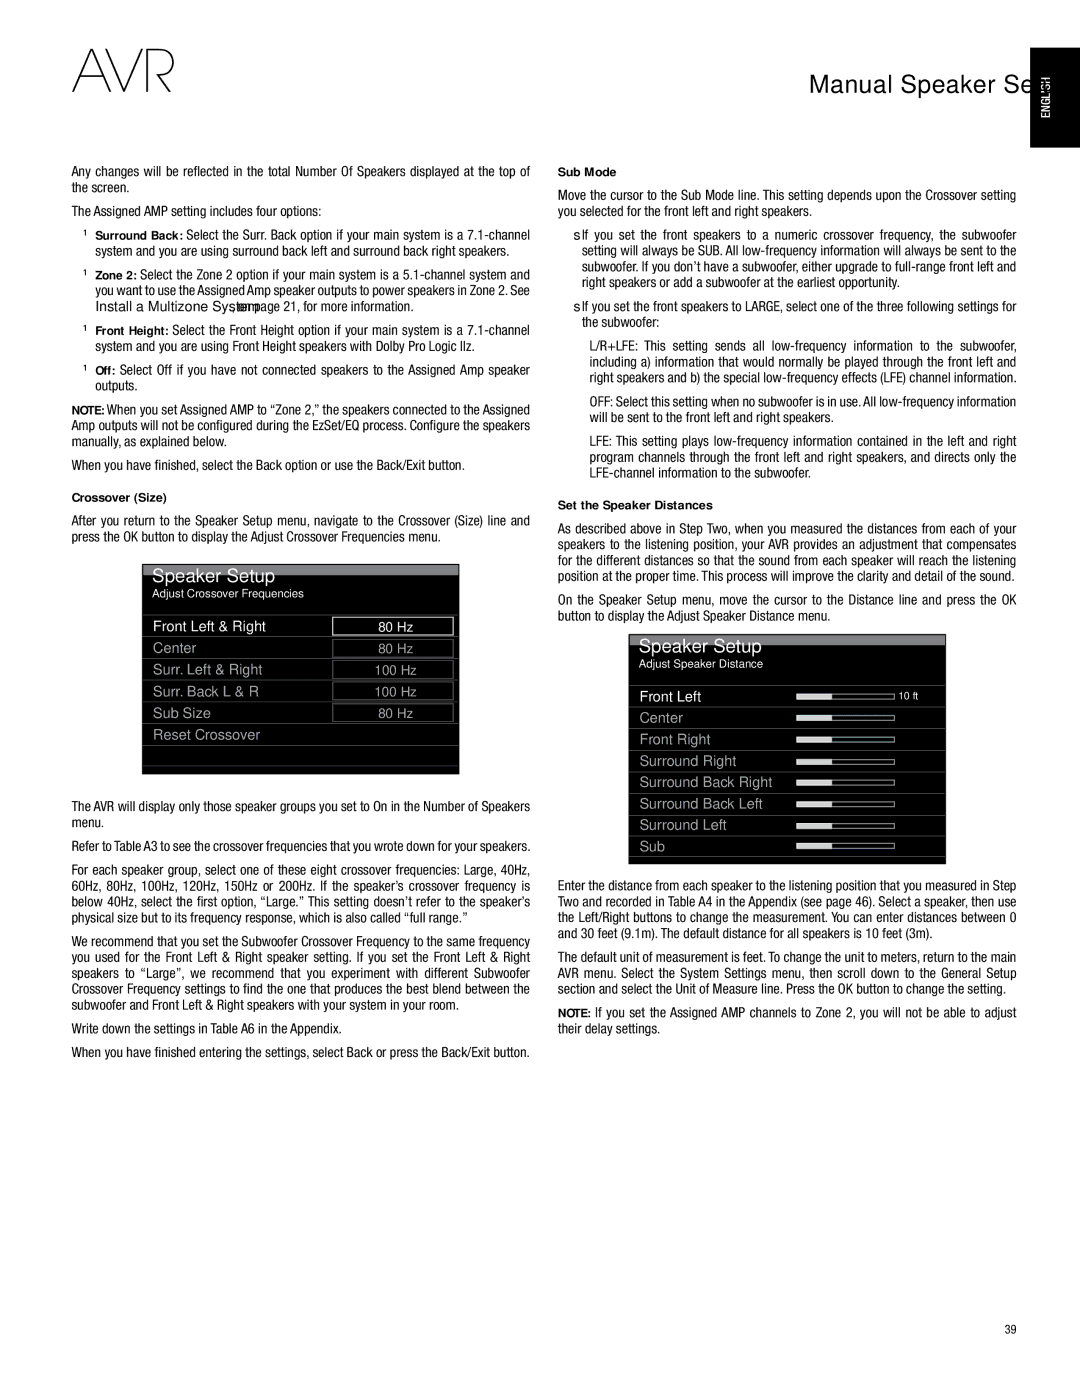
After you return to the Speaker Setup menu, navigate to the Crossover (Size) line and press the OK button to display the Adjust Crossover Frequencies menu.

Speaker Setup

Adjust Crossover Frequencies

Front Left & Right

80 Hz

Center

80 Hz


Surr. Left & Right

100 Hz


Surr. Back L & R

100 Hz

Sub Size

80 Hz


Reset Crossover


The AVR will display only those speaker groups you set to On in the Number of Speakers menu.

Refer to Table A3 to see the crossover frequencies that you wrote down for your speakers.

For each speaker group, select one of these eight crossover frequencies: Large, 40Hz, 60Hz, 80Hz, 100Hz, 120Hz, 150Hz or 200Hz. If the speaker’s crossover frequency is below 40Hz, select the first option, “Large.” This setting doesn’t refer to the speaker’s physical size but to its frequency response, which is also called “full range.”

We recommend that you set the Subwoofer Crossover Frequency to the same frequency you used for the Front Left & Right speaker setting. If you set the Front Left & Right speakers to “Large”, we recommend that you experiment with different Subwoofer Crossover Frequency settings to find the one that produces the best blend between the subwoofer and Front Left & Right speakers with your system in your room.

Write down the settings in Table A6 in the Appendix.

When you have finished entering the settings, select Back or press the Back/Exit button.

Manual Speaker Setup

Sub Mode

Move the cursor to the Sub Mode line. This setting depends upon the Crossover setting you selected for the front left and right speakers.

ssIf you set the front speakers to a numeric crossover frequency, the subwoofer setting will always be SUB. All low-frequency information will always be sent to the subwoofer. If you don’t have a subwoofer, either upgrade to full-range front left and right speakers or add a subwoofer at the earliest opportunity.

ssIf you set the front speakers to LARGE, select one of the three following settings for the subwoofer:

L/R+LFE: This setting sends all low-frequency information to the subwoofer, including a) information that would normally be played through the front left and right speakers and b) the special low-frequency effects (LFE) channel information.

OFF: Select this setting when no subwoofer is in use. All low-frequency information will be sent to the front left and right speakers.

LFE: This setting plays low-frequency information contained in the left and right program channels through the front left and right speakers, and directs only the LFE-channel information to the subwoofer.

Set the Speaker Distances

As described above in Step Two, when you measured the distances from each of your speakers to the listening position, your AVR provides an adjustment that compensates for the different distances so that the sound from each speaker will reach the listening position at the proper time. This process will improve the clarity and detail of the sound.

On the Speaker Setup menu, move the cursor to the Distance line and press the OK button to display the Adjust Speaker Distance menu.

Speaker Setup

Adjust Speaker Distance

Front Left


10 ft


Center

Front Right

Surround Right

Surround Back Right

Surround Back Left

Surround Left

Sub

Enter the distance from each speaker to the listening position that you measured in Step Two and recorded in Table A4 in the Appendix (see page 46). Select a speaker, then use the Left/Right buttons to change the measurement. You can enter distances between 0 and 30 feet (9.1m). The default distance for all speakers is 10 feet (3m).

The default unit of measurement is feet. To change the unit to meters, return to the main AVR menu. Select the System Settings menu, then scroll down to the General Setup section and select the Unit of Measure line. Press the OK button to change the setting.

NOTE: If you set the Assigned AMP channels to Zone 2, you will not be able to adjust their delay settings.

ENGLISH

39

Page 39
Image 39
Harman-Kardon AVR 2700 Manual Speaker Setup, Crossover Size, Write down the settings in Table A6 in the Appendix, Sub Mode

AVR 2700, AVR 3700 specifications

The Harman-Kardon AVR 3700 and AVR 2700 are high-performance audio-video receivers that offer impressive features and technologies for home theater enthusiasts. Designed for those who value both sound quality and versatility, these models stand out with their powerful amplifications and comprehensive connectivity options.

The AVR 3700 boasts a 7.2-channel architecture, delivering a robust audio experience with a total output of 100 watts per channel. It supports the latest surround sound formats, including Dolby TrueHD and DTS-HD Master Audio, ensuring a cinematic audio experience that is both immersive and detailed. With Harman-Kardon's proprietary DSP algorithms, users can enjoy dynamic sound staging and precision sound imaging.

The AVR 2700, while slightly less powerful with its 7.1-channel setup, still provides 80 watts per channel and supports similar advanced audio formats. It offers excellent sound quality, making it an ideal choice for users who may not require the higher output levels of the AVR 3700.

Both models incorporate advanced HDMI technology, with multiple HDMI inputs and outputs that support 4K video pass-through, allowing seamless integration with modern 4K televisions and other high-definition sources. The AVR 3700 includes up to eight HDMI inputs, while the AVR 2700 features six, providing ample connectivity for streaming devices, gaming consoles, and Blu-ray players.

Furthermore, the Harman-Kardon receivers come equipped with AirPlay and Bluetooth for easy wireless streaming. This allows users to play their favorite music directly from smartphones, tablets, or computers without the hassle of cables. Both models also support DLNA, enabling access to networked audio files.

Another key feature of both receivers is the MultEQ room calibration technology. This sophisticated system analyzes the room’s acoustics and adjusts the receiver’s audio output accordingly, optimizing sound quality for various listening environments.

The AVR 3700 and AVR 2700 also feature intuitive user interfaces, making it easy to navigate settings and options. A user-friendly remote control, along with mobile app compatibility, further enhances the overall experience.

In summary, the Harman-Kardon AVR 3700 and AVR 2700 represent excellent choices for anyone seeking to elevate their home entertainment system. With their powerful audio capabilities, extensive connectivity options, and advanced audio technologies, these receivers are engineered to provide a rich and engaging audio-visual experience. Whether you’re watching movies, listening to music, or gaming, both models ensure that every sound is delivered with clarity and precision.