InstallIng 
With only a single cable connection, The Bridge III is easy to connect to your Harman Kardon product.
step One: Turn off the Harman Kardon The Bridge
step two: Holding the cable with the wider part of the connector at the bottom, gently squeeze the tabs on each side as you insert it into the connector on the rear panel of the Harman Kardon product. See Figure 1.
Figure 1 – The Bridge III connector.
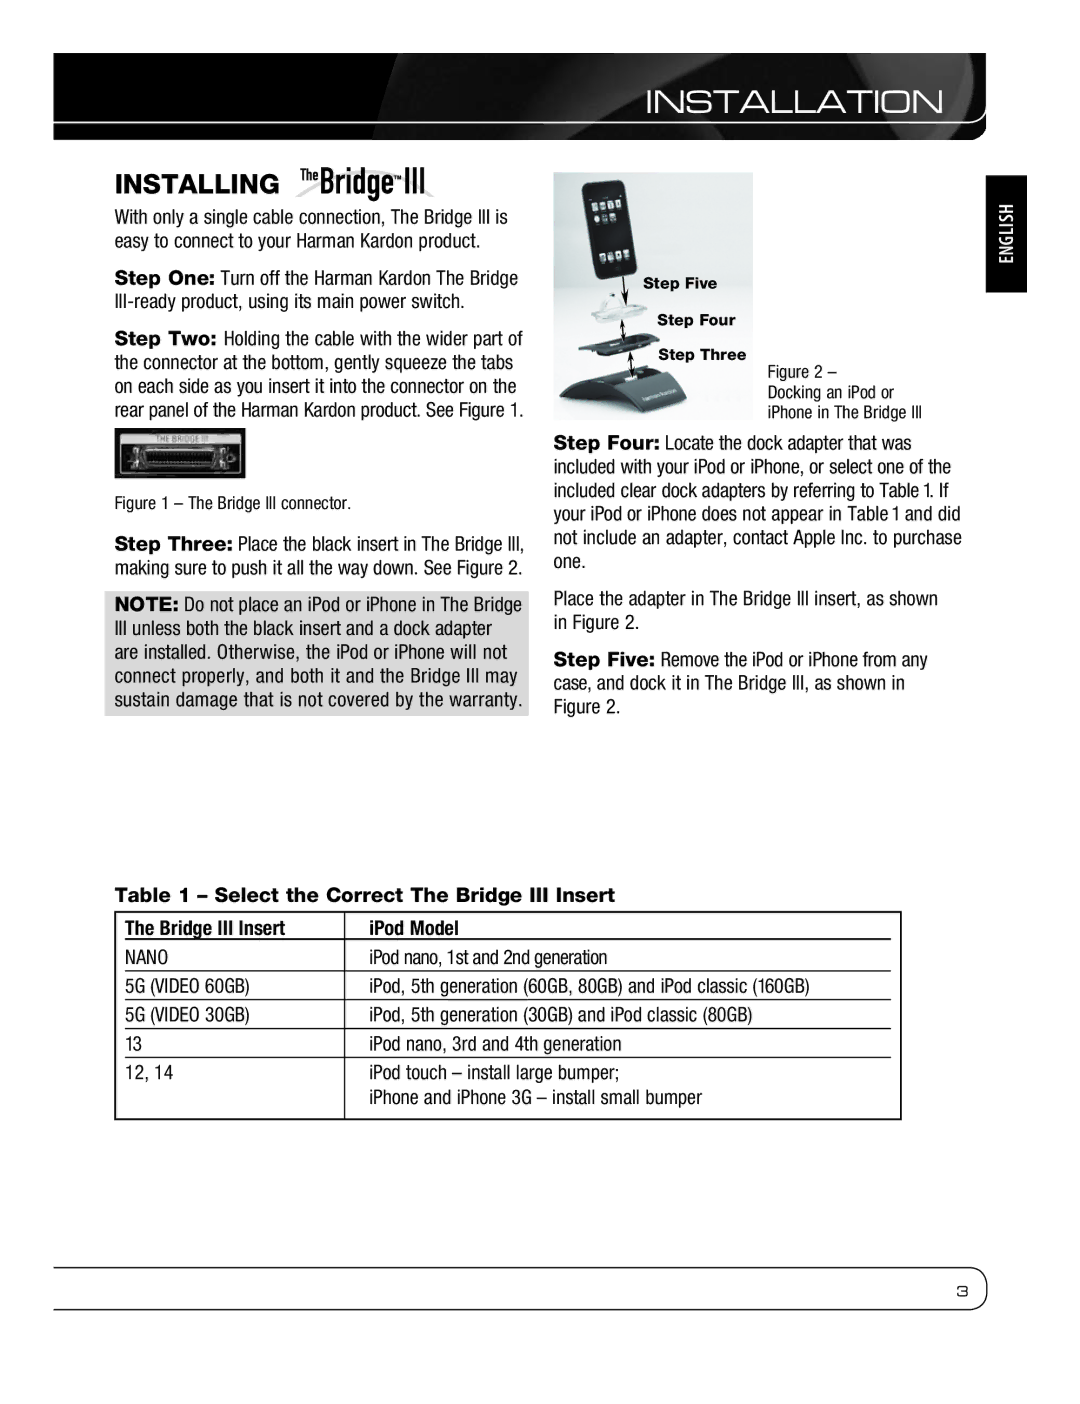
step three: Place the black insert in The Bridge III, making sure to push it all the way down. See Figure 2.
nOtE: Do not place an iPod or iPhone in The Bridge
IIIunless both the black insert and a dock adapter are installed. Otherwise, the iPod or iPhone will not connect properly, and both it and the Bridge III may sustain damage that is not covered by the warranty.
InSTALLATIOn
step Five
step Four
step three
Figure 2 – Docking an iPod or iPhone in The Bridge III
step Four: Locate the dock adapter that was included with your iPod or iPhone, or select one of the included clear dock adapters by referring to Table 1. If your iPod or iPhone does not appear in Table 1 and did not include an adapter, contact Apple Inc. to purchase one.
Place the adapter in The Bridge III insert, as shown in Figure 2.
step Five: Remove the iPod or iPhone from any case, and dock it in The Bridge III, as shown in Figure 2.
English
table 1 – select the Correct the Bridge III Insert
The Bridge III Insert | iPod Model |
NANO | iPod nano, 1st and 2nd generation |
5G (VIDEO 60GB) | iPod, 5th generation (60GB, 80GB) and iPod classic (160GB) |
5G (VIDEO 30GB) | iPod, 5th generation (30GB) and iPod classic (80GB) |
13 | iPod nano, 3rd and 4th generation |
12, 14 | iPod touch – install large bumper; |
| iPhone and iPhone 3G – install small bumper |
3