Installation and Connections
System and Power Connections
The HK 3380 is designed for flexible use with external control components and power ampli- fiers. These connections are easy to make during an initial installation, or at a later date should you choose to upgrade your system.
Remote Control Extension
If the receiver is placed behind a solid or smoked glass cabinet door, the obstruction may prevent the remote sensor from receiving commands. In this event, an optional remote sensor may be used. Connect the output of the remote sensor to the Remote IR In jack .
If other components are also prevented from receiving remote commands, only one sensor is needed. They may use this unit’s sensor or a remote eye by running a connection from the
Remote IR Out jack to the Remote In jack on Harman Kardon or other compatible equip- ment.
External Audio Power Amplifier
Connections
If desired, an optional, external amplifier may be used in place of the HK 3380’s internal power amplifier.
To connect an external power amplifier, first remove the
that connect the Preamp Out and Main In jacks on the rear panel. Keep the jumpers in
a safe place should they be needed at a later time.
Using
connect the Preamp Out jacks to the input jacks on your power amplifier. Make certain to match the right output to the right input and the left output to the left input.
Note that when an external power amplifier is used, no special adjustments are required. All volume and other control adjustments are made using the standard front panel or remote con- trols.
AC Power Connections
This unit is equipped with accessory AC outlets. They may be used to power accessory devices, but it should not be used with
The Switched AC Outlets will receive
power only when the unit is on. This is recom- mended for devices that have no power switch, or those with a mechanical power switch that may be left in the “ON” position.
NOTE: Devices with electronic power switches may only go into a Standby mode when plugged in here.
Speaker Placement
For optimal listening enjoyment, and for sound- field reproduction that best
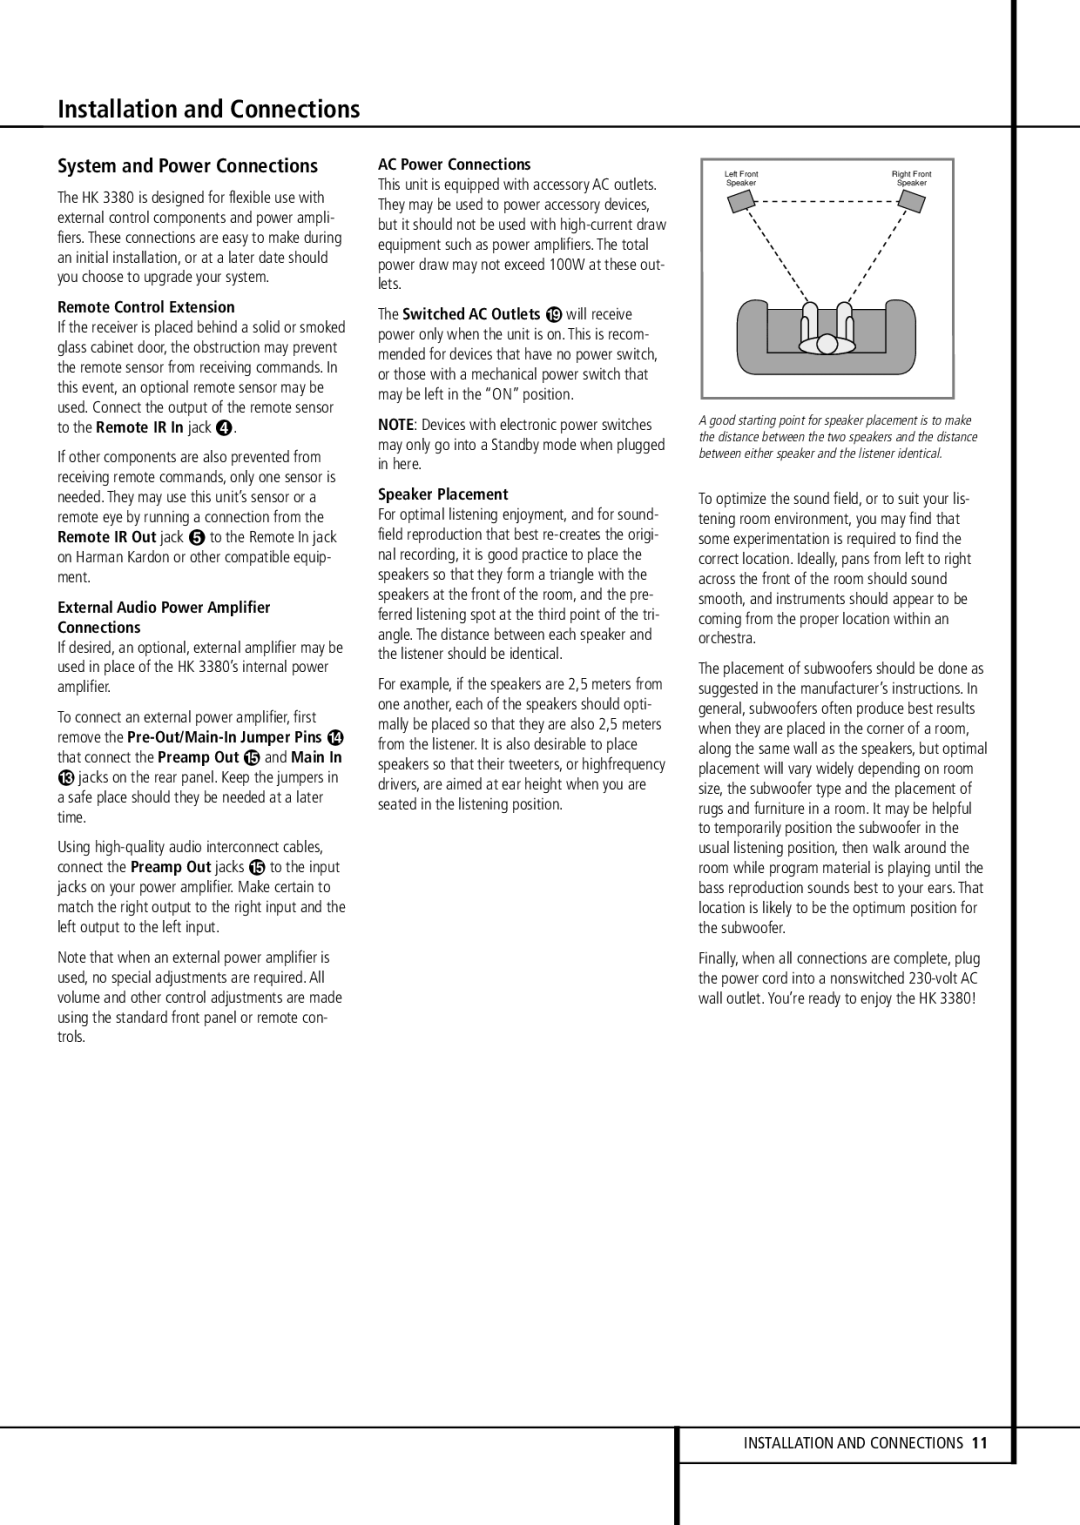
For example, if the speakers are 2,5 meters from one another, each of the speakers should opti- mally be placed so that they are also 2,5 meters from the listener. It is also desirable to place speakers so that their tweeters, or highfrequency drivers, are aimed at ear height when you are seated in the listening position.
Left Front | Right Front |
Speaker | Speaker |
A good starting point for speaker placement is to make the distance between the two speakers and the distance between either speaker and the listener identical.
To optimize the sound field, or to suit your lis- tening room environment, you may find that some experimentation is required to find the correct location. Ideally, pans from left to right across the front of the room should sound smooth, and instruments should appear to be coming from the proper location within an orchestra.
The placement of subwoofers should be done as suggested in the manufacturer’s instructions. In general, subwoofers often produce best results when they are placed in the corner of a room, along the same wall as the speakers, but optimal placement will vary widely depending on room size, the subwoofer type and the placement of rugs and furniture in a room. It may be helpful to temporarily position the subwoofer in the usual listening position, then walk around the room while program material is playing until the bass reproduction sounds best to your ears. That location is likely to be the optimum position for the subwoofer.
Finally, when all connections are complete, plug the power cord into a nonswitched
INSTALLATION AND CONNECTIONS 11