Hawking Technology SAE8 manual C Connecting a Device to the Piranha Switch, Supported Media

Models: SAE8

1 8
Download 8 pages 32.59 Kb
Page 3
Image 3
C Connecting a Device to the Piranha Switch

DC adapter and a suitable electrical outlet. Insert the AC/DC adapter’s 2.5mm round plug in the DC input jack of the Piranha Switch.

C Connecting a Device to the Piranha Switch

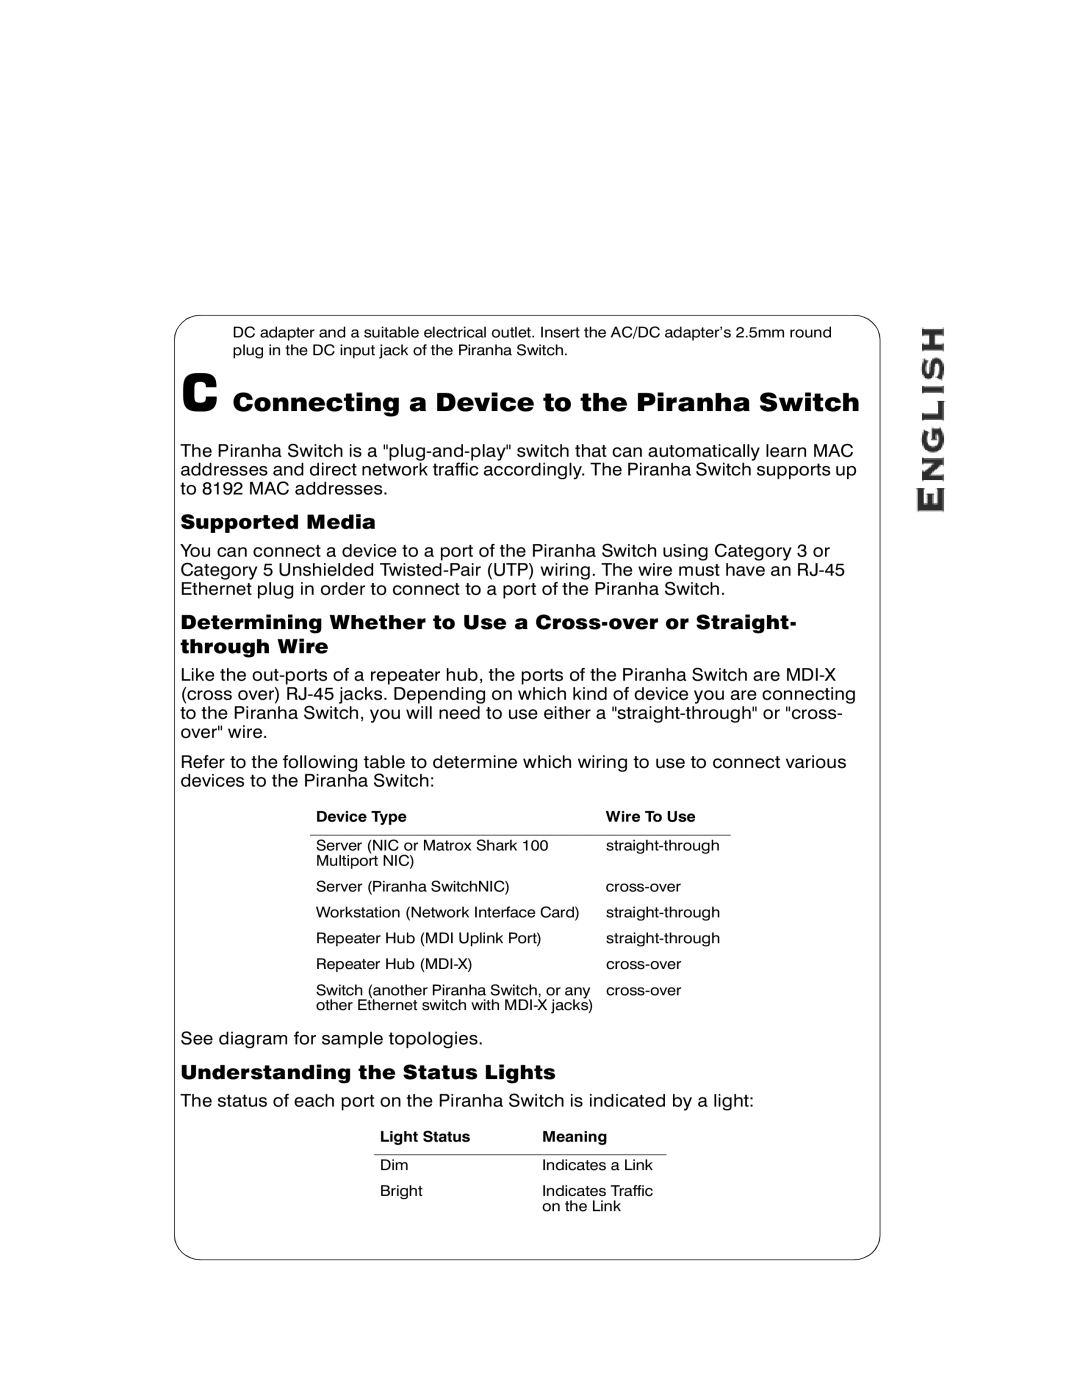
The Piranha Switch is a "plug-and-play" switch that can automatically learn MAC addresses and direct network traffic accordingly. The Piranha Switch supports up to 8192 MAC addresses.

Supported Media

You can connect a device to a port of the Piranha Switch using Category 3 or Category 5 Unshielded Twisted-Pair (UTP) wiring. The wire must have an RJ-45 Ethernet plug in order to connect to a port of the Piranha Switch.

Determining Whether to Use a Cross-over or Straight- through Wire

Like the out-ports of a repeater hub, the ports of the Piranha Switch are MDI-X (cross over) RJ-45 jacks. Depending on which kind of device you are connecting to the Piranha Switch, you will need to use either a "straight-through" or "cross- over" wire.

Refer to the following table to determine which wiring to use to connect various devices to the Piranha Switch:

Device Type

Wire To Use


Server (NIC or Matrox Shark 100

straight-through

Multiport NIC)


Server (Piranha SwitchNIC)

cross-over

Workstation (Network Interface Card)

straight-through

Repeater Hub (MDI Uplink Port)

straight-through

Repeater Hub (MDI-X)

cross-over

Switch (another Piranha Switch, or any

cross-over

other Ethernet switch with MDI-X jacks)


See diagram for sample topologies.

Understanding the Status Lights

The status of each port on the Piranha Switch is indicated by a light:

Light Status

Meaning


Dim

Indicates a Link

Bright

Indicates Traffic


on the Link

Page 3
Image 3
Hawking Technology SAE8 C Connecting a Device to the Piranha Switch, Supported Media, Understanding the Status Lights