G. Glass Assembly
![]() WARNING
WARNING
Handle glass doors with care.
•Inspect the gasket to ensure it is undamaged.
•Inspect the glass for cracks, chips or scratches.
•Do NOT strike, slam or scratch glass.
•Do NOT operate appliance with glass door removed, cracked, broken or scratched.
•Replace glass door assembly as a complete appliance.
Removing Glass Assembly
ADI60S
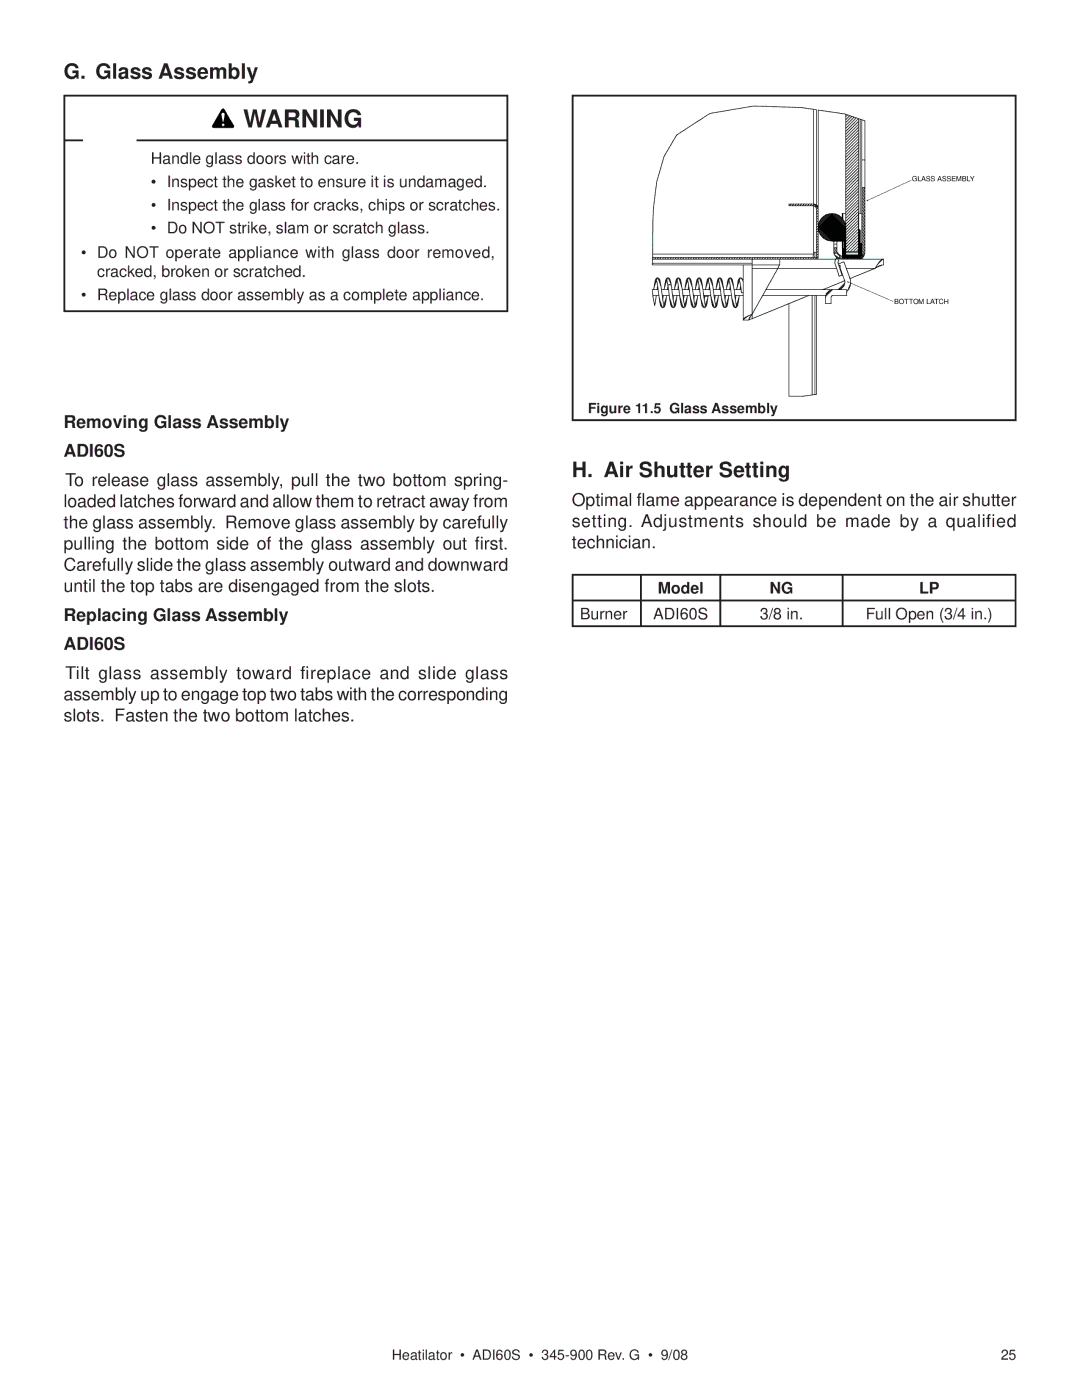
To release glass assembly, pull the two bottom spring- loaded latches forward and allow them to retract away from the glass assembly. Remove glass assembly by carefully pulling the bottom side of the glass assembly out first. Carefully slide the glass assembly outward and downward until the top tabs are disengaged from the slots.
Replacing Glass Assembly
ADI60S
Tilt glass assembly toward fireplace and slide glass assembly up to engage top two tabs with the corresponding slots. Fasten the two bottom latches.
GLASS ASSEMBLY
BOTTOM LATCH
Figure 11.5 Glass Assembly
H. Air Shutter Setting
Optimal flame appearance is dependent on the air shutter setting. Adjustments should be made by a qualified technician.
| Model | NG | LP |
Burner | ADI60S | 3/8 in. | Full Open (3/4 in.) |
Heatilator • ADI60S • | 25 |