Using the Steamer
Always check fabric labels for recommendations before steaming. Test color fastness in an inconspicuous spot. Some fabrics can be steamed better from the underside of the material. Heavy fabrics may require repeated steaming. Never steam a garment while it is being worn.
1.Place the steamer on the floor.
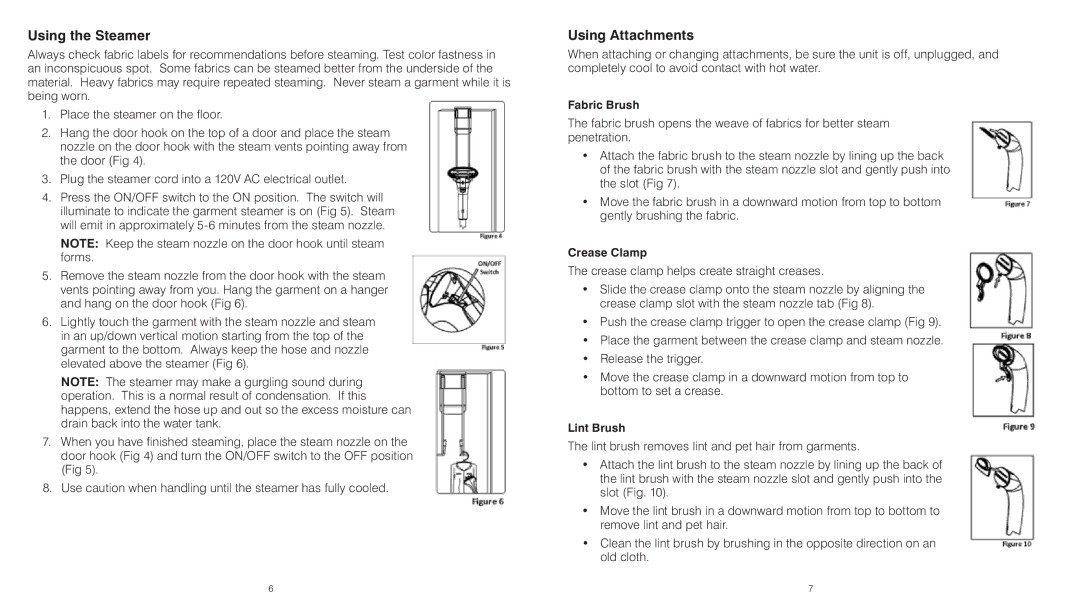
2.Hang the door hook on the top of a door and place the steam nozzle on the door hook with the steam vents pointing away from the door (Fig 4).
3.Plug the steamer cord into a 120V AC electrical outlet.
4.Press the ON/OFF switch to the ON position. The switch will illuminate to indicate the garment steamer is on (Fig 5). Steam will emit in approximately
NOTE: Keep the steam nozzle on the door hook until steam forms.
5.Remove the steam nozzle from the door hook with the steam vents pointing away from you. Hang the garment on a hanger and hang on the door hook (Fig 6).
6.Lightly touch the garment with the steam nozzle and steam in an up/down vertical motion starting from the top of the garment to the bottom. Always keep the hose and nozzle elevated above the steamer (Fig 6).
NOTE: The steamer may make a gurgling sound during operation. This is a normal result of condensation. If this happens, extend the hose up and out so the excess moisture can drain back into the water tank.
7.When you have finished steaming, place the steam nozzle on the door hook (Fig 4) and turn the ON/OFF switch to the OFF position (Fig 5).
8.Use caution when handling until the steamer has fully cooled.
Using Attachments
When attaching or changing attachments, be sure the unit is off, unplugged, and completely cool to avoid contact with hot water.
Fabric Brush
The fabric brush opens the weave of fabrics for better steam penetration.
•Attach the fabric brush to the steam nozzle by lining up the back of the fabric brush with the steam nozzle slot and gently push into the slot (Fig 7).
•Move the fabric brush in a downward motion from top to bottom gently brushing the fabric.
Crease Clamp
The crease clamp helps create straight creases.
•Slide the crease clamp onto the steam nozzle by aligning the crease clamp slot with the steam nozzle tab (Fig 8).
•Push the crease clamp trigger to open the crease clamp (Fig 9).
•Place the garment between the crease clamp and steam nozzle.
•Release the trigger.
•Move the crease clamp in a downward motion from top to bottom to set a crease.
Lint Brush
The lint brush removes lint and pet hair from garments.
•Attach the lint brush to the steam nozzle by lining up the back of the lint brush with the steam nozzle slot and gently push into the slot (Fig. 10).
•Move the lint brush in a downward motion from top to bottom to remove lint and pet hair.
•Clean the lint brush by brushing in the opposite direction on an old cloth.
6 | 7 |