Honeywell 8160 p Configuration, q Clock and Day Setting, r Temperature Setting, Setpoint, Icon

Models: 8160

1 4
Download 4 pages 10.61 Kb
Page 2
Image 2
pConfiguration

pConfiguration

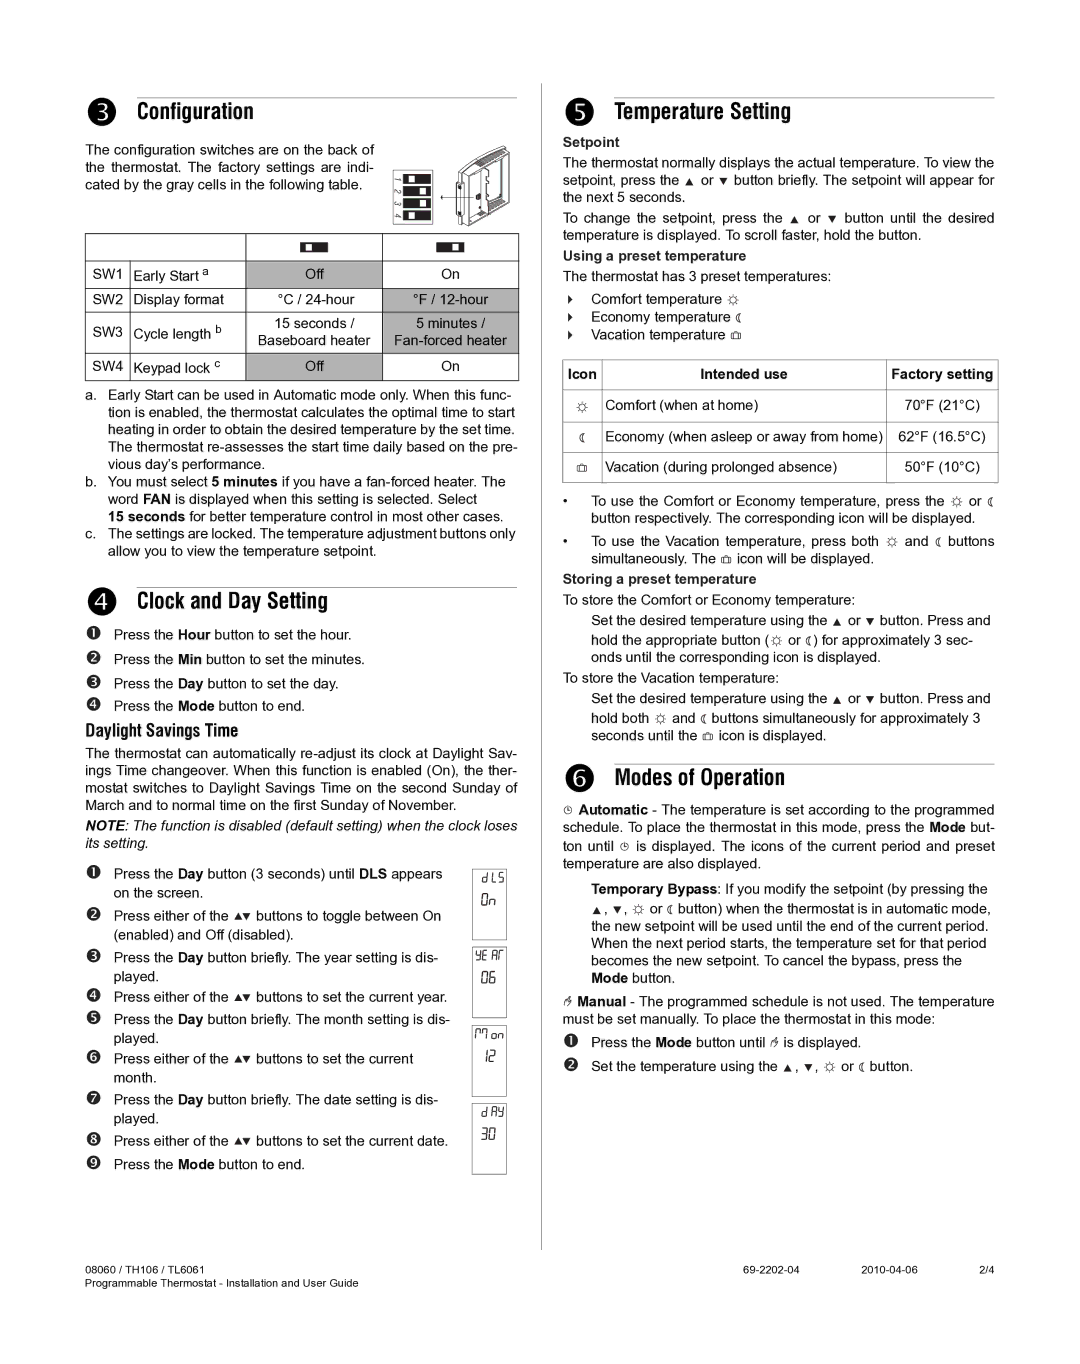
The configuration switches are on the back of the thermostat. The factory settings are indi- cated by the gray cells in the following table.


SW1

Early Start a


Off


On

SW2

Display format

°C / 24-hour

°F / 12-hour

SW3

Cycle length b

15 seconds /

5 minutes /

Baseboard heater

Fan-forced heater


SW4

Keypad lock c


Off


On

a.Early Start can be used in Automatic mode only. When this func- tion is enabled, the thermostat calculates the optimal time to start heating in order to obtain the desired temperature by the set time. The thermostat re-assesses the start time daily based on the pre- vious day’s performance.

b.You must select 5 minutes if you have a fan-forced heater. The word FAN is displayed when this setting is selected. Select

15 seconds for better temperature control in most other cases.

c.The settings are locked. The temperature adjustment buttons only allow you to view the temperature setpoint.

qClock and Day Setting

nPress the Hour button to set the hour. o Press the Min button to set the minutes.

pPress the Day button to set the day. q Press the Mode button to end.

Daylight Savings Time

The thermostat can automatically re-adjust its clock at Daylight Sav- ings Time changeover. When this function is enabled (On), the ther- mostat switches to Daylight Savings Time on the second Sunday of March and to normal time on the first Sunday of November.

NOTE: The function is disabled (default setting) when the clock loses its setting.

n Press the Day button (3 seconds) until DLS appears on the screen.

oPress either of the qClock and Day Setting buttons to toggle between On (enabled) and Off (disabled).

p Press the Day button briefly. The year setting is dis- played.

qPress either of the Daylight Savings Time buttons to set the current year.

rPress the Day button briefly. The month setting is dis-

played.

s Press either of the rTemperature Setting buttons to set the current month.

t Press the Day button briefly. The date setting is dis- played.

u Press either of the Setpoint buttons to set the current date.

vPress the Mode button to end.

rTemperature Setting

Setpoint

The thermostat normally displays the actual temperature. To view the setpoint, press the Using a preset temperature or Icon button briefly. The setpoint will appear for the next 5 seconds.

To change the setpoint, press the Intended use or Factory setting button until the desired temperature is displayed. To scroll faster, hold the button.

Using a preset temperature

The thermostat has 3 preset temperatures:

Comfort temperature Storing a preset temperaturesModes of Operation

Economy temperature Manual background

Vacation temperature Manual background

Icon

Intended use

Factory setting


Comfort (when at home)

70°F (21°C)


Economy (when asleep or away from home)

62°F (16.5°C)


Vacation (during prolonged absence)

50°F (10°C)


To use the Comfort or Economy temperature, press the Manual backgroundManual background or Manual background button respectively. The corresponding icon will be displayed.

To use the Vacation temperature, press both Manual backgroundManual background and Manual background buttons simultaneously. The Manual background icon will be displayed.

Storing a preset temperature

To store the Comfort or Economy temperature:

Set the desired temperature using the Manual background or Manual background button. Press and

hold the appropriate button (Manual backgroundManual background or Manual background) for approximately 3 sec- onds until the corresponding icon is displayed.

To store the Vacation temperature:

Set the desired temperature using the Manual background or Manual background button. Press and hold both Manual backgroundManual background and Manual background buttons simultaneously for approximately 3 seconds until the Manual background icon is displayed.

sModes of Operation

Manual background Automatic - The temperature is set according to the programmed schedule. To place the thermostat in this mode, press the Mode but- ton until Manual background is displayed. The icons of the current period and preset temperature are also displayed.

Temporary Bypass: If you modify the setpoint (by pressing the

Manual background , Manual background, Manual backgroundManual background or Manual background button) when the thermostat is in automatic mode, the new setpoint will be used until the end of the current period. When the next period starts, the temperature set for that period becomes the new setpoint. To cancel the bypass, press the Mode button.

Manual background Manual - The programmed schedule is not used. The temperature must be set manually. To place the thermostat in this mode:

nPress the Mode button until Manual background is displayed.

oSet the temperature using the Manual background , Manual background, Manual backgroundManual background or Manual background button.

08060 / TH106 / TL6061

69-2202-04

2010-04-06

2/4

Programmable Thermostat - Installation and User Guide


Page 2
Image 2
Honeywell 8160 manual p Configuration, q Clock and Day Setting, r Temperature Setting, s Modes of Operation, Setpoint, Icon