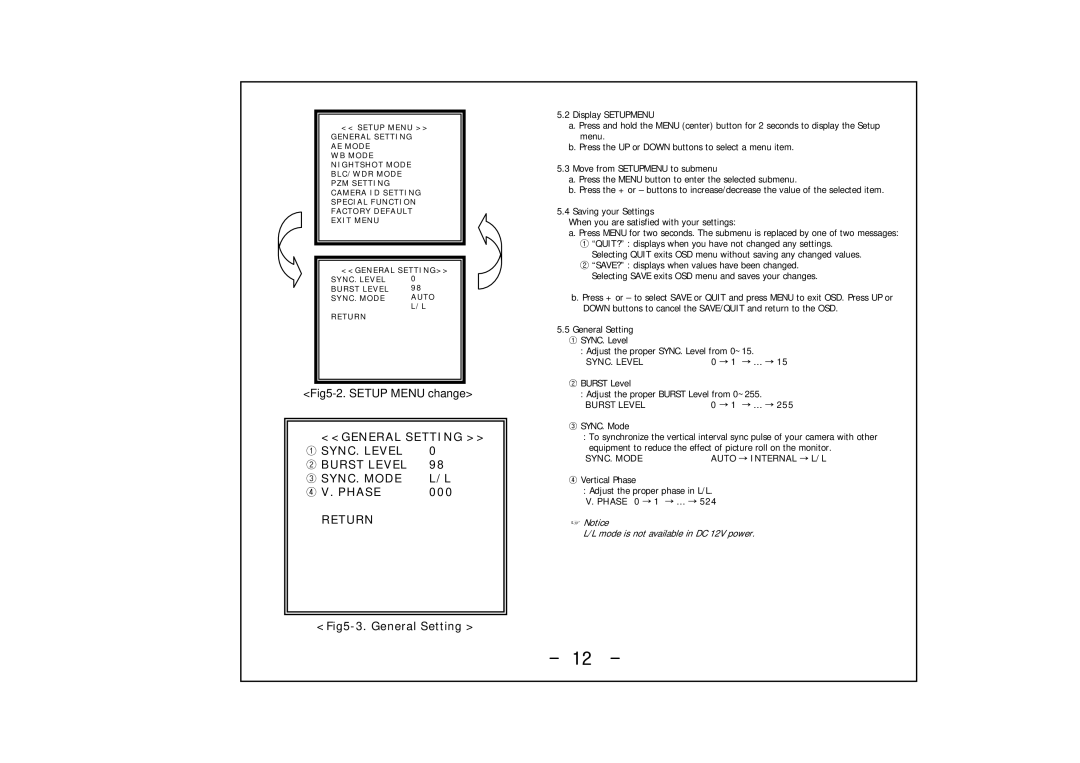
<<SETUP MENU >> GENERAL SETTING AE MODE
WB MODE NIGHTSHOT MODE BLC/WDR MODE PZM SETTING CAMERA ID SETTING SPECIAL FUNCTION FACTORY DEFAULT EXIT MENU
<<GENERAL SETTING>>
SYNC. LEVEL | 0 |
BURST LEVEL | 98 |
SYNC. MODE | AUTO |
| L/L |
RETURN |
|
<<GENERAL SETTING >>
① SYNC. LEVEL | 0 |
② BURST LEVEL | 98 |
③ SYNC. MODE | L/L |
④ V. PHASE | 000 |
RETURN
<Fig5-3. General Setting >
5.2Display SETUPMENU
a.Press and hold the MENU (center) button for 2 seconds to display the Setup menu.
b.Press the UP or DOWN buttons to select a menu item.
5.3Move from SETUPMENU to submenu
a.Press the MENU button to enter the selected submenu.
b.Press the + or – buttons to increase/decrease the value of the selected item.
5.4Saving your Settings
When you are satisfied with your settings:
a. Press MENU for two seconds. The submenu is replaced by one of two messages:
①“QUIT?” : displays when you have not changed any settings.
Selecting QUIT exits OSD menu without saving any changed values.
②“SAVE?” : displays when values have been changed. Selecting SAVE exits OSD menu and saves your changes.
b.Press + or – to select SAVE or QUIT and press MENU to exit OSD. Press UP or DOWN buttons to cancel the SAVE/QUIT and return to the OSD.
5.5General Setting
①SYNC. Level
: Adjust the proper SYNC. Level from 0~15.
SYNC. LEVEL | 0 → 1 → … → 15 |
②BURST Level
: Adjust the proper BURST Level from 0~255.
BURST LEVEL | 0 → 1 → … → 255 |
③SYNC. Mode
:To synchronize the vertical interval sync pulse of your camera with other equipment to reduce the effect of picture roll on the monitor.
SYNC. MODE | AUTO → INTERNAL → L/L |
④Vertical Phase
:Adjust the proper phase in L/L.
V. PHASE 0 → 1 → … → 524
☞Notice
L/L mode is not available in DC 12V power.
- 12 -