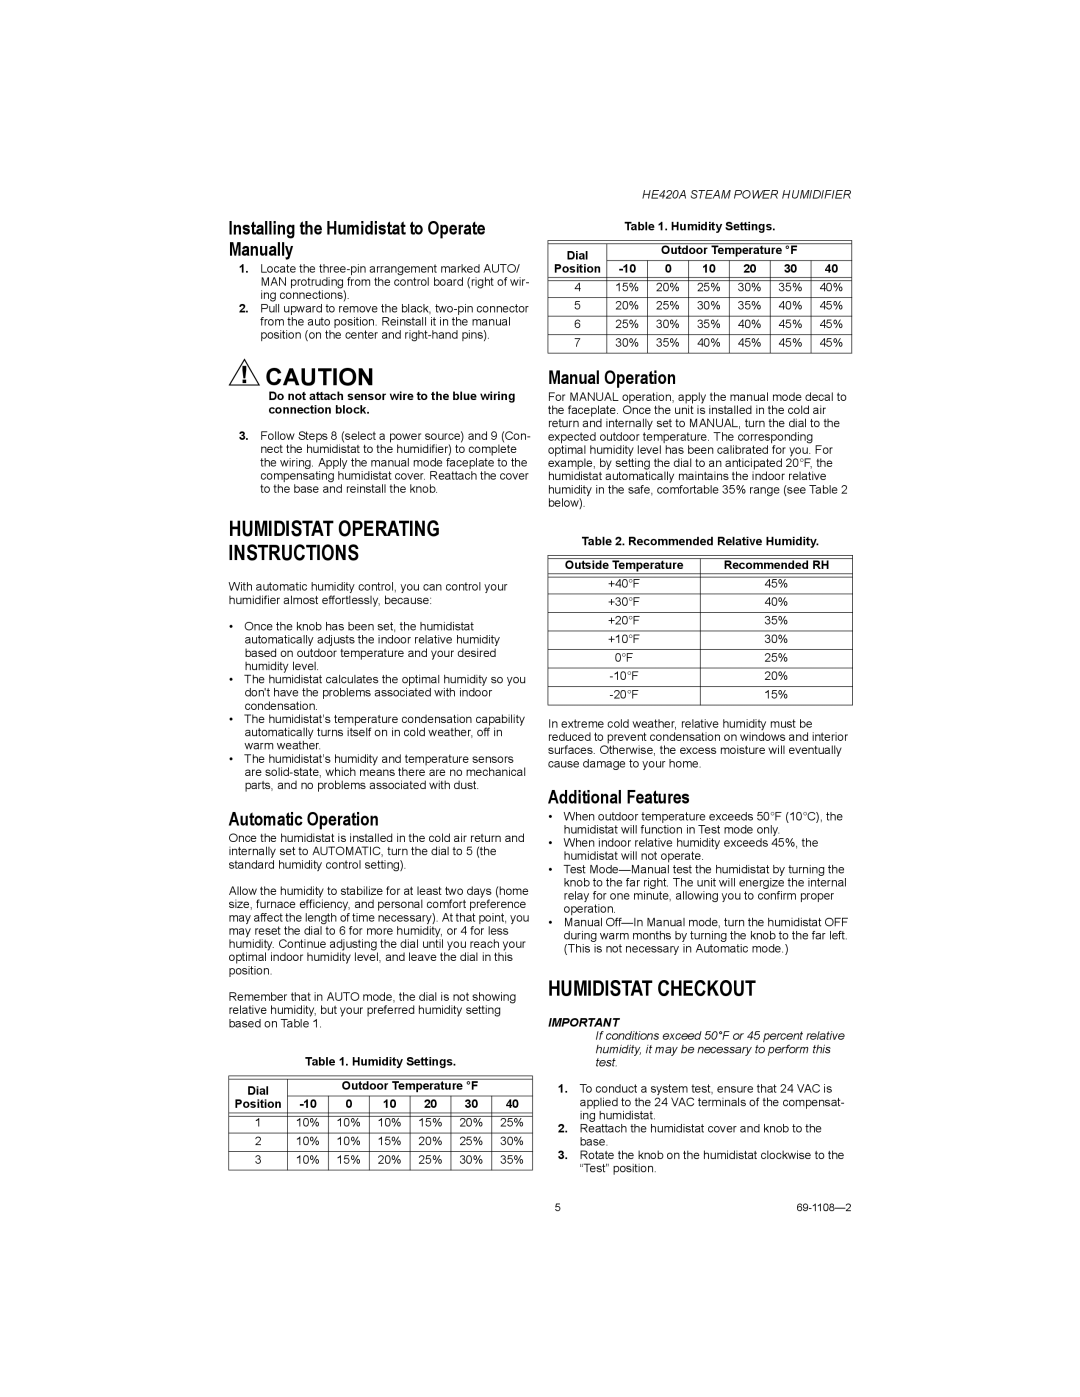
HE420A specifications
The Honeywell HE420A is a versatile and efficient whole-home humidification system designed for residential use. This unit is particularly noteworthy for its ability to enhance indoor air quality by adding moisture to the air, thus alleviating the discomfort associated with dry air in the home. With its advanced features and technologies, the HE420A stands out in the realm of humidifiers.One of the key features of the HE420A is its evaporative technology. Unlike some humidifiers that simply spray water into the air, the HE420A uses a specially designed evaporative pad to absorb moisture. As air passes over the pad, it picks up humidity and distributes it evenly throughout the home. This mechanism not only ensures a consistent and comfortable humidity level but also helps to prevent the growth of mold and bacteria, common problems associated with overly wet environments.
The HE420A is designed for easy integration with existing HVAC systems, making it a practical choice for homeowners looking to enhance their indoor comfort without the need for additional equipment. The unit typically covers an area of up to 4,200 square feet, making it suitable for larger homes. Its capacity to deliver significant moisture output—up to 17 gallons per day—ensures that even during the driest winter months, residents can maintain a healthy humidity level.
Installation and maintenance are also user-friendly with the HE420A. The system features a built-in water panel and a user-friendly control panel that allows homeowners to easily monitor and adjust humidity levels according to their preferences. Additionally, the digital humidistat ensures accurate humidity readings and responds to fluctuations in the home environment, promoting energy efficiency.
Energy efficiency is another hallmark of the Honeywell HE420A. The unit operates quietly and consumes minimal energy, making it an environmentally friendly option that also helps reduce utility bills. It is equipped with features that optimize water usage and minimize waste, aligning with modern sustainability goals.
In summary, the Honeywell HE420A is an exemplary whole-home humidifier that combines effective humidification technology with easy installation and user-friendly features. Its evaporative design, generous coverage area, and energy-efficient operation make it an excellent choice for homeowners seeking to improve their indoor air quality and comfort. By incorporating the HE420A into their HVAC system, families can enjoy the benefits of balanced humidity levels year-round.
