HMLCD19 specifications
The Honeywell HMLCD19 is a cutting-edge device that has gained recognition for its robust features and innovative technologies. Designed primarily for industrial and commercial applications, this LCD monitor integrates advanced functionalities to meet the rigorous demands of various environments.At the core of the HMLCD19 is its 19-inch LCD display, which boasts a high resolution and exceptional color accuracy. This ensures that users can view crucial information with clarity, whether it’s for monitoring, system control, or data analysis. The bright screen enhances visibility in different lighting conditions, making it suitable for both well-lit and dimly lit settings.
One of the standout features of the HMLCD19 is its rugged build quality. Constructed to withstand harsh conditions, this monitor is resistant to dust and moisture, making it ideal for use in factories, warehouses, and outdoor environments. The device is built to comply with strict industrial standards, which enhances its reliability and longevity.
The HMLCD19 incorporates advanced connectivity options, allowing for seamless integration with other equipment. It supports multiple input interfaces, including HDMI, VGA, and DisplayPort, ensuring compatibility with various devices. This versatility allows users to connect the monitor to PCs, cameras, and other multimedia devices without any hassle.
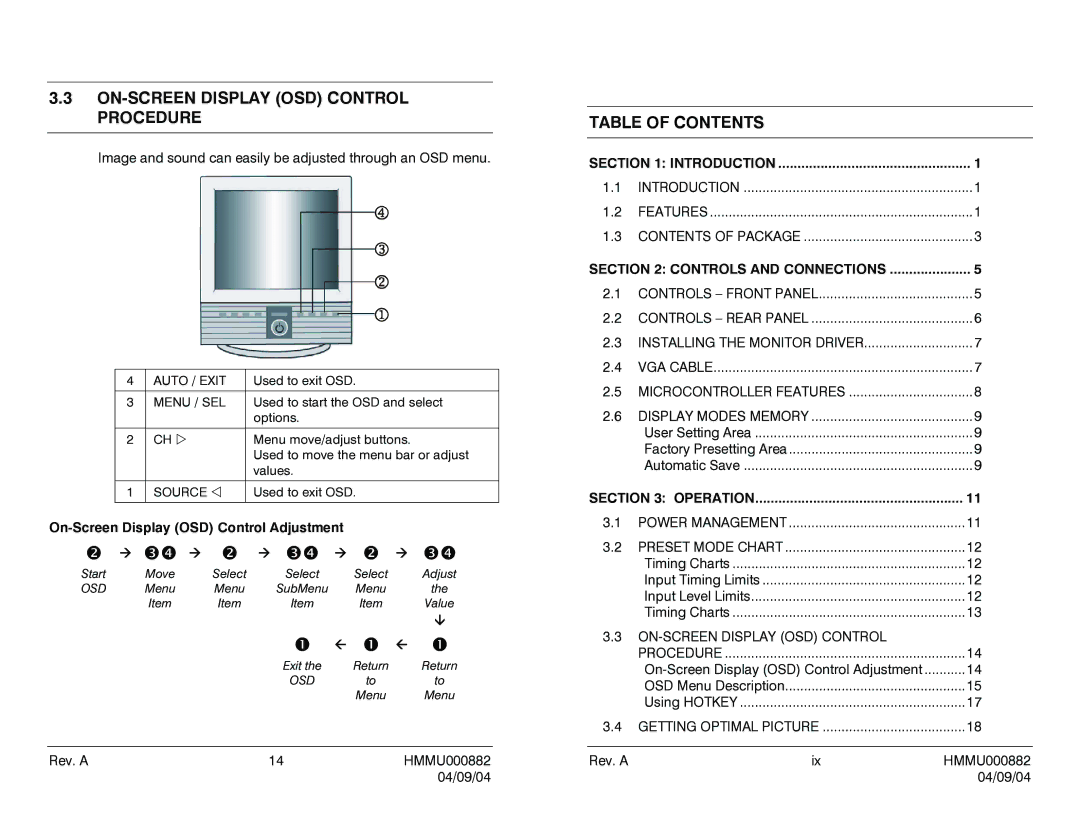
Another notable characteristic of the Honeywell HMLCD19 is its user-friendly interface. The monitor is designed with intuitive controls, enabling quick adjustments to settings such as brightness, contrast, and color calibration. This ease of use is essential for personnel who need to operate the monitor efficiently during crucial tasks.
Additionally, the HMLCD19 features energy-efficient technologies that minimize power consumption. This not only supports sustainable practices but also reduces operational costs for businesses. The monitor is designed to operate reliably over extended periods, ensuring that users can depend on it for long shifts without worrying about overheating or power issues.
In conclusion, the Honeywell HMLCD19 combines cutting-edge technology, rugged durability, and user-friendly features, making it a preferred choice for professionals in demanding environments. Whether it’s for monitoring systems in a factory or displaying critical data in a control room, the HMLCD19 excels in performance and reliability. Its innovative design and robust functionality not only enhance efficiency but also contribute to the overall productivity of operations where it is deployed.

