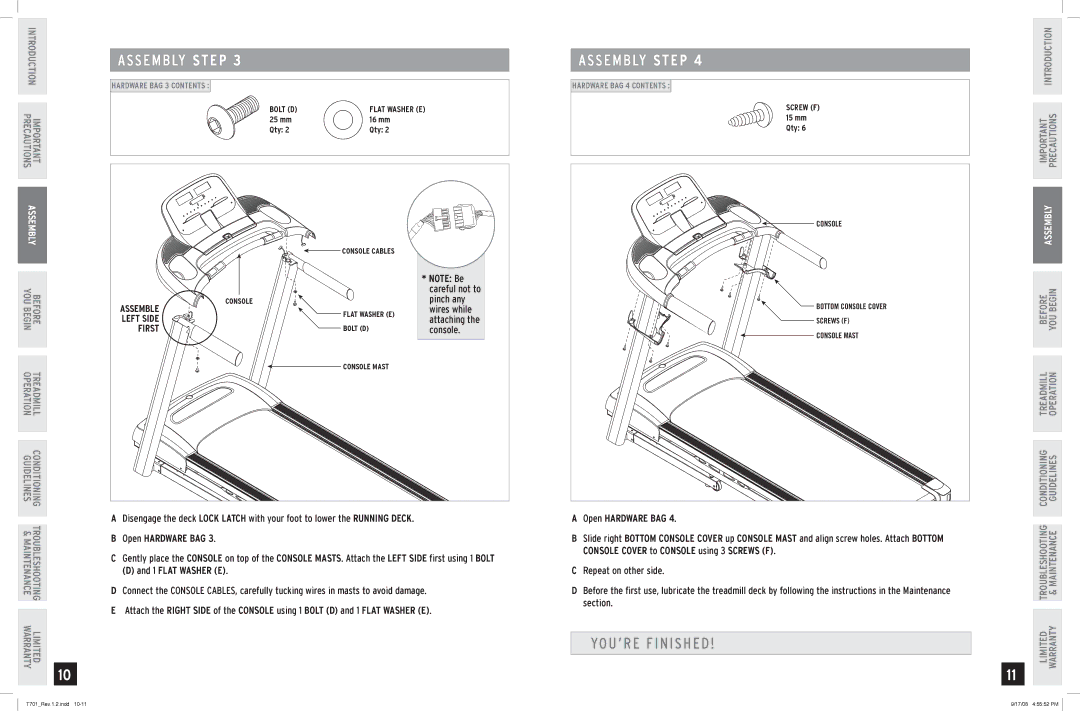
T701 specifications
Horizon Fitness T701 is an advanced treadmill designed for home use, making it one of the most popular choices for fitness enthusiasts and beginners alike. This treadmill offers a balanced combination of performance, durability, and innovative technology, making it an ideal addition to any home gym.One of the main features of the T701 is its robust 2.75 HP motor, which supports a maximum speed of 10 mph. This ensures a smooth and powerful workout experience, catering to users who prefer walking, jogging, or running. The incline capability of the treadmill enhances workout intensity, with a maximum incline of 10%. This feature enables users to target different muscle groups and increases calorie burn.
The T701 is equipped with a spacious running surface measuring 20" x 60". This generous deck size provides ample space for the user to maintain their stride comfortably while reducing the risk of injury. The treadmill also incorporates the Horizon Fitness exclusive 3-Zone Variable Response Cushioning system. This cushioning technology offers a firm surface for effective push-off and a softer landing, enhancing comfort during extended workouts.
In terms of technology, the T701 features a user-friendly console that includes a clear LED display. The console provides real-time data such as time, distance, calories burned, pace, and heart rate, allowing users to track their progress easily. Additionally, it includes built-in speakers with Bluetooth connectivity, enabling users to listen to their favorite music or podcasts while working out.
The treadmill also prioritizes user convenience with features such as a Quick Dial console that allows users to adjust their speed and incline settings effortlessly. It is compatible with mobile apps for further enhanced tracking and workout planning. For added safety, the T701 is equipped with an emergency stop key, ensuring that users can quickly cease their workout if needed.
Furthermore, the treadmill is designed for easy storage with a space-saving folding mechanism. This feature is particularly valuable for those with limited space, allowing users to fold it vertically and store it out of the way when not in use.
Overall, the Horizon Fitness T701 treadmill stands out with its combination of powerful performance, advanced cushioning technology, user-friendly features, and compact design, making it an excellent choice for anyone looking to elevate their fitness routine from the comfort of their home. Whether for casual walking or serious running, the T701 is built to meet a diverse range of fitness needs.

