Installation...
CONNECT TO THE WATER SUPPLY...
●For your machine to operate correctly it requires water pressures in the range of
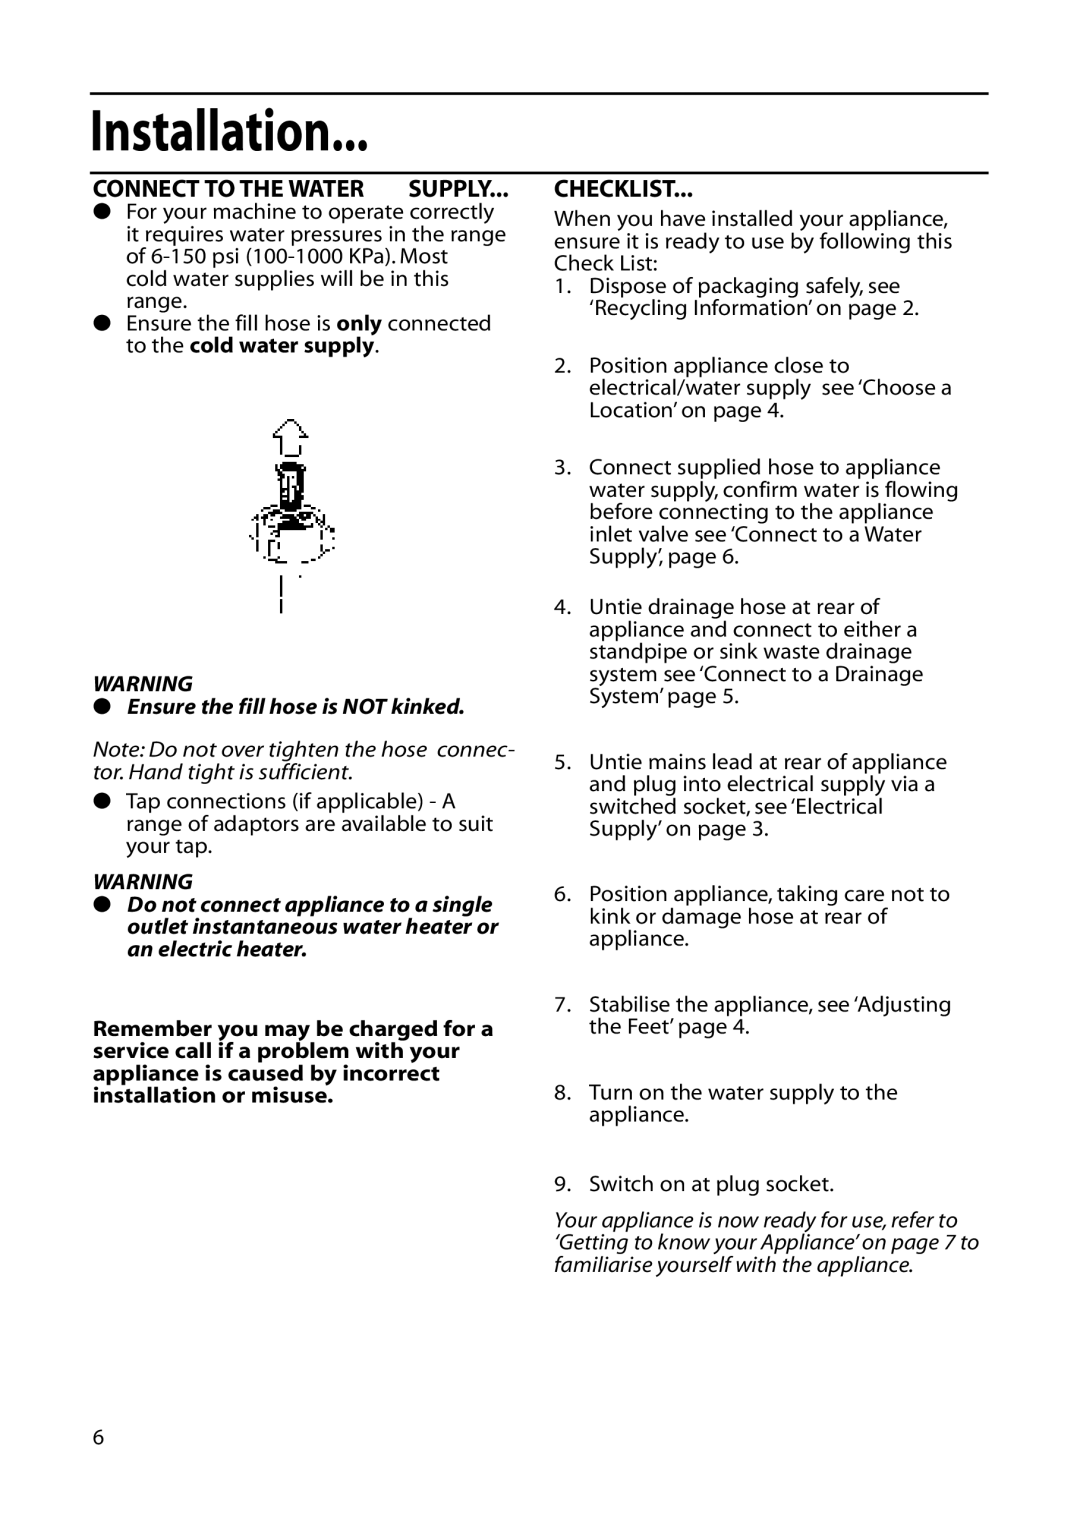
●Ensure the fill hose is only connected to the cold water supply.
WARNING
●Ensure the fill hose is NOT kinked.
Note: Do not over tighten the hose connec- tor. Hand tight is sufficient.
●Tap connections (if applicable) - A range of adaptors are available to suit your tap.
WARNING
●Do not connect appliance to a single outlet instantaneous water heater or an electric heater.
Remember you may be charged for a service call if a problem with your appliance is caused by incorrect installation or misuse.
CHECKLIST...
When you have installed your appliance, ensure it is ready to use by following this Check List:
1.Dispose of packaging safely, see ‘Recycling Information’ on page 2.
2.Position appliance close to electrical/water supply see ‘Choose a Location’ on page 4.
3.Connect supplied hose to appliance water supply, confirm water is flowing before connecting to the appliance inlet valve see ‘Connect to a Water Supply’, page 6.
4.Untie drainage hose at rear of appliance and connect to either a standpipe or sink waste drainage system see ‘Connect to a Drainage System’ page 5.
5.Untie mains lead at rear of appliance and plug into electrical supply via a switched socket, see ‘Electrical Supply’ on page 3.
6.Position appliance, taking care not to kink or damage hose at rear of appliance.
7.Stabilise the appliance, see ‘Adjusting the Feet’ page 4.
8.Turn on the water supply to the appliance.
9.Switch on at plug socket.
Your appliance is now ready for use, refer to ‘Getting to know your Appliance’ on page 7 to familiarise yourself with the appliance.
6
