Replacement Parts
Safety Instructions
If replacement parts are needed for your dryer, visit Hotpoint.com, or call GE Parts and Accessories
at 800.626.2002 or contact an authorized parts supplier.
![]() WARNING: Destroy the carton and plastic bags after the dryer is unpacked. Children might use them for play. Cartons covered with rugs, bedspreads or plastic sheets can become airtight chambers causing suffocation. Place all materials in a garbage container or make materials inaccessible
WARNING: Destroy the carton and plastic bags after the dryer is unpacked. Children might use them for play. Cartons covered with rugs, bedspreads or plastic sheets can become airtight chambers causing suffocation. Place all materials in a garbage container or make materials inaccessible
to children.
WARNING: The instructions in the manual and all other literature included with this dryer are not meant to cover every possible condition and situation that may occur. Good safe practice and caution MUST be applied when installing, operating and maintaining any appliance.
Operating Instructions
Reversing the Dryer Door Swing
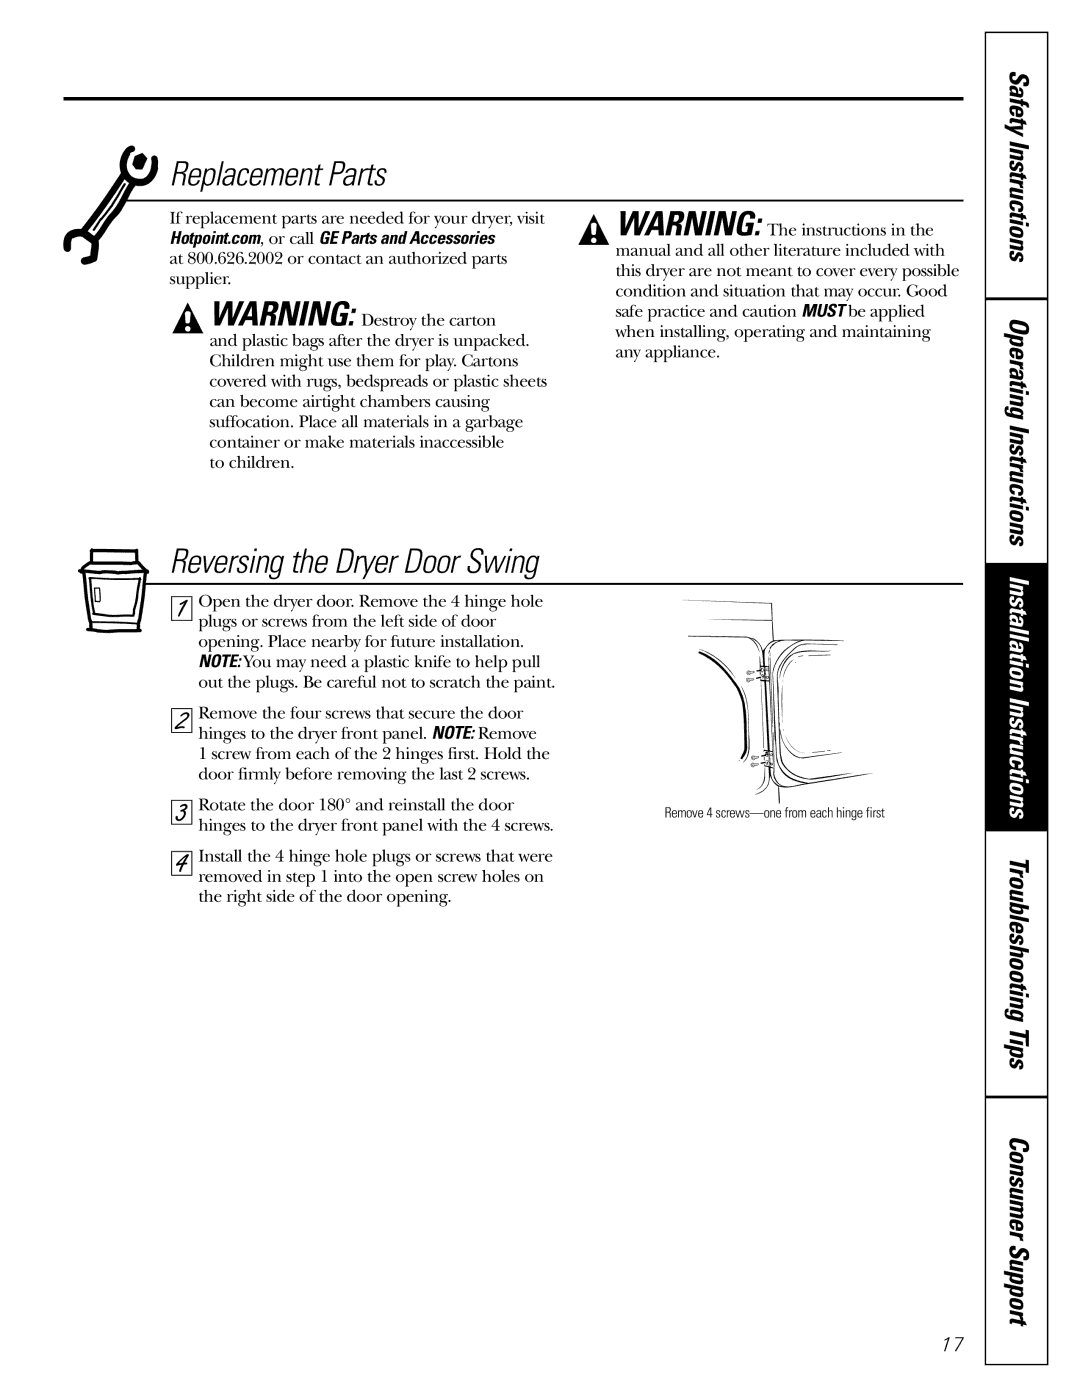
| Open the dryer door. Remove the 4 hinge hole |
| |
1 |
| ||
plugs or screws from the left side of door |
| ||
|
| ||
| opening. Place nearby for future installation. |
| |
| NOTE: You may need a plastic knife to help pull |
| |
| out the plugs. Be careful not to scratch the paint. |
| |
| Remove the four screws that secure the door |
| |
2 |
| ||
hinges to the dryer front panel. NOTE: Remove |
| ||
|
| ||
| 1 screw from each of the 2 hinges first. Hold the |
| |
| door firmly before removing the last 2 screws. |
| |
| Rotate the door 180° and reinstall the door |
| |
3 | Remove 4 | ||
hinges to the dryer front panel with the 4 screws. | |||
| |||
|
| ||
| Install the 4 hinge hole plugs or screws that were |
| |
4 |
| ||
removed in step 1 into the open screw holes on |
| ||
|
|
the right side of the door opening.
17
Installation Instructions Troubleshooting Tips Consumer Support