17-e020us E0J81UAABA, 17 E0J75UA, 17-e010US E0J61UA#ABA, 17 E0J92UAABA, 17 E0J83UAABA specifications
The HP 17 series of laptops, including the models E0J83UAABA, E0J92UAABA, E0J61UA#ABA, E0J75UA, and E0J81UAABA, is designed to provide a powerful and versatile computing experience for users seeking an efficient workstation or entertainment device. With their distinct features and characteristic designs, these laptops cater to diverse needs, from everyday tasks to multimedia consumption.One of the main features across the HP 17 series is the impressive display. These models typically boast a 17.3-inch diagonal screen that offers full HD resolution, ensuring vibrant visuals and crisp images. The large screen size is particularly suited for those who engage in activities such as photo editing, graphic design, or movie streaming, as it provides an immersive experience.
In terms of performance, these laptops are equipped with various Intel Core processors, which deliver robust processing power. Users can expect seamless multitasking capabilities, whether running complex applications or managing multiple browser tabs. Complementing the processors is a generous amount of RAM, typically starting from 8GB, allowing for efficient performance in various tasks, from work-related projects to entertainment needs.
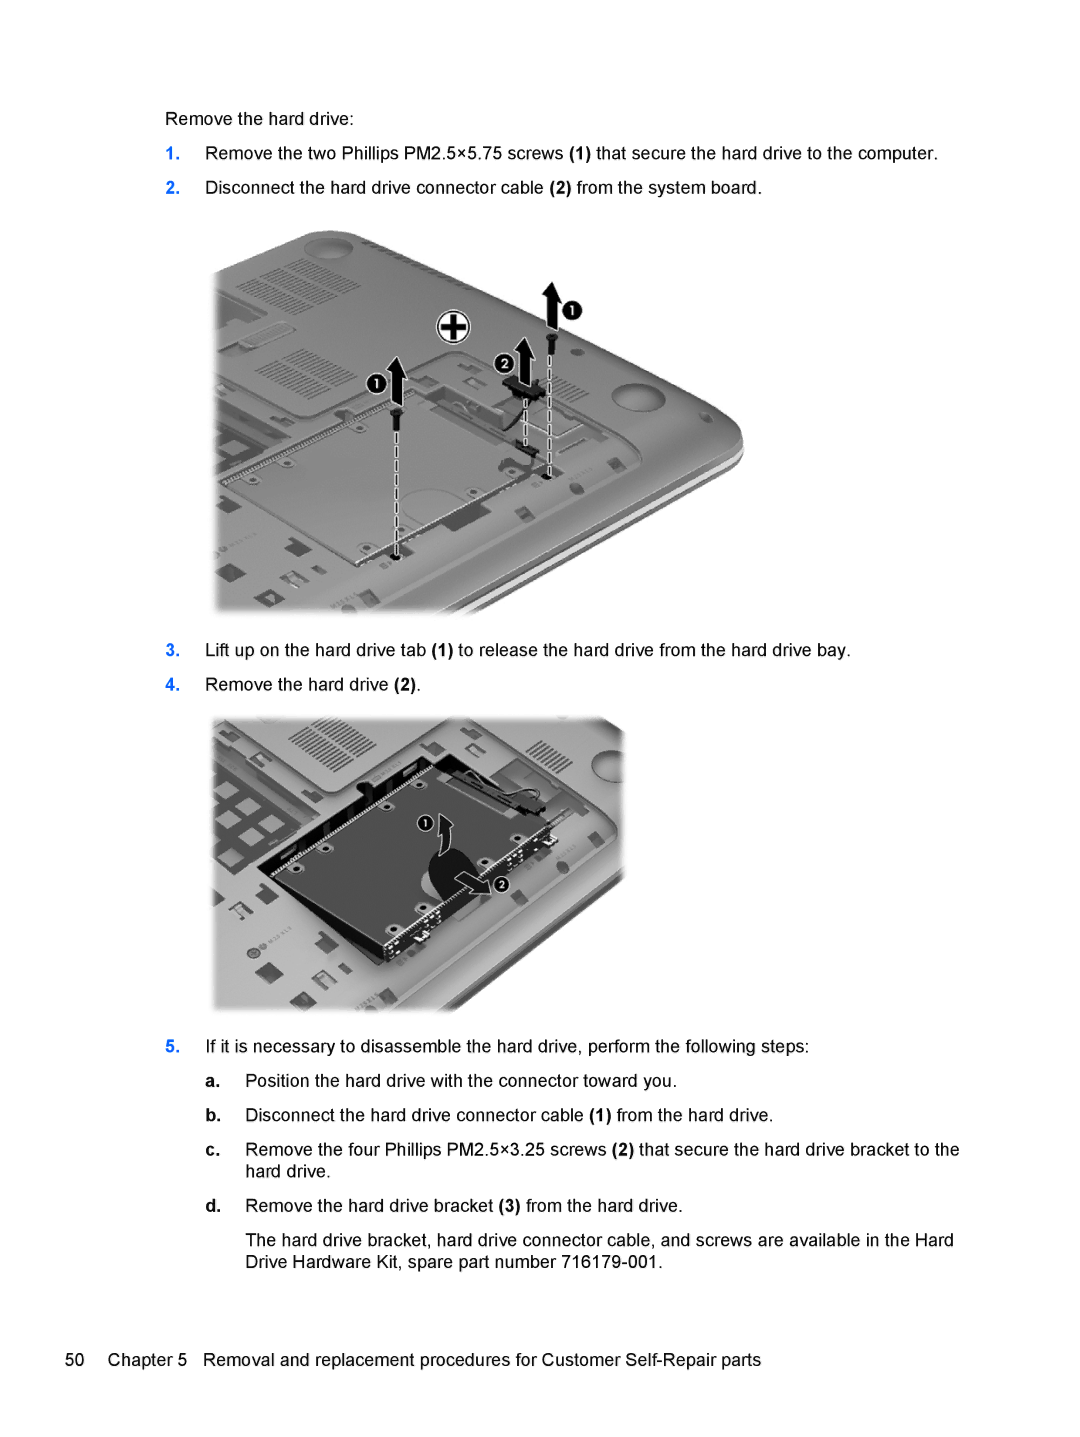
Storage options are another strong suit of the HP 17 series. Many models offer a combination of solid-state drives (SSD) and traditional hard drives (HDD). SSDs provide faster boot times and quick access to files, while HDDs offer substantial storage capacity for multimedia content, documents, and applications. This hybrid approach enables users to experience the best of both worlds.
Connectivity options are plentiful, as these laptops come with multiple USB ports, HDMI output, and an SD card reader, allowing users to connect external devices seamlessly. Additionally, they typically feature Wi-Fi and Bluetooth capabilities, ensuring that users can stay connected to the internet and other devices effortlessly.
The HP 17 series also places a strong emphasis on audio quality, featuring integrated speakers tuned with HP Audio Boost technology, providing enhanced sound for music, movies, and video calls.
Lastly, the design of the HP 17 laptops is both stylish and functional, with a full-sized keyboard featuring a numeric keypad, which is a bonus for users who frequently handle numerical data. Overall, the HP 17 E0J83UAABA, E0J92UAABA, E0J61UA#ABA, E0J75UA, and E0J81UAABA models present a well-rounded solution for users seeking performance, reliability, and an enjoyable multimedia experience.

