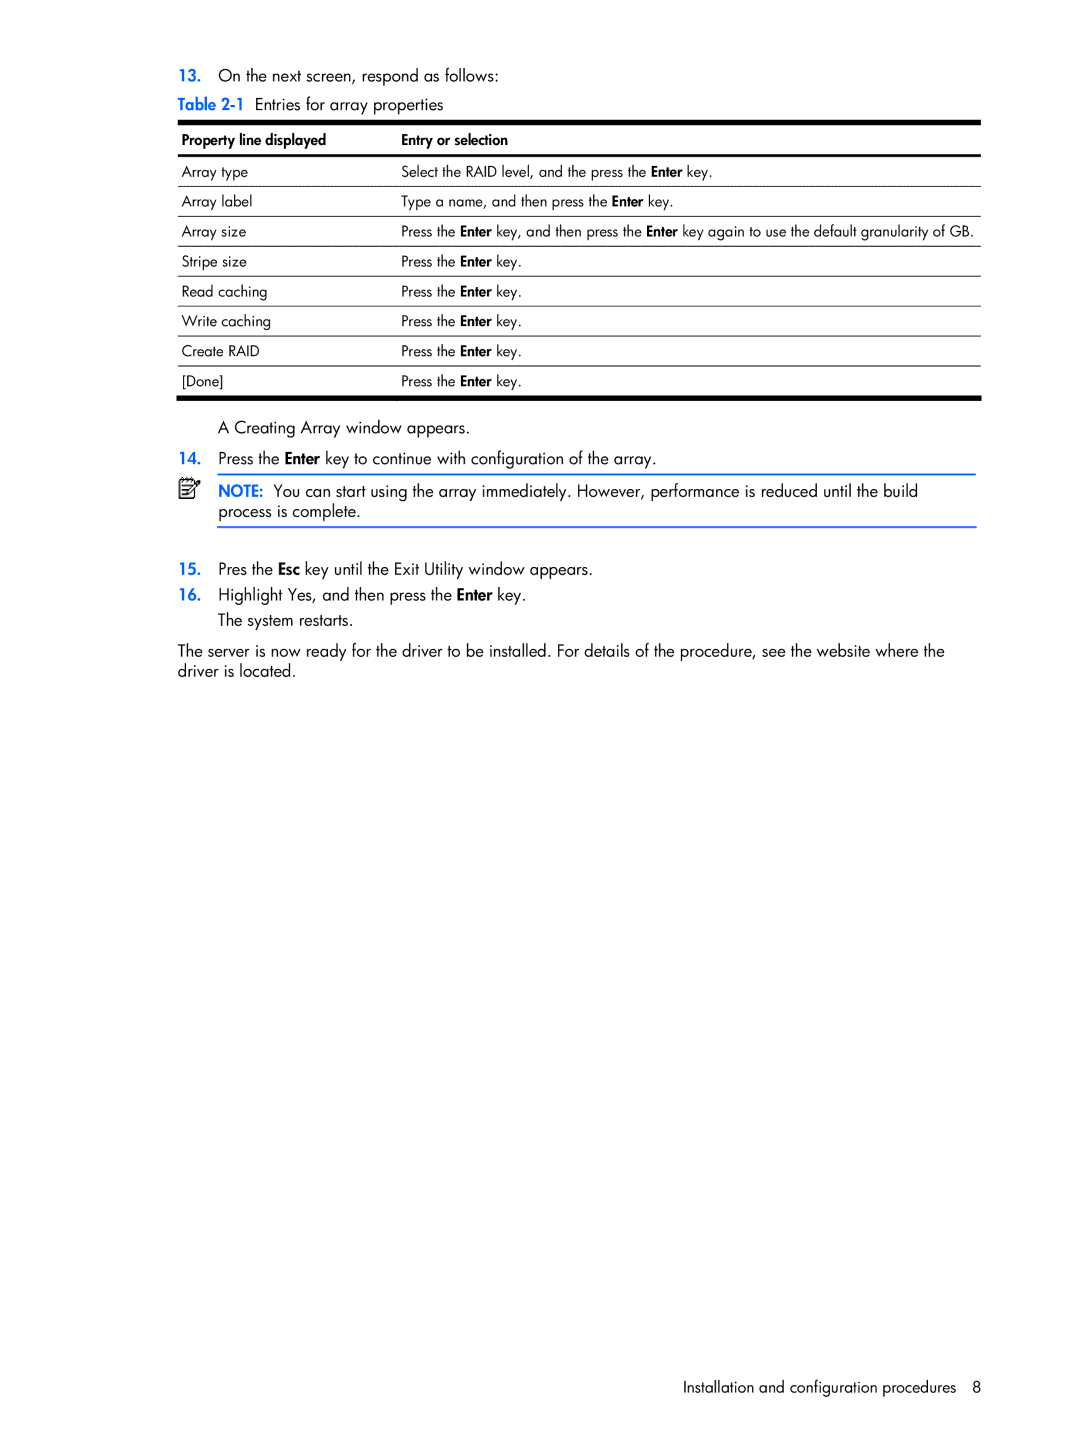
13.On the next screen, respond as follows:
Table
Property line displayed | Entry or selection |
|
|
Array type | Select the RAID level, and the press the Enter key. |
|
|
Array label | Type a name, and then press the Enter key. |
|
|
Array size | Press the Enter key, and then press the Enter key again to use the default granularity of GB. |
|
|
Stripe size | Press the Enter key. |
|
|
Read caching | Press the Enter key. |
|
|
Write caching | Press the Enter key. |
|
|
Create RAID | Press the Enter key. |
|
|
[Done] | Press the Enter key. |
|
|
A Creating Array window appears.
14.Press the Enter key to continue with configuration of the array.
NOTE: You can start using the array immediately. However, performance is reduced until the build process is complete.
15.Pres the Esc key until the Exit Utility window appears.
16.Highlight Yes, and then press the Enter key. The system restarts.
The server is now ready for the driver to be installed. For details of the procedure, see the website where the driver is located.
