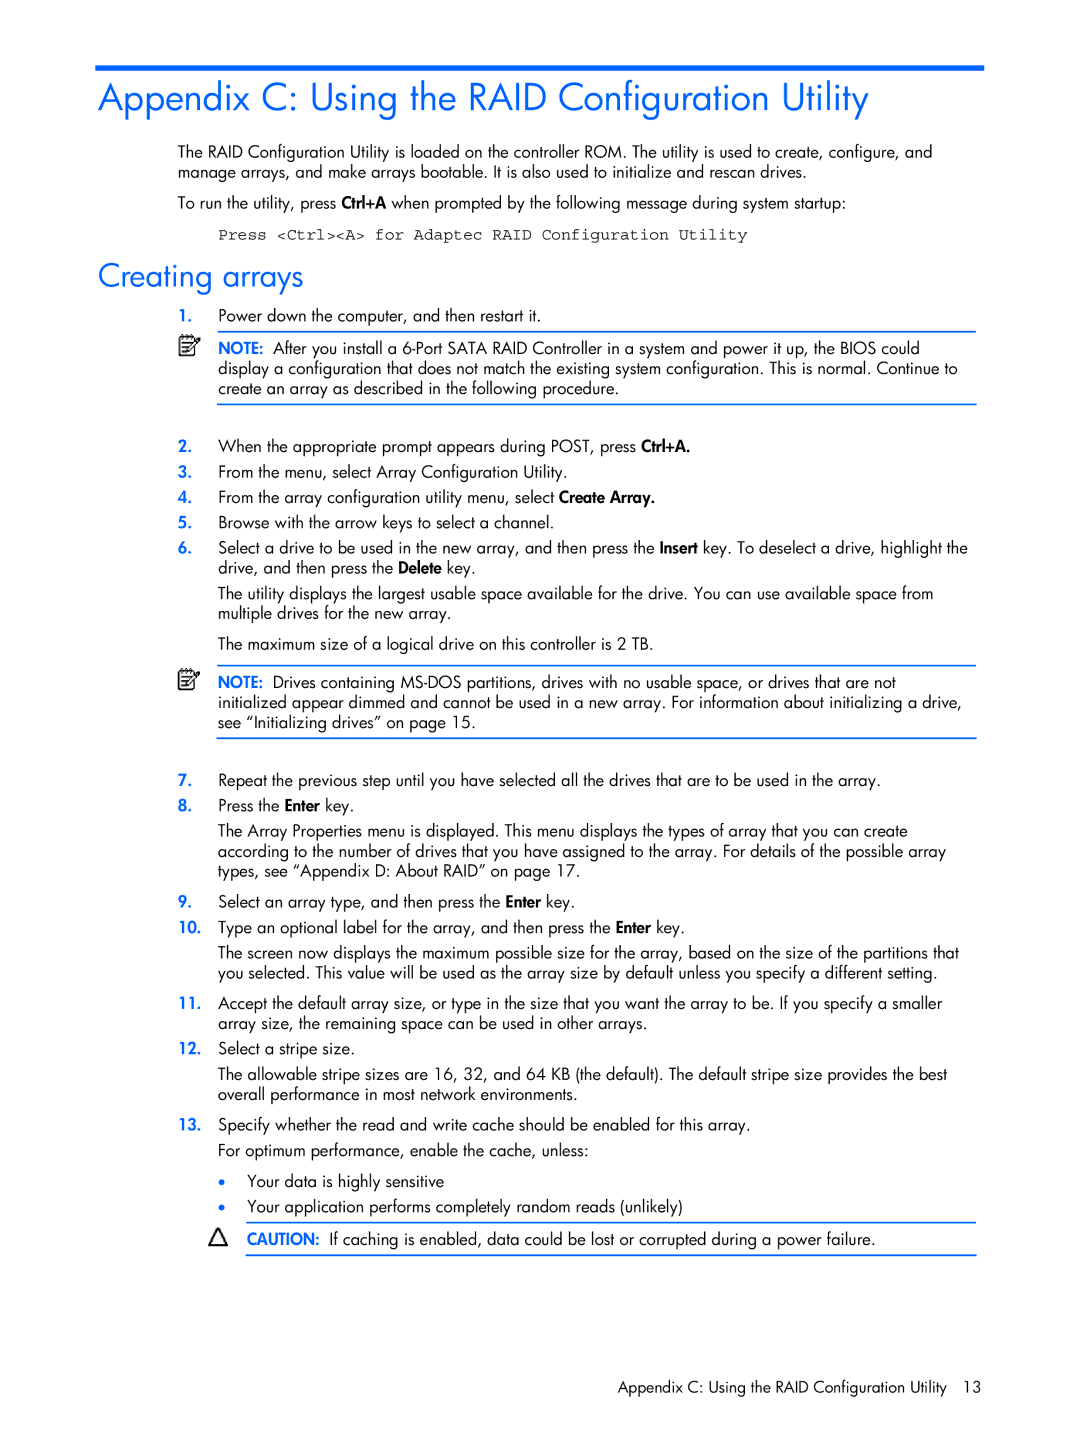
Appendix C: Using the RAID Configuration Utility
The RAID Configuration Utility is loaded on the controller ROM. The utility is used to create, configure, and manage arrays, and make arrays bootable. It is also used to initialize and rescan drives.
To run the utility, press Ctrl+A when prompted by the following message during system startup:
Press <Ctrl><A> for Adaptec RAID Configuration Utility
Creating arrays
1.Power down the computer, and then restart it.
NOTE: After you install a
2.When the appropriate prompt appears during POST, press Ctrl+A.
3.From the menu, select Array Configuration Utility.
4.From the array configuration utility menu, select Create Array.
5.Browse with the arrow keys to select a channel.
6.Select a drive to be used in the new array, and then press the Insert key. To deselect a drive, highlight the drive, and then press the Delete key.
The utility displays the largest usable space available for the drive. You can use available space from multiple drives for the new array.
The maximum size of a logical drive on this controller is 2 TB.
NOTE: Drives containing
7.Repeat the previous step until you have selected all the drives that are to be used in the array.
8.Press the Enter key.
The Array Properties menu is displayed. This menu displays the types of array that you can create according to the number of drives that you have assigned to the array. For details of the possible array types, see “Appendix D: About RAID” on page 17.
9.Select an array type, and then press the Enter key.
10.Type an optional label for the array, and then press the Enter key.
The screen now displays the maximum possible size for the array, based on the size of the partitions that you selected. This value will be used as the array size by default unless you specify a different setting.
11.Accept the default array size, or type in the size that you want the array to be. If you specify a smaller array size, the remaining space can be used in other arrays.
12.Select a stripe size.
The allowable stripe sizes are 16, 32, and 64 KB (the default). The default stripe size provides the best overall performance in most network environments.
13.Specify whether the read and write cache should be enabled for this array. For optimum performance, enable the cache, unless:
•Your data is highly sensitive
•Your application performs completely random reads (unlikely)
CAUTION: If caching is enabled, data could be lost or corrupted during a power failure.
Appendix C: Using the RAID Configuration Utility 13
