HP 3586A, B, C manual Setting and Measuring Frequency

Models: B 3586A C

1 37
Download 37 pages 24.91 Kb
Page 11
Image 11

5.SETTING AND MEASURING FREQUENCY

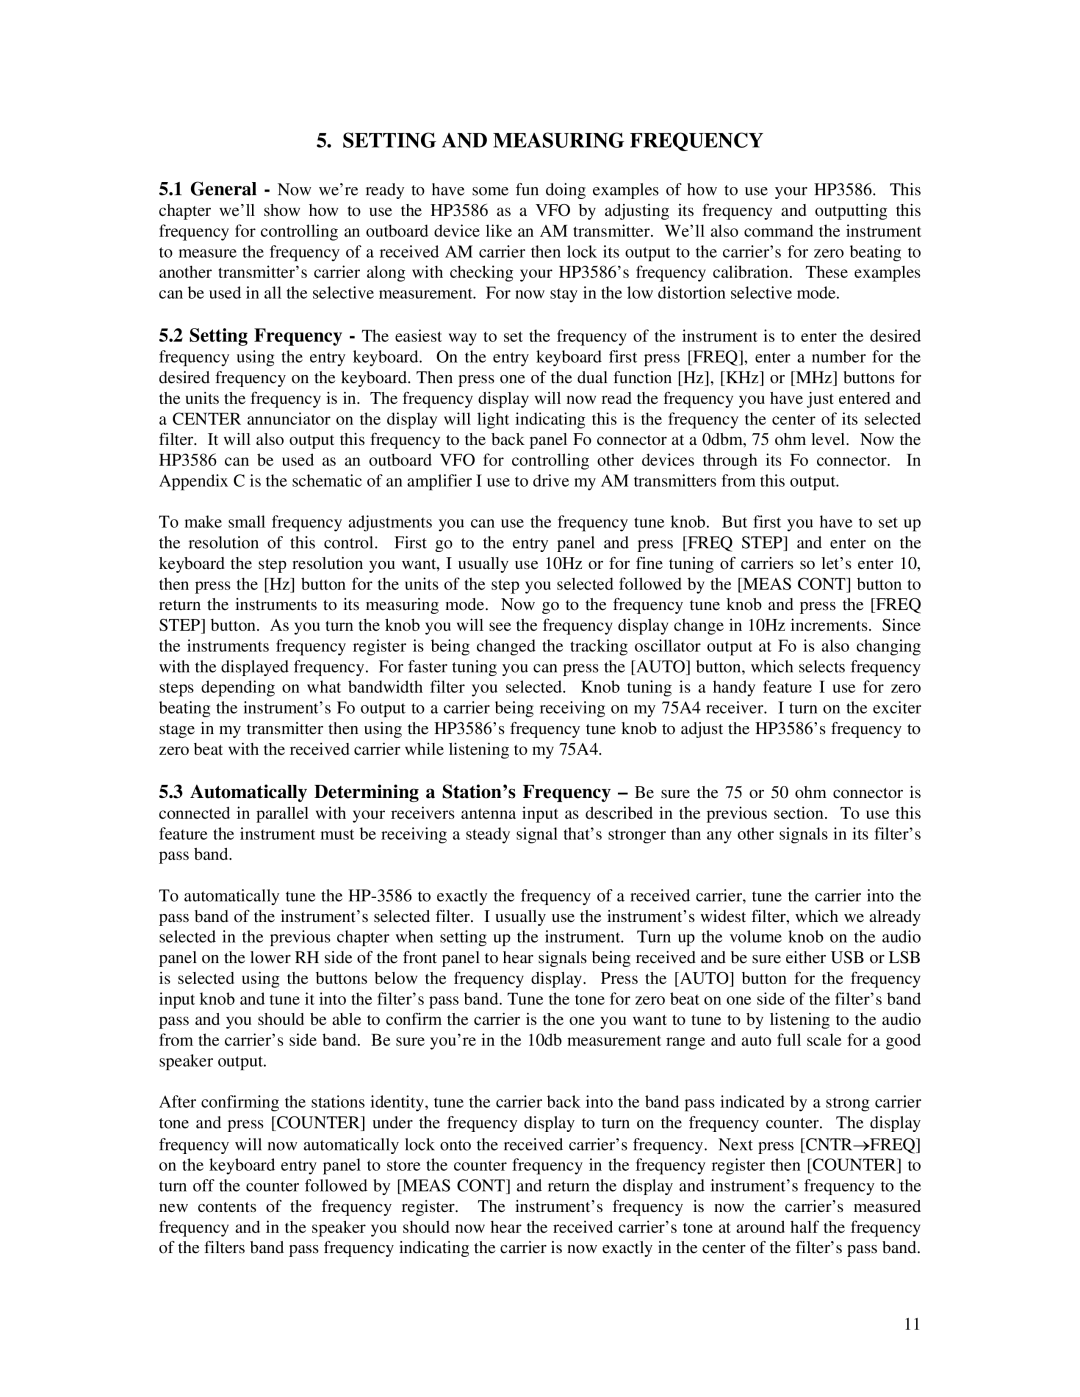
5.1General - Now we’re ready to have some fun doing examples of how to use your HP3586. This chapter we’ll show how to use the HP3586 as a VFO by adjusting its frequency and outputting this frequency for controlling an outboard device like an AM transmitter. We’ll also command the instrument to measure the frequency of a received AM carrier then lock its output to the carrier’s for zero beating to another transmitter’s carrier along with checking your HP3586’s frequency calibration. These examples can be used in all the selective measurement. For now stay in the low distortion selective mode.

5.2Setting Frequency - The easiest way to set the frequency of the instrument is to enter the desired frequency using the entry keyboard. On the entry keyboard first press [FREQ], enter a number for the desired frequency on the keyboard. Then press one of the dual function [Hz], [KHz] or [MHz] buttons for the units the frequency is in. The frequency display will now read the frequency you have just entered and a CENTER annunciator on the display will light indicating this is the frequency the center of its selected filter. It will also output this frequency to the back panel Fo connector at a 0dbm, 75 ohm level. Now the HP3586 can be used as an outboard VFO for controlling other devices through its Fo connector. In Appendix C is the schematic of an amplifier I use to drive my AM transmitters from this output.

To make small frequency adjustments you can use the frequency tune knob. But first you have to set up the resolution of this control. First go to the entry panel and press [FREQ STEP] and enter on the keyboard the step resolution you want, I usually use 10Hz or for fine tuning of carriers so let’s enter 10, then press the [Hz] button for the units of the step you selected followed by the [MEAS CONT] button to return the instruments to its measuring mode. Now go to the frequency tune knob and press the [FREQ STEP] button. As you turn the knob you will see the frequency display change in 10Hz increments. Since the instruments frequency register is being changed the tracking oscillator output at Fo is also changing with the displayed frequency. For faster tuning you can press the [AUTO] button, which selects frequency steps depending on what bandwidth filter you selected. Knob tuning is a handy feature I use for zero beating the instrument’s Fo output to a carrier being receiving on my 75A4 receiver. I turn on the exciter stage in my transmitter then using the HP3586’s frequency tune knob to adjust the HP3586’s frequency to zero beat with the received carrier while listening to my 75A4.

5.3Automatically Determining a Station’s Frequency – Be sure the 75 or 50 ohm connector is connected in parallel with your receivers antenna input as described in the previous section. To use this feature the instrument must be receiving a steady signal that’s stronger than any other signals in its filter’s pass band.

To automatically tune the HP-3586 to exactly the frequency of a received carrier, tune the carrier into the pass band of the instrument’s selected filter. I usually use the instrument’s widest filter, which we already selected in the previous chapter when setting up the instrument. Turn up the volume knob on the audio panel on the lower RH side of the front panel to hear signals being received and be sure either USB or LSB is selected using the buttons below the frequency display. Press the [AUTO] button for the frequency input knob and tune it into the filter’s pass band. Tune the tone for zero beat on one side of the filter’s band pass and you should be able to confirm the carrier is the one you want to tune to by listening to the audio from the carrier’s side band. Be sure you’re in the 10db measurement range and auto full scale for a good speaker output.

After confirming the stations identity, tune the carrier back into the band pass indicated by a strong carrier tone and press [COUNTER] under the frequency display to turn on the frequency counter. The display frequency will now automatically lock onto the received carrier’s frequency. Next press [CNTRFREQ] on the keyboard entry panel to store the counter frequency in the frequency register then [COUNTER] to turn off the counter followed by [MEAS CONT] and return the display and instrument’s frequency to the new contents of the frequency register. The instrument’s frequency is now the carrier’s measured frequency and in the speaker you should now hear the received carrier’s tone at around half the frequency of the filters band pass frequency indicating the carrier is now exactly in the center of the filter’s pass band.

11

Page 11
Image 11
HP 3586A, B, C manual Setting and Measuring Frequency

B, 3586A, C specifications

The HP C3586A and C3586B tape drives are notable components in the realm of data storage solutions, primarily designed for enterprise-class environments. These SCSI (Small Computer System Interface) tape drives are regarded for their efficiency, reliability, and capacity to meet the growing demands of data backup and archival processes in businesses.

The C3586A model utilizes the DAT (Digital Audio Tape) technology, which allows it to deliver high performance and high data density. It features a native capacity of 2.3 GB per cartridge, which can be extended to 4.6 GB with the use of compression. This is particularly advantageous for businesses requiring significant amounts of data storage without the necessity for multiple tapes. The transfer rate is rated at up to 12 MB per minute, which ensures quick backups and restores, minimizing the operational downtime.

In terms of data integrity and security, both models incorporate advanced error correction techniques to guarantee that data remains pristine and intact throughout the storage duration. They are designed to work seamlessly with a variety of operating systems and backup applications, enhancing compatibility and user convenience.

The HP C3586B, on the other hand, offers similar foundational technologies but with enhanced features. It supports higher capacity tapes and is engineered to work seamlessly in high-performance environments. With the integration of SCSI-2 interfacing, users can expect faster data transfer rates, which is critical for organizations dealing with large volumes of data.

Another key aspect of both models is their rugged design, which provides durability and reliability needed for long-term storage solutions. The drives are built to withstand extended usage, which makes them a cost-effective choice for businesses looking to invest in dependable data storage systems.

Furthermore, these drives come with a user-friendly interface and straightforward maintenance. This allows IT personnel to handle backups with ease while keeping the workflow uninterrupted.

In summary, the HP C3586A and C3586B tape drives epitomize the union of technology, usability, and dependability. Their robust features, including high data capacity, fast transfer rates, and durable construction, make them a formidable choice for enterprises seeking efficient data backup and archival solutions in the ever-evolving digital landscape.