Flat: 13 x 24.5
Folded: 13 x 3.5
CMYK + PMS 732 / CMYK + PMS 732
Accordion fold
START HERE
Thank You
Wireless Setup Anyone Can Do
Introducing the first wireless setup solution anyone can do.
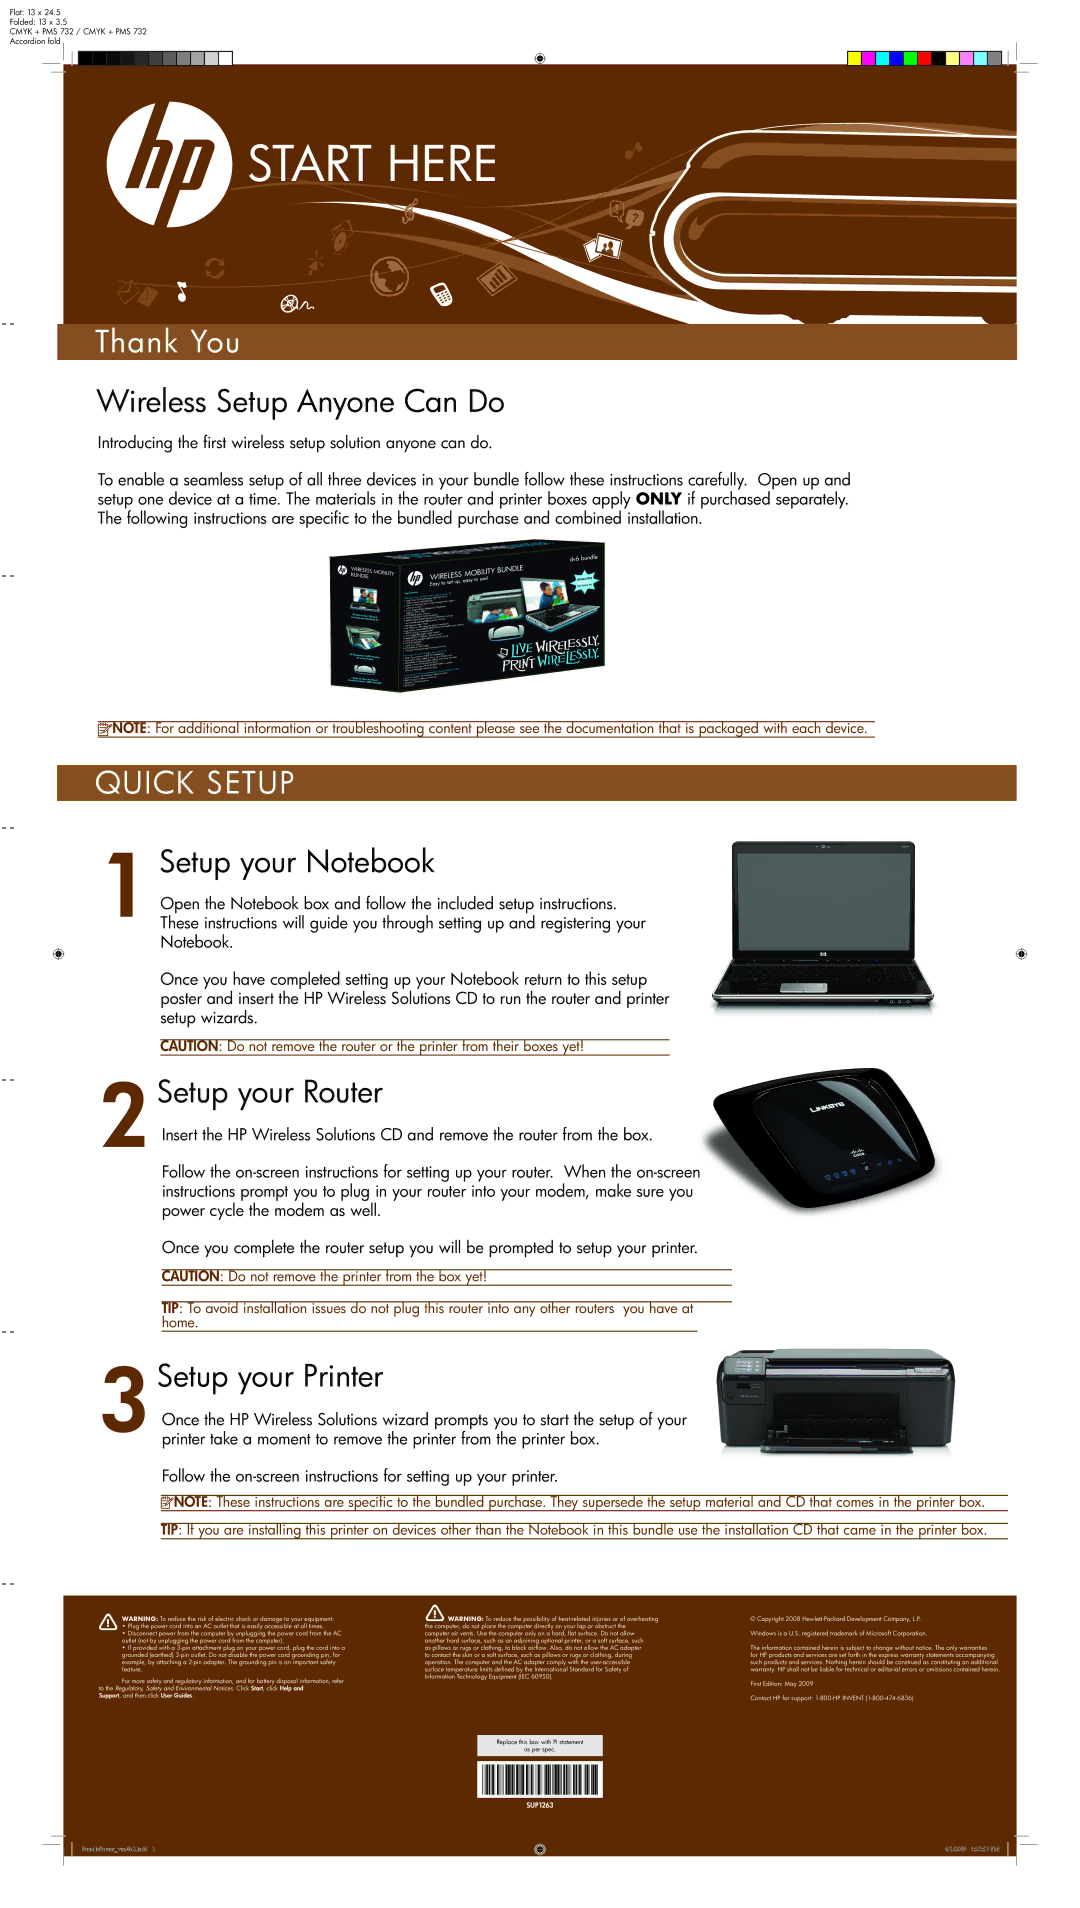
To enable a seamless setup of all three devices in your bundle follow these instructions carefully. Open up and setup one device at a time. The materials in the router and printer boxes apply ONLY if purchased separately. The following instructions are specific to the bundled purchase and combined installation.
![]() NOTE: For additional information or troubleshooting content please see the documentation that is packaged with each device.
NOTE: For additional information or troubleshooting content please see the documentation that is packaged with each device.
QUICK SETUP
1 Setup your Notebook
Open the Notebook box and follow the included setup instructions.
These instructions will guide you through setting up and registering your
Notebook.
Once you have completed setting up your Notebook return to this setup poster and insert the HP Wireless Solutions CD to run the router and printer setup wizards.
CAUTION: Do not remove the router or the printer from their boxes yet!
2Setup your Router
Insert the HP Wireless Solutions CD and remove the router from the box.
Follow the
Once you complete the router setup you will be prompted to setup your printer.
CAUTION: Do not remove the printer from the box yet!
TIP: To avoid installation issues do not plug this router into any other routers you have at home.
3Setup your Printer
Once the HP Wireless Solutions wizard prompts you to start the setup of your printer take a moment to remove the printer from the printer box.
Follow the
![]() NOTE: These instructions are specific to the bundled purchase. They supersede the setup material and CD that comes in the printer box.
NOTE: These instructions are specific to the bundled purchase. They supersede the setup material and CD that comes in the printer box.
TIP: If you are installing this printer on devices other than the Notebook in this bundle use the installation CD that came in the printer box.
WARNING: To reduce the risk of electric shock or damage to your equipment:
•Plug the power cord into an AC outlet that is easily accessible at all times.
•Disconnect power from the computer by unplugging the power cord from the AC outlet (not by unplugging the power cord from the computer).
•If provided with a
For more safety and regulatory information, and for battery disposal information, refer to the Regulatory, Safety and Environmental Notices. Click Start, click Help and
Support, and then click User Guides.
![]() WARNING: To reduce the possibility of
WARNING: To reduce the possibility of
as pillows or rugs or clothing, to block airflow. Also, do not allow the AC adapter to contact the skin or a soft surface, such as pillows or rugs or clothing, during operation. The computer and the AC adapter comply with the
©Copyright 2008
The information contained herein is subject to change without notice. The only warranties for HP products and services are set forth in the express warranty statements accompanying such products and services. Nothing herein should be construed as constituting an additional warranty. HP shall not be liable for technical or editorial errors or omissions contained herein.
First Edition: May 2009
Contact HP for support:
Replace this box with PI statement
as per spec.
SUP1263
BundlePoster_ver.4b2.indd 1
6/1/2009 1:25:58 PM