HP 17” Color Monitor User’s Guide
Using Your Monitor
To adjust the vertical position of the displayed image, select the | |||
| from the menu, and use the | and | |
| adjustment controls to locate the image. |
| |
PINCUSHION To adjust the displayed image if its vertical edges appear to bow in or
out, select the PINCUSHION icon from the menu, and reshape
using the ![]() and
and ![]() adjustment controls.
adjustment controls.
![]() TRAPEZOID To adjust the displayed image if its vertical edges do not appear parallel,
TRAPEZOID To adjust the displayed image if its vertical edges do not appear parallel,
select the TRAPEZOID icon from the menu, and use the and ![]() adjustment controls to correct the distortion.
adjustment controls to correct the distortion.
MOIRE | To correct for the effects of moire (screen ripple), select the MOIRE | |||
| icon | from the menu then either | ||
|
| and | ||
| adjustment controls to reduce screen ripple. |
| ||
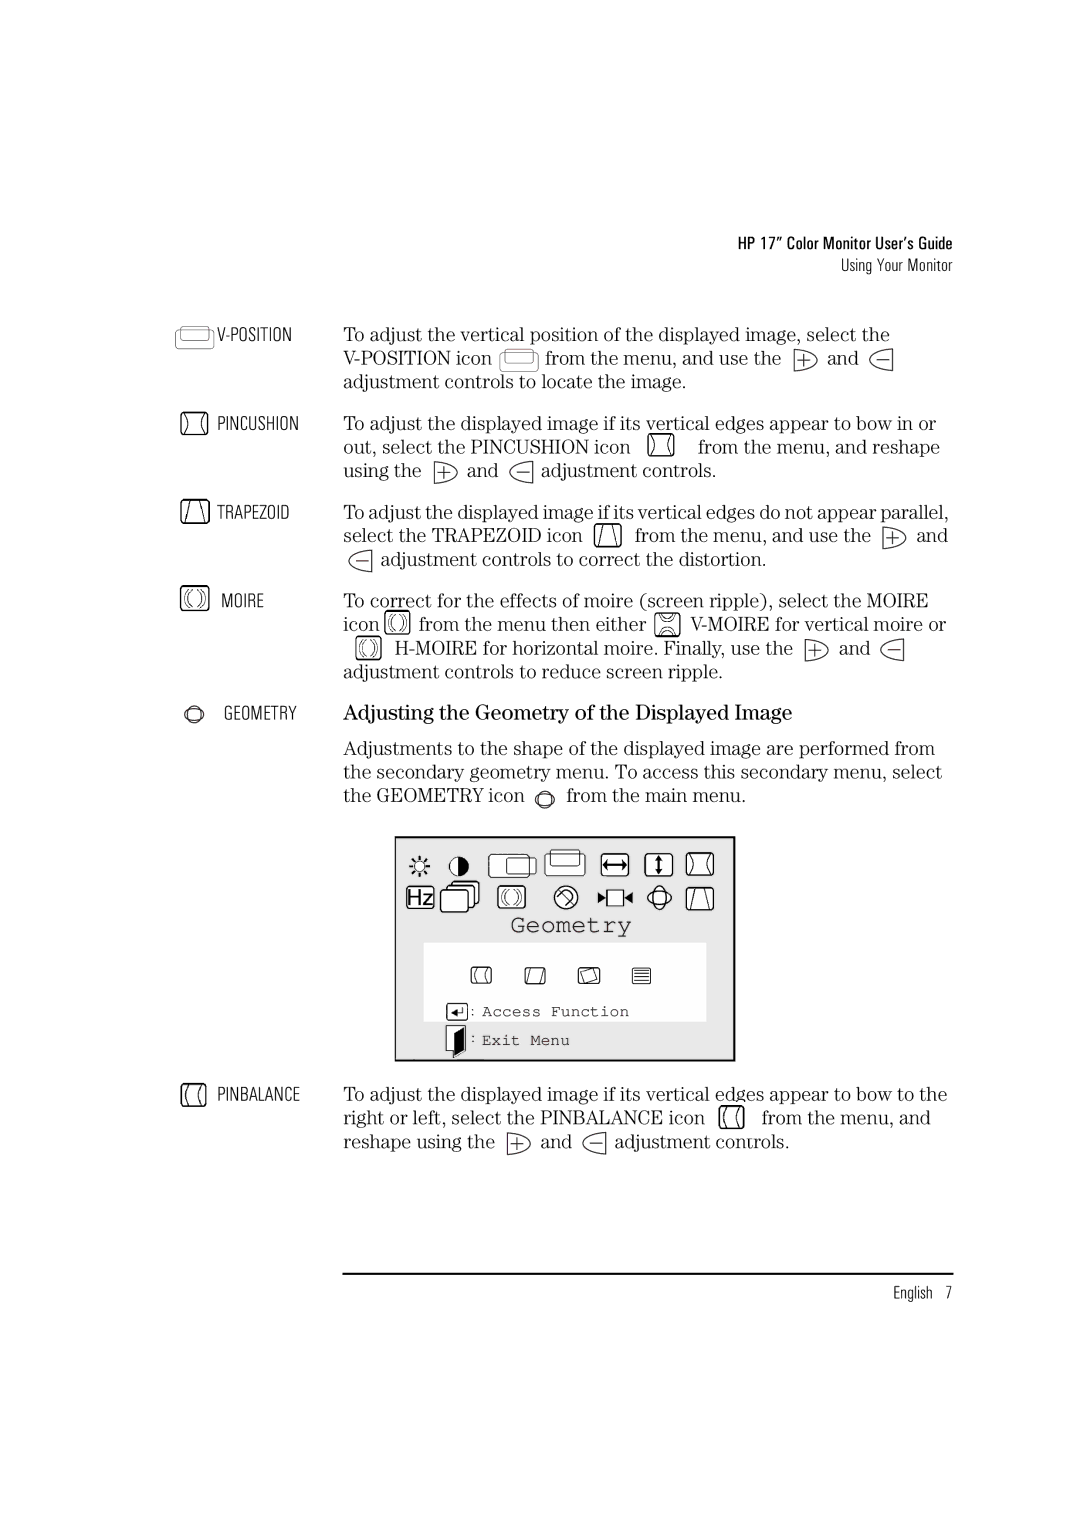
GEOMETRY | Adjusting the Geometry of the Displayed Image |
| ||
Adjustments to the shape of the displayed image are performed from the secondary geometry menu. To access this secondary menu, select
the GEOMETRY icon ![]() from the main menu.
from the main menu.
Geometry
Access Function
Exit Menu
PINBALANCE To adjust the displayed image if its vertical edges appear to bow to the
right or left, select the PINBALANCE icon from the menu, and
reshape using the ![]() and
and ![]() adjustment controls.
adjustment controls.
English 7