Connecting the Cables
1.Place the monitor in a convenient,
2.Connect a VGA signal cable or
![]() NOTE: For models with both VGA and
NOTE: For models with both VGA and
●For analog operation, use the VGA signal cable provided. Connect the VGA signal cable to the VGA connector on the rear of the monitor and the other end to the VGA connector on the computer.
●For digital operation, use the
3.Connect the
![]() NOTE: An optional speaker bar that mounts on to the monitor is available from HP.
NOTE: An optional speaker bar that mounts on to the monitor is available from HP.
4.Connect one end of the power cable to the AC power connector on the back of the monitor, and the other end to an electrical wall outlet.
Adjusting the Monitor
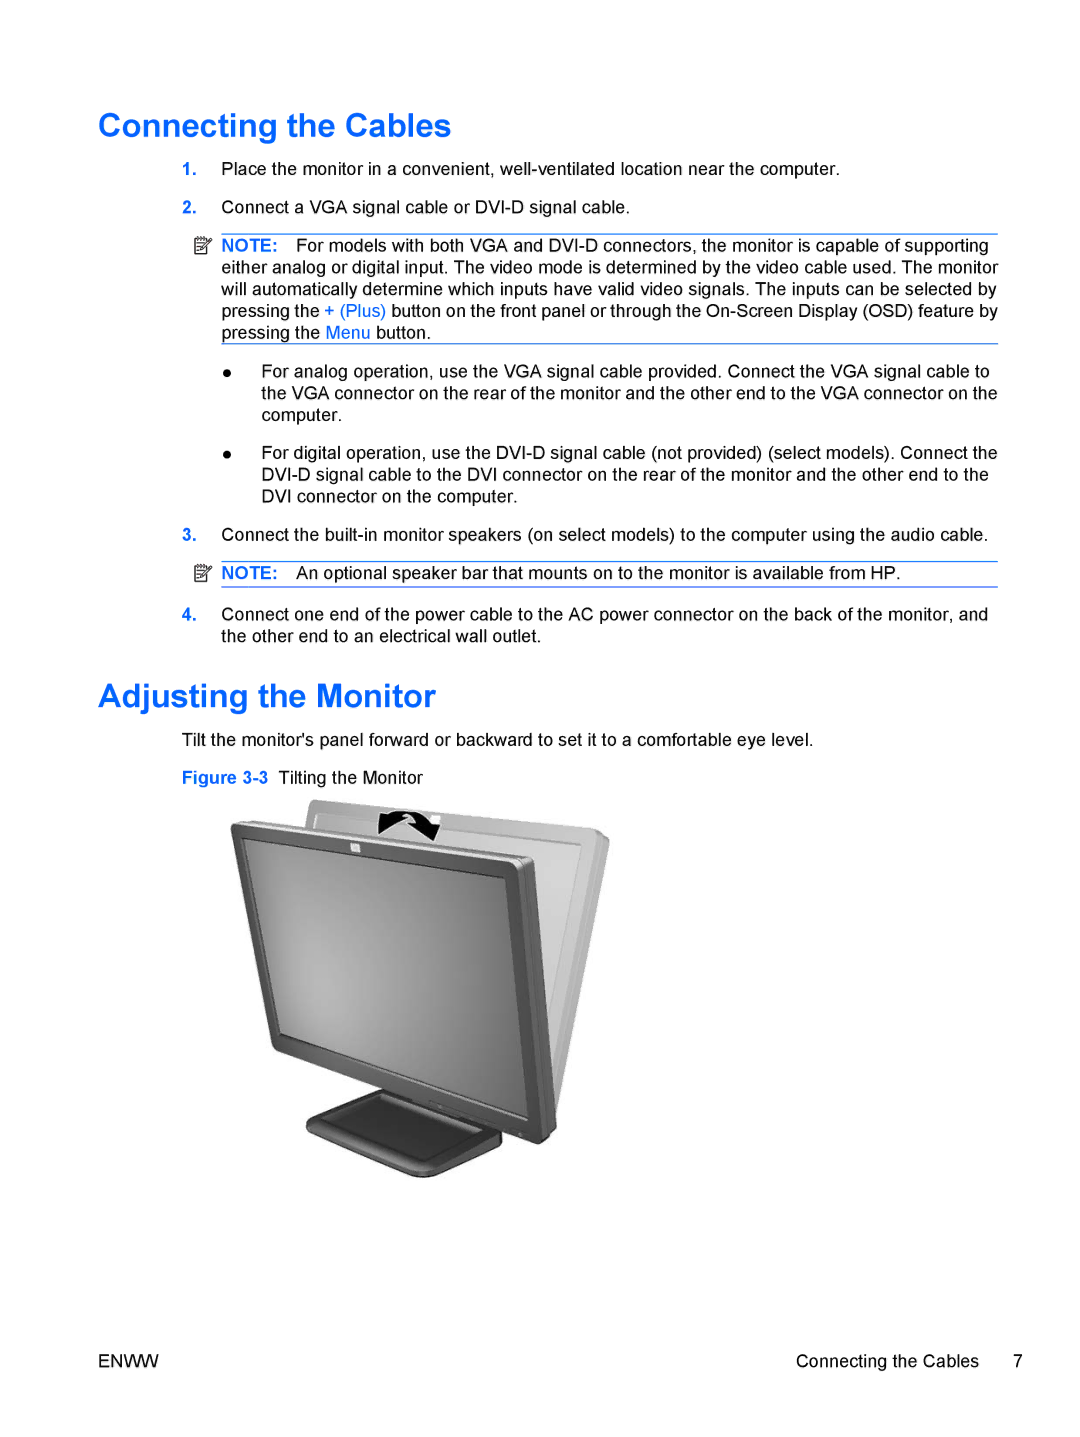
Tilt the monitor's panel forward or backward to set it to a comfortable eye level.
Figure 3-3 Tilting the Monitor
ENWW | Connecting the Cables 7 |