Microsoft Windows XP Media Center Edition Software Guide
USA
Table of Contents
Index 101
Experience the Fun of Media Center
Welcome
Using Media Center Features
Setting Up Media Center
Using Media Center
Completing the setup wizard steps
Media Center Start Menu
Some of the features listed are for select models only
Other menus not shown
Navigating Media Center
Media Center menu bars and PC control menu
Using Instant Messaging in Media Center
Logging in to your messenger account
Changing Media Center Settings
Select More Programs, and then select the Messenger icon
Finding Additional Media Center Information
Media Center settings categories
Remote control can
Using the Remote Control
Remote control cannot
Remote Control Buttons Overview
Using the Remote Control
HP Media Center PC Software Guide
Navigating My TV
Watching and Recording TV Programs
Watching Live TV
Watching TV
Controlling TV playback
Button Action
Using the remote control in My TV
Live TV
Guide
Important information about the Television Program Guide
Using the Television Program Guide
Viewing the Television Program Guide
Settings for your Guide
Manually downloading the Guide
Setting up how Media Center downloads the Guide
Searching for TV Programs
Searching for TV programs using categories
Recording TV from the Guide
Recording TV Programs
Recording icons
Recording TV without the Television Program Guide
Recording manually
Copying recorded TV programs to DVD or CD
Recording quality and hard disk drive storage space
Select Recorded TV
Select View DVD or View CD Select Create DVD or Create CD
Playing Recorded TV Programs
HP Media Center PC Software Guide
HP Tunes
Playing Music Files
My Music
Adding Music to the iTunes music Library
Using HP Tunes with Media Center
Adding music files from a CD in iTunes
Adding music files from your hard disk drive
Adding music files from the Internet
Changing song name, genre, artist, or album in iTunes
Using supported music file types
Creating a Playlist with iTunes
Playing CDs with HP Tunes
Select Playlists or Albums
Creating Music CDs with iTunes
Creating and Editing a Queue List with HP Tunes
My Music menu in Media Center
Using My Music with Media Center
Select Add folders on this computer, and then select Next
Adding Music to My Music Library
Deleting music files from the My Music library
Adding music files from a CD
My Music
MP3
Playing Music Files in My Music
Playing a song in My Music
Playing an album in My Music
Finding and Playing an Album in My Music
Creating a Queue List in My Music
Creating a Playlist in My Music
Select Create CD
Copying Music Files to CD in My Music
HP Image Zone Plus
Working with Pictures
My Pictures
Working with Digital Images
Media Center with your remote control. For
Using HP Image Zone Plus in Media Center
Keyboard, and some tasks you can do from within
Example, you must add your pictures to the HP
Creating your picture catalog in HP Image Zone Plus
Modifying a date assigned to your pictures
Creating albums
Assigning a keyword to your pictures
Searching for pictures in HP Image Zone Plus
Assigning a place to your pictures
Editing Pictures in HP Image Zone Plus
Viewing Pictures in HP Image Zone Plus
Viewing a slide show in HP Image Zone PLus
Viewing a slide show with music in HP Image Zone Plus
Printing Pictures in HP Image Zone Plus
Using supported picture file types with HP Image Zone Plus
Using My Pictures in Media Center
Adding picture files from your hard disk drive
Adding Pictures to My Pictures
Viewing pictures as a slide show
Viewing Pictures in My Pictures
Select My Pictures
Viewing a slide show with music in My Pictures
Using supported picture file types in My Pictures
Fixing red eye or contrast
Editing Pictures in My Pictures
Cropping pictures in My Pictures
Rotating pictures
Printing Pictures in My Pictures
Media Center, all pictures are copied to CDs as .jpg files
Copying Pictures to CDs and DVDs
Select More Programs
Playing Videos
Playing Digital Videos in Media Center
Using Supported Video File Types
Select My Videos
Creating a CD/DVD from Video Files
Transferring and Recording Video Files
Recording an analog video file
Recording a digital video file
HP Media Center PC Software Guide
Playing DVD movies in Media Center
Playing DVDs
Changing the DVD Movie Language
Changing DVD Audio Settings
Listening to FM Radio
Playing FM Radio Stations
Organizing Pre-set Radio Stations
Using the FM Radio and the TV Signal at the Same Time
HP Media Center PC Software Guide
Creating Burning CDs and DVDs with RecordNow
Creating Burning CDs and DVDs
Creating music CDs with RecordNow
Disc, thus the term
Creating CDs to play on your PC
Creating CDs to play in your car or home CD players
Projects tab Select Jukebox CD
Creating a music CD
Storing Files on a DVD or CD
Storing data files on disc
Archiving Files on a CD or DVD
Copying a DVD or CD
Recording Video Files
Select Exact Copy
Using Compatibility Information
Using Disc Labels Creating Recovery CDs/DVDs for the PC
Video Quality Minutes on a Setting Bit rate Hour GB DVD
Plays Can be Home Recorded Or car
Identifying Disc Feature and Compatibility
Disc File type Onto Stereo Player
Double
Using the Optical Drive Quick Reference Table
Using the Software Quick Reference Table
HP Media Center PC Software Guide
Software With this program you can
HP Media Center PC Software Guide
Using muvee autoProducer unPlugged
Using InterVideo WinDVD Creator
Importing, Editing, and Burning Videos
Video files to disc
Using the Media Library in WinDVD Creator
Using the Preview window in WinDVD Creator
Using the Storyboard in WinDVD Creator
Getting started with WinDVD Creator
Click the Record button
Click the Capture video into hard disk button
Capturing Analog Video with WinDVD Creator
InterVideo WinDVD Creator again
Editing Video Files with WinDVD Creator
New project or the Open existing Project button
Drop
Adding audio effects with WinDVD Creator
Adding images with WinDVD Creator
Adding transition effects with WinDVD Creator
Authoring Your DVD with WinDVD Creator
Adding title effects with WinDVD Creator
Adding video filters with WinDVD Creator
Making a movie with WinDVD Creator
Getting Started with muvee autoProducer
Recording VHS Files Direct to DVD with WinDVD Creator
Adding Pictures to Your Movie with muvee autoProducer
Adding Videos to Your Movie with muvee autoProducer
Adding Music to Your Movie with muvee autoProducer
Setting the Style in muvee autoProducer
Making the Movie with muvee autoProducer
Changing the Settings in muvee autoProducer
Select Create CD/DVD with existing video file
HP Media Center PC Software Guide
HP Personal Media Drive is sold separately
Using an HP Personal Media Drive
Click My Computer
Locating the Drive After Installation
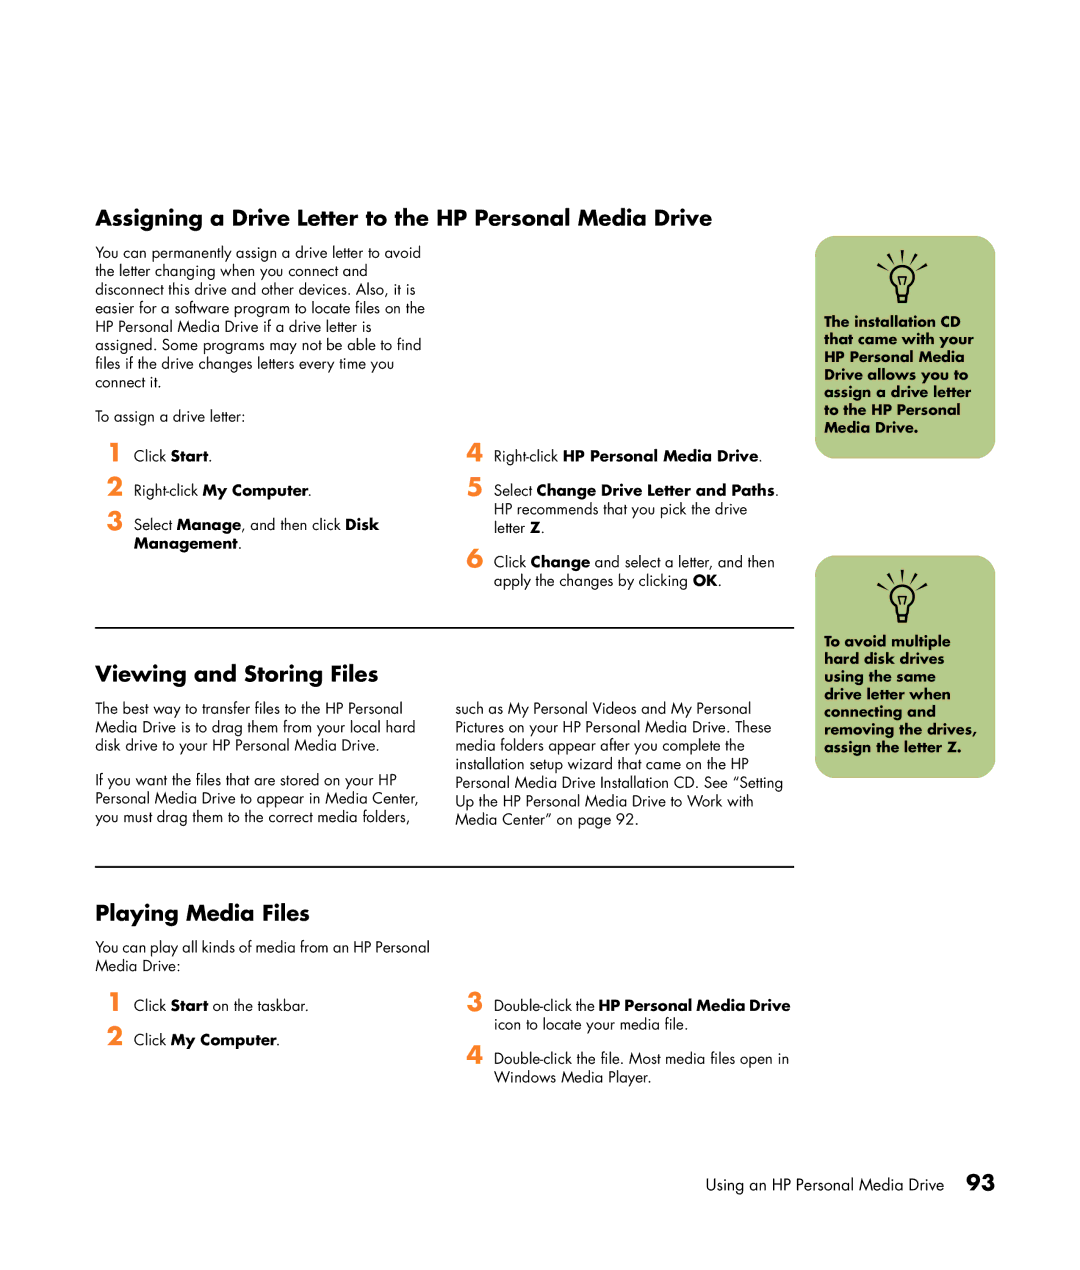
Viewing and Storing Files
Assigning a Drive Letter to the HP Personal Media Drive
Playing Media Files
Playing Music Files
You can access your music files with Media Center
Playing music files with Windows Media Player
Playing Video Files
Viewing Picture Files
Watching TV Programs Stored on the HP Personal Media Drive
Click Settings, TV, Recorder, Recorder storage
About Recording TV to the HP Personal Media Drive
Recording TV programs to the HP Personal Media Drive
Changing the TV recording path to the local hard disk drive
Changing Disk Allocation
Disconnecting the HP Personal Media Drive Safely
HP Media Center PC Software Guide
Index
Page
Using the remote control 15 watching TV programs
Searching for programs 20 settings