R967 specifications
The HP R967 is a compact yet powerful digital camera that exemplifies the fusion of innovative technology and user-friendly design. Targeting both amateur photographers and enthusiasts, this camera is well-equipped to deliver high-quality imaging and versatility.One of the standout features of the HP R967 is its 8.1-megapixel sensor, which provides sharp and vivid photographs. This resolution allows users to capture intricate details, making it suitable for various photography genres, from landscapes to portraits. The camera's high-resolution capability is bolstered by a 3x optical zoom lens, offering flexibility in framing subjects without compromising image quality. Additionally, the lens has a wide aperture that enables stunning background blur and exceptional performance in low-light conditions.
The HP R967 also comes with a sizable 2.5-inch LCD screen. This bright, clear display allows for easy composition, review, and adjustments on the go. The screen features a wide viewing angle, ensuring images remain vivid and true-to-life from various perspectives.
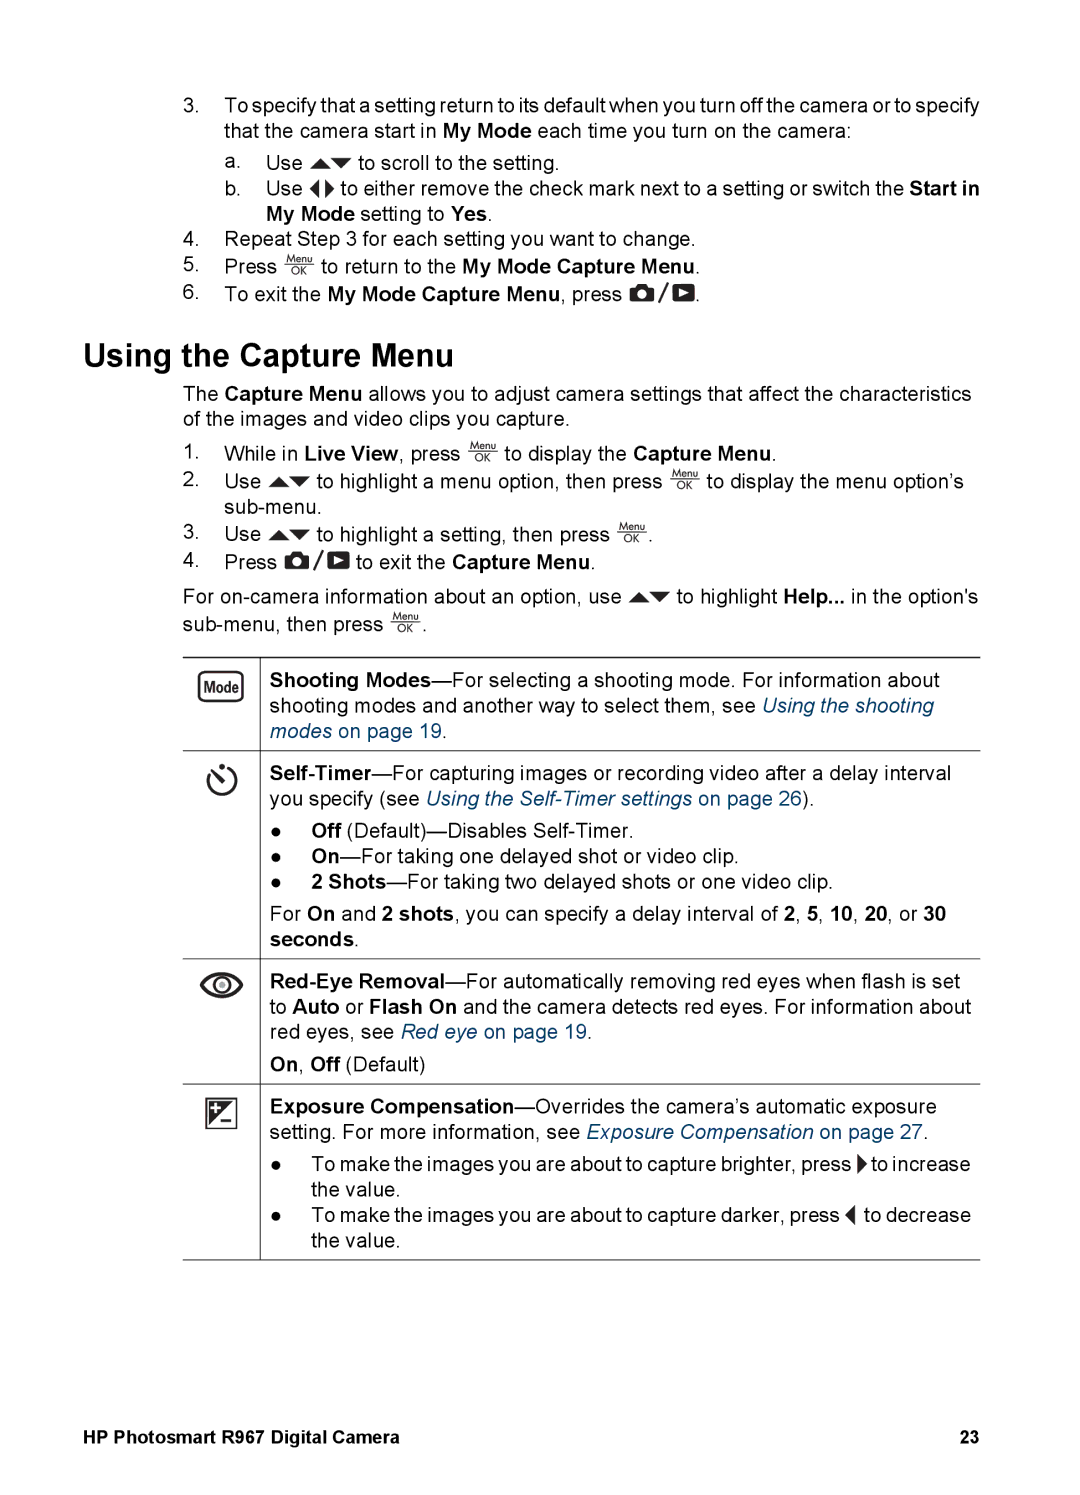
In terms of technology, the HP R967 incorporates face detection and red-eye reduction features, enhancing portrait photography. The face detection technology intelligently recognizes and focuses on faces in the frame, ensuring they are sharp and well-exposed. The red-eye reduction feature automatically corrects the common issue of red-eye in flash photography, adding convenience for users.
The camera offers a range of shooting modes, including auto, portrait, landscape, and night scene modes. These presets simplify the shooting experience for users, allowing them to select the optimal settings for different environments and subjects.
Connectivity is another highlight of the HP R967. It supports USB and video output, making it easy to transfer images to computers or display them on televisions. This feature is an advantage for photographers who value quick sharing and editing capabilities.
With its sleek design, user-friendly interface, and robust features, the HP R967 serves as a reliable companion for those looking to capture life’s moments without the complexity of professional equipment. Whether it’s a casual outing or a special event, this camera provides the tools necessary for memorable photography.

