Server tc2110 specifications
The HP Server tc2110 is a robust and versatile solution designed to meet the needs of small to medium-sized businesses looking for reliability and performance in their IT infrastructure. This server is built on the foundation of HP's renowned engineering, making it a trusted choice for organizations needing dependable server capabilities.One of the standout features of the HP tc2110 is its scalability. With support for multiple processors, organizations can easily upgrade their server capabilities as their needs grow. This makes it an ideal choice for businesses that anticipate future expansion and require a server that can grow alongside them. The tc2110 supports various Intel Xeon processors, offering excellent processing power and efficiency.
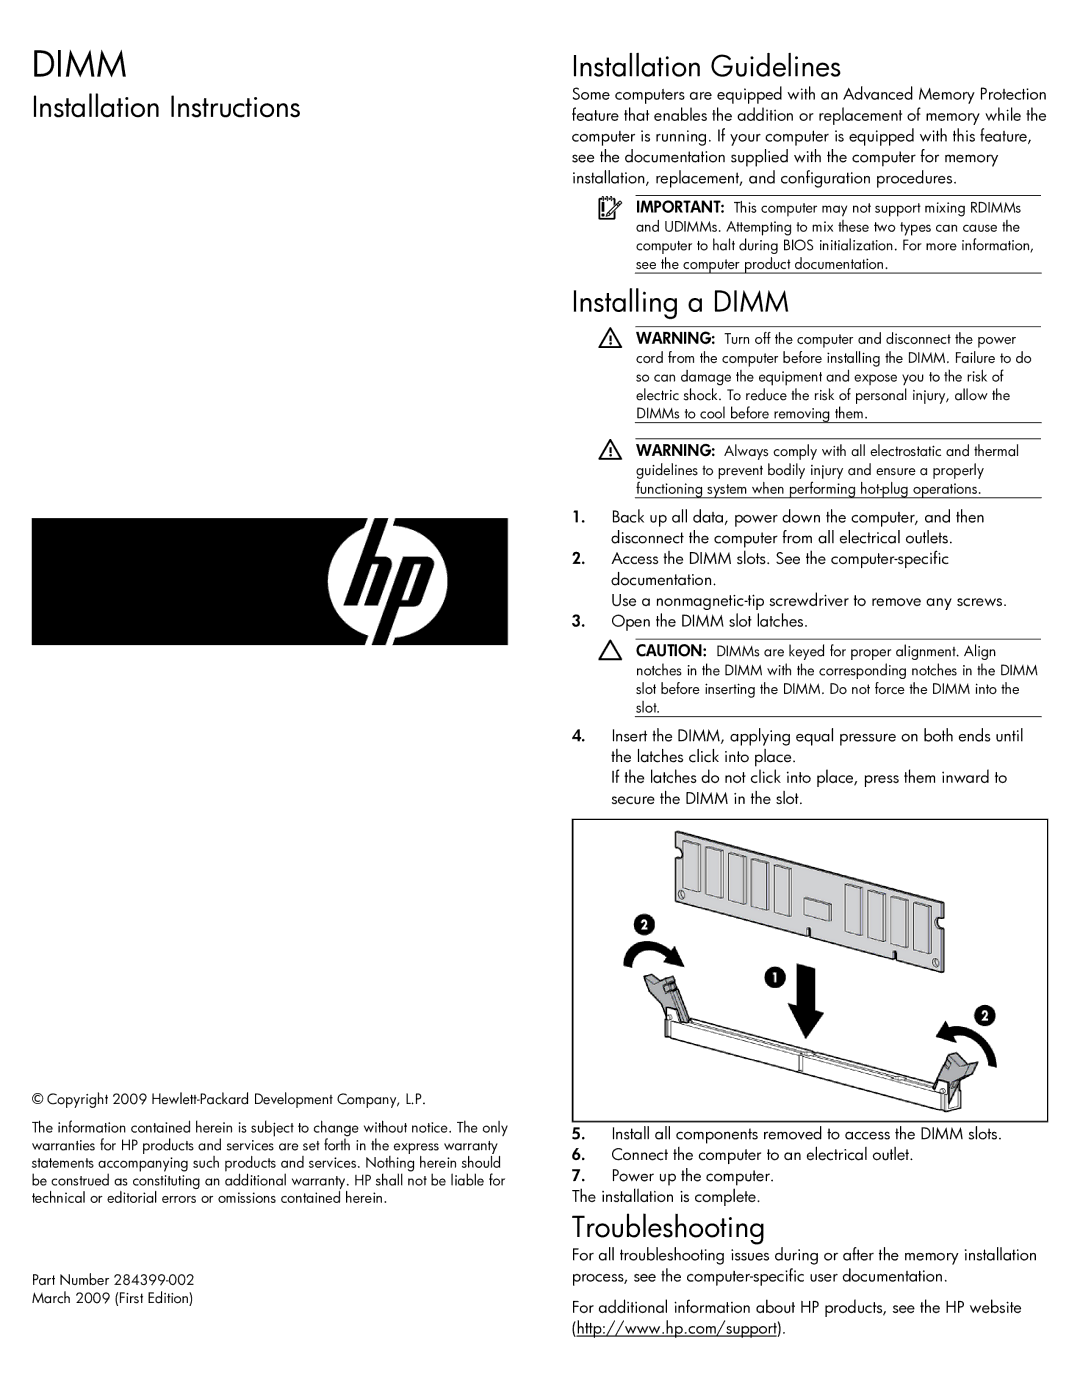
Another significant characteristic of the tc2110 is its high capacity for memory. The server can support substantial RAM, which enhances its multitasking capabilities and allows it to handle demanding applications with ease. This memory capacity is complemented by the server's support for various storage options, including traditional hard drives and modern solid-state drives, enabling businesses to optimize performance and data access speeds according to their specific needs.
The HP Server tc2110 also emphasizes security features, which are critical for today’s evolving cybersecurity landscape. It includes advanced hardware security features such as Trusted Platform Module (TPM) and secure boot, ensuring that data is protected against unauthorized access and potential threats.
In addition to its impressive hardware capabilities, the tc2110 is designed with energy efficiency in mind. Its intelligent cooling technologies and power management features help reduce overall operational costs while maintaining optimal performance. This makes the server not only a powerful option but also a more environmentally friendly choice, aligning with the growing trend towards sustainable IT practices.
Connectivity is another key aspect of the HP tc2110. It offers multiple ports for network connections, ensuring seamless integration into existing IT infrastructures. This connectivity enhances communication between devices and provides businesses with the flexibility to adapt to new technology advancements with ease.
Overall, the HP Server tc2110 is a well-rounded server solution that combines performance, scalability, security, and energy efficiency. Whether for intensive applications, data management, or general computing tasks, the tc2110 stands out as a reliable choice for enterprises seeking to establish or enhance their IT environments. Its blend of features makes it a compelling option for organizations aiming to streamline operations while minimizing costs.

