Installing and Removing I/O Modules | 3 |
Installing and
Removing I/O
Modules
Installing an I/O You can install V.34 (analog),
Use the following steps to install an I/O module:
CAUTION: The modules are not
1Before installing the I/O module, you must remove power from the unit being upgraded. Remove the AC power cord from the back of the RAS 1500 Base Unit or RAS 1500 Expansion unit.
2Remove the blank plate from the I/O module slot.
3Unpack the I/O module from the box and remove the protective covering.
WARNING: Do not plug telephone cables into the I/O module until it is installed in the unit. It could result in electric shock.
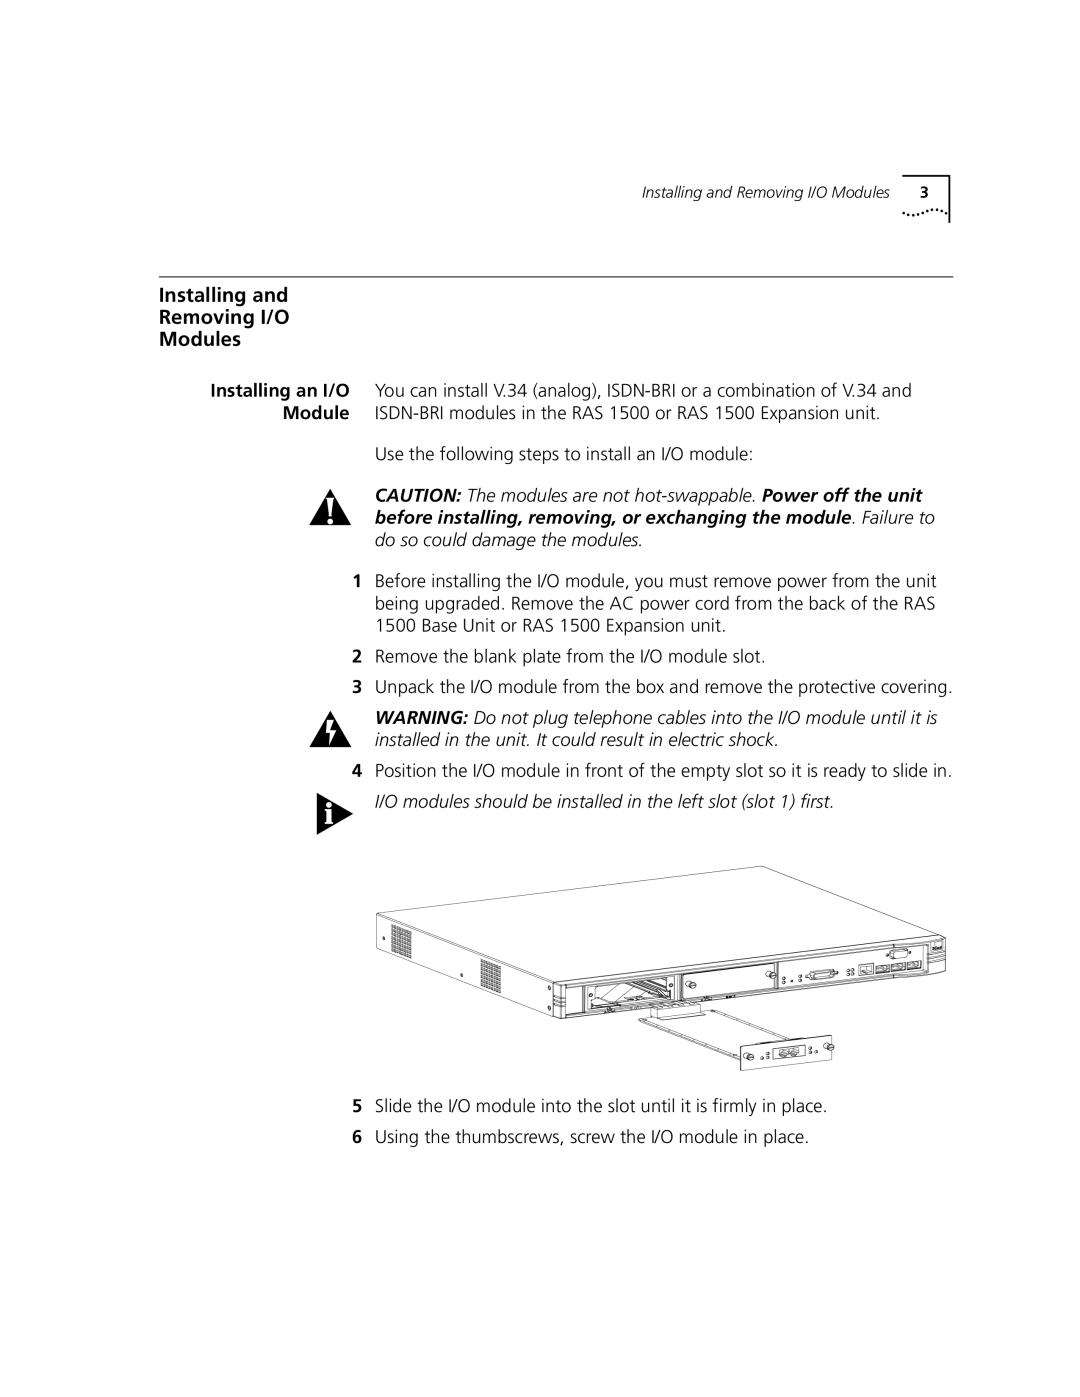
4Position the I/O module in front of the empty slot so it is ready to slide in.
I/O modules should be installed in the left slot (slot 1) first.
5Slide the I/O module into the slot until it is firmly in place.
6Using the thumbscrews, screw the I/O module in place.
