
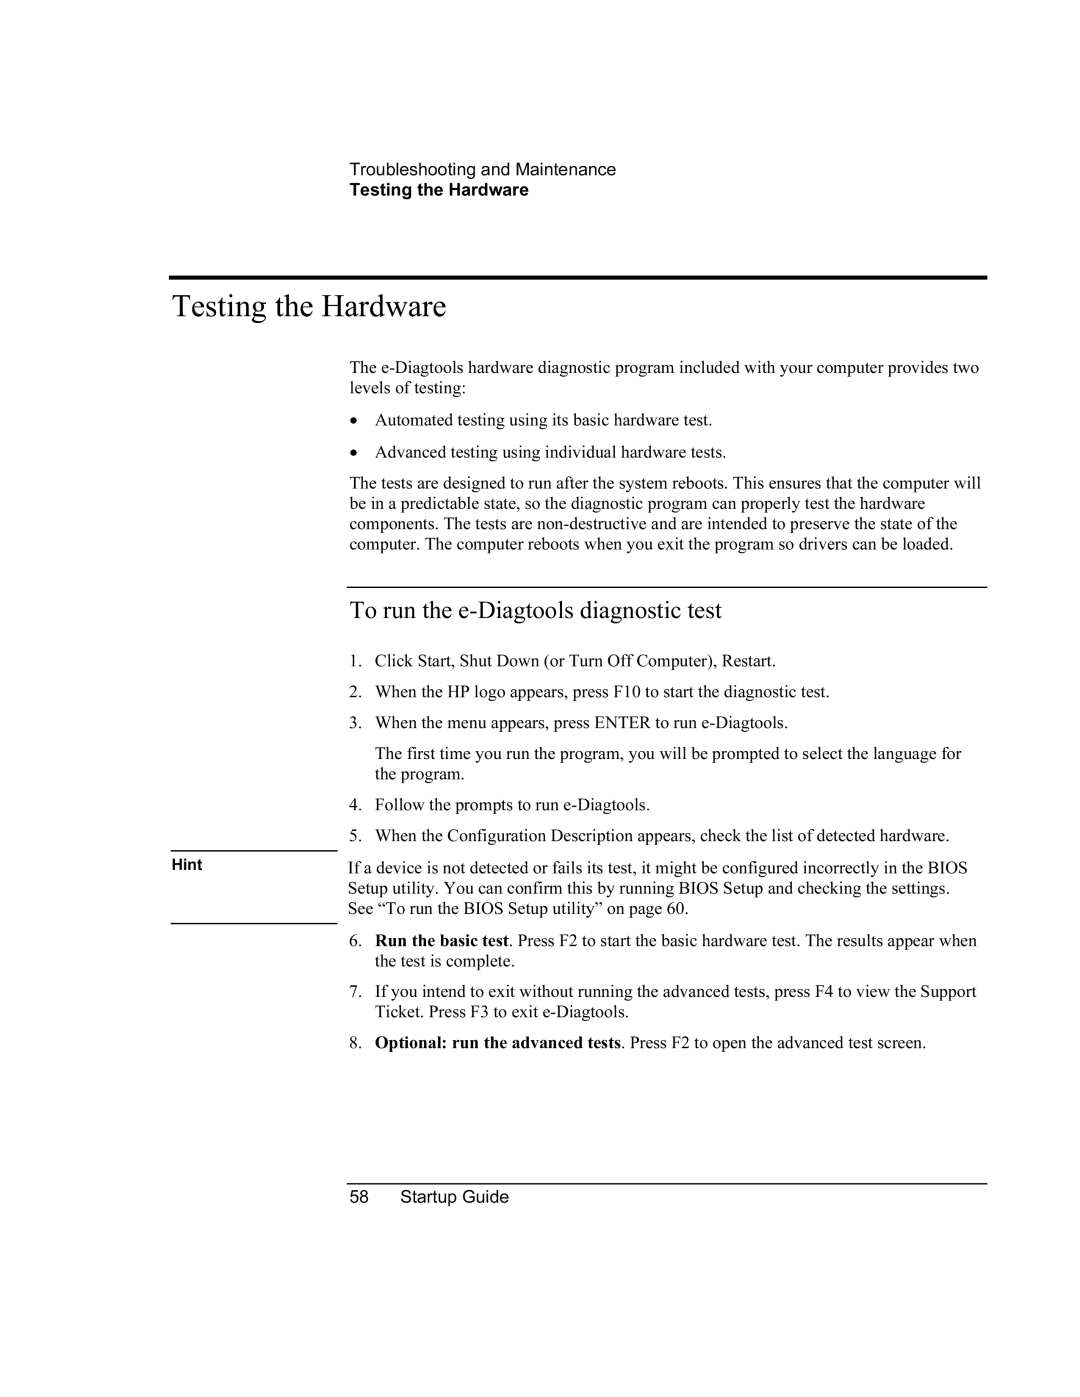
XU specifications
The HP XU series is a notable lineup in the realm of computing, specifically designed to cater to business professionals and everyday users who require reliability, performance, and modern features. The XU brand, recognized for its dedication to high-quality engineering and innovative technology, encapsulates the spirit of HP's commitment to excellence in device performance and user experience.One of the main features of the HP XU series is its powerful processing capabilities. Equipped with the latest generation of Intel or AMD processors, the XU series ensures swift and efficient multitasking, allowing users to run demanding applications with ease. This robust hardware foundation is complemented by ample RAM options, which facilitate seamless performance even when handling larger files or running multiple applications simultaneously.
Moreover, the HP XU series emphasizes security, a critical aspect for businesses today. Many models are infused with advanced security features such as fingerprint readers, TPM (Trusted Platform Module) chips, and HP's proprietary security software. These technologies work together to protect sensitive data and provide peace of mind to users concerned about cyber threats.
Display quality is another hallmark of the HP XU series. The devices often feature high-resolution displays, available in various sizes, which provide vibrant colors and sharp visuals. Whether for presentations, graphic design, or media consumption, the clarity and detail of the screen enhance the overall user experience. Additionally, many models offer touch screen capabilities, adding an extra layer of interactivity and ease of use.
In terms of connectivity, the HP XU series is equipped with a comprehensive range of ports, including USB-C, HDMI, and Ethernet, as well as built-in Wi-Fi and Bluetooth technologies. This ensures that users can easily connect to other devices and networks, facilitating collaboration and productivity on the go.
Battery life is also a significant consideration. The HP XU series is designed for endurance, with many models offering long-lasting battery performance that supports a full day of work without the need for frequent charging. This is particularly beneficial for professionals who are often on the move.
In conclusion, the HP XU series exemplifies the convergence of performance, security, and user-friendly design, making it an excellent choice for both business environments and personal use. With a blend of cutting-edge technology, durable build quality, and thoughtful features, the XU series stands as a testament to HP's evolution in providing innovative computing solutions tailored to meet diverse user needs.