logically grouped together and easy to access. The stand, which is included for both 24” and 44” models, is sturdy and easy to constructs. It is then screwed to the base of the printer (the printer is shipped upside down) and then easily flipped by two people. I actually managed to unpack, assemble, and flip the 44” model myself.
Once the printer is assembled and plugged into a power source, you can then begin the somewhat lengthy setup process. Once the printer is powered on you will be prompted to load the printers 12 cartridges, (1)photo black (2)matte black, (3)grey, (4)light grey, (5)light cyan, (6)magenta, (7)light Magenta, (8)yellow, (9)(NEW)chromatic red, (10)green, (11)blue, and last but not least a (12)gloss enhancer. The 24” Z3200 ships with 69mil cartridges while the 44” model ships with the standard 130mil carts. This means that the 44” Z3200 ships with about $400.00 of extra ink, not a trivial sum. After the cartridges are installed the printer begins to charge the lines with ink, a process that takes several minutes. When this process was completed, the ink levels for all of the inks were around 80% full on the smaller 69mil tanks.
After the ink carts are loaded the print heads must be installed. HP uses what they refer to a
Changing heads in the Z3200 is a quick process, taking about a minute to remove the old head and install the new one. There is one head for every two colors, at a cost of about $70 each (list). Each head is warranteed for 1000 mils of ink but is expected to push through 2500 mils of ink before it needs replacement. Since each cart contains 130mils of ink this means you will likely go through many complete sets of ink before any of the heads will need to be replaced. Or viewed another way, about 20 tanks could be run through a head before it is expected to fail. That’s a fair amount of ink.
After the heads have been installed the printer finishes it’s rather lengthy initialization process during which it buzzes and hums. This is a good time to download the printer drivers on your system. After the printer finishes initializing, the basic hardware setup is finished. You should then load the roll of paper that ships with the printer and run the paper feed and head alignment from the printer menu. This is a crucial step, and will help avoid banding issues and ensure maximum image quality.
INK COSTS
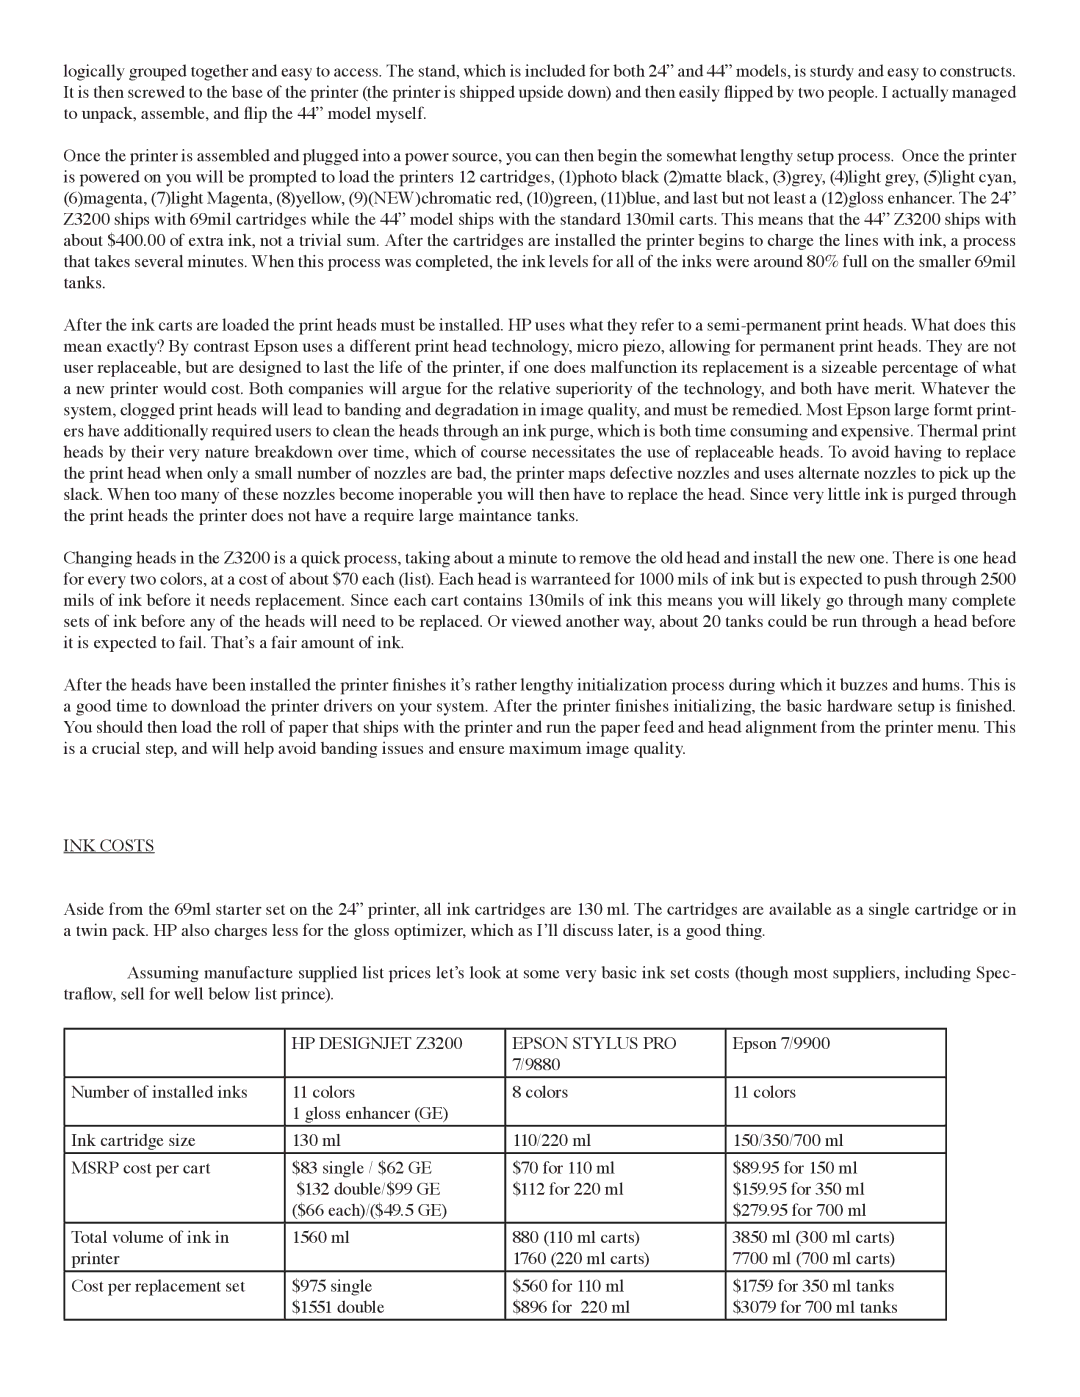
Aside from the 69ml starter set on the 24” printer, all ink cartridges are 130 ml. The cartridges are available as a single cartridge or in a twin pack. HP also charges less for the gloss optimizer, which as I’ll discuss later, is a good thing.
Assuming manufacture supplied list prices let’s look at some very basic ink set costs (though most suppliers, including Spec- traflow, sell for well below list prince).
| HP DESIGNJET Z3200 | EPSON STYLUS PRO | Epson 7/9900 |
|
| 7/9880 |
|
Number of installed inks | 11 colors | 8 colors | 11 colors |
| 1 gloss enhancer (GE) |
|
|
Ink cartridge size | 130 ml | 110/220 ml | 150/350/700 ml |
MSRP cost per cart | $83 single / $62 GE | $70 for 110 ml | $89.95 for 150 ml |
| $132 double/$99 GE | $112 for 220 ml | $159.95 for 350 ml |
| ($66 each)/($49.5 GE) |
| $279.95 for 700 ml |
Total volume of ink in | 1560 ml | 880 (110 ml carts) | 3850 ml (300 ml carts) |
printer |
| 1760 (220 ml carts) | 7700 ml (700 ml carts) |
Cost per replacement set | $975 single | $560 for 110 ml | $1759 for 350 ml tanks |
| $1551 double | $896 for 220 ml | $3079 for 700 ml tanks |
