HP COLOR MANAGEMENT,
&
EMBEDDED SPECTROPHOTOMETER
INTRODUCTION
Arguably one of the most interesting and discussed features of the Z3100 and Z3200 is the embedded spectrophotometer (ESP). Previ- ous HP printers have incorporated densitometers into the print head allowing the printer to perform basic calibrations. The Z family of printers remain the first and only line of commercially available printers to have a standard integrated spectrophotometer that allows automated ICC profile creation at no additional cost. Announced around the same time as the Z3200 the Epson 7/9900 offers an optional accessory spectrophotometer. It’s tempting to consider these as functioning in the same category but the Epson accessory is a very dif- ferent beast. For starters the Epson SpectroProofer accessory adds $1500 MSRP to the 24” models base price and $2500 to the 44”. The other difference is that the Epson accessory does not include a profiling package for ICC creation, allowing only printer linearization and creation of a measurement file to be used in conjunction with 3d party profiling software. So at this time the HP still remains the
only printer to offer a truly turn key color manage- ment solution.
HP COLOR CENTER
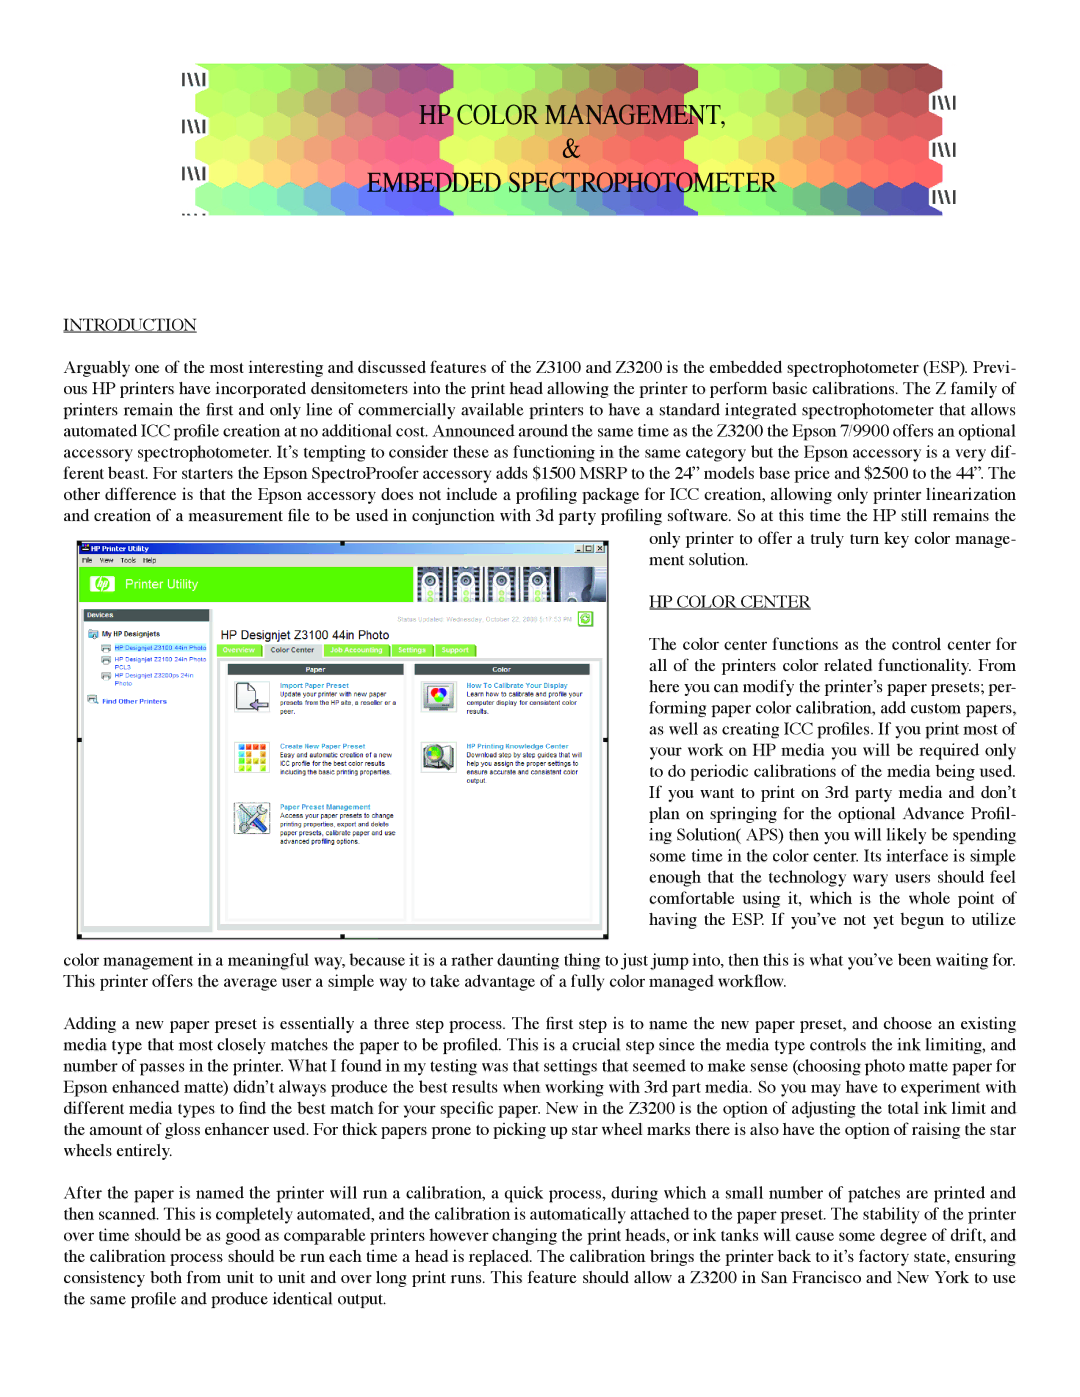
The color center functions as the control center for all of the printers color related functionality. From here you can modify the printer’s paper presets; per- forming paper color calibration, add custom papers, as well as creating ICC profiles. If you print most of your work on HP media you will be required only to do periodic calibrations of the media being used. If you want to print on 3rd party media and don’t plan on springing for the optional Advance Profil- ing Solution( APS) then you will likely be spending some time in the color center. Its interface is simple enough that the technology wary users should feel comfortable using it, which is the whole point of having the ESP. If you’ve not yet begun to utilize
![]() !
!
color management in a meaningful way, because it is a rather daunting thing to just jump into, then this is what you’ve been waiting for. This printer offers the average user a simple way to take advantage of a fully color managed workflow.
Adding a new paper preset is essentially a three step process. The first step is to name the new paper preset, and choose an existing media type that most closely matches the paper to be profiled. This is a crucial step since the media type controls the ink limiting, and number of passes in the printer. What I found in my testing was that settings that seemed to make sense (choosing photo matte paper for Epson enhanced matte) didn’t always produce the best results when working with 3rd part media. So you may have to experiment with different media types to find the best match for your specific paper. New in the Z3200 is the option of adjusting the total ink limit and the amount of gloss enhancer used. For thick papers prone to picking up star wheel marks there is also have the option of raising the star wheels entirely.
After the paper is named the printer will run a calibration, a quick process, during which a small number of patches are printed and then scanned. This is completely automated, and the calibration is automatically attached to the paper preset. The stability of the printer over time should be as good as comparable printers however changing the print heads, or ink tanks will cause some degree of drift, and the calibration process should be run each time a head is replaced. The calibration brings the printer back to it’s factory state, ensuring consistency both from unit to unit and over long print runs. This feature should allow a Z3200 in San Francisco and New York to use the same profile and produce identical output.