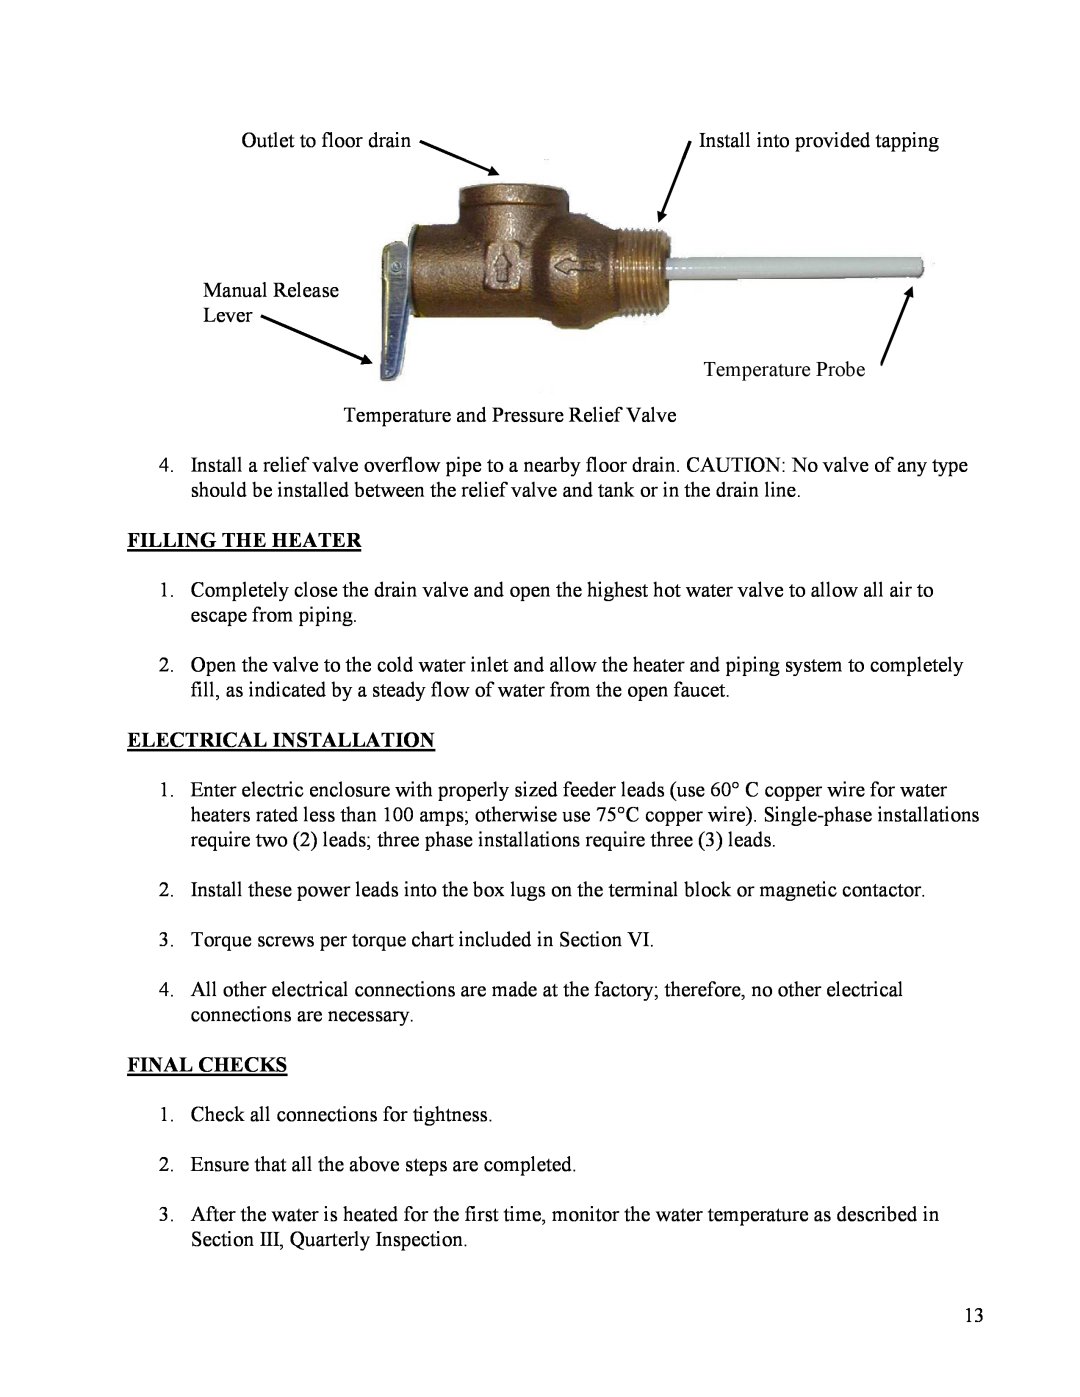
Outlet to floor drain | Install into provided tapping |
Manual Release
Lever
Temperature Probe
Temperature and Pressure Relief Valve
4.Install a relief valve overflow pipe to a nearby floor drain. CAUTION: No valve of any type should be installed between the relief valve and tank or in the drain line.
FILLING THE HEATER
1.Completely close the drain valve and open the highest hot water valve to allow all air to escape from piping.
2.Open the valve to the cold water inlet and allow the heater and piping system to completely fill, as indicated by a steady flow of water from the open faucet.
ELECTRICAL INSTALLATION
1.Enter electric enclosure with properly sized feeder leads (use 60° C copper wire for water heaters rated less than 100 amps; otherwise use 75°C copper wire).
2.Install these power leads into the box lugs on the terminal block or magnetic contactor.
3.Torque screws per torque chart included in Section VI.
4.All other electrical connections are made at the factory; therefore, no other electrical connections are necessary.
FINAL CHECKS
1.Check all connections for tightness.
2.Ensure that all the above steps are completed.
3.After the water is heated for the first time, monitor the water temperature as described in Section III, Quarterly Inspection.
13