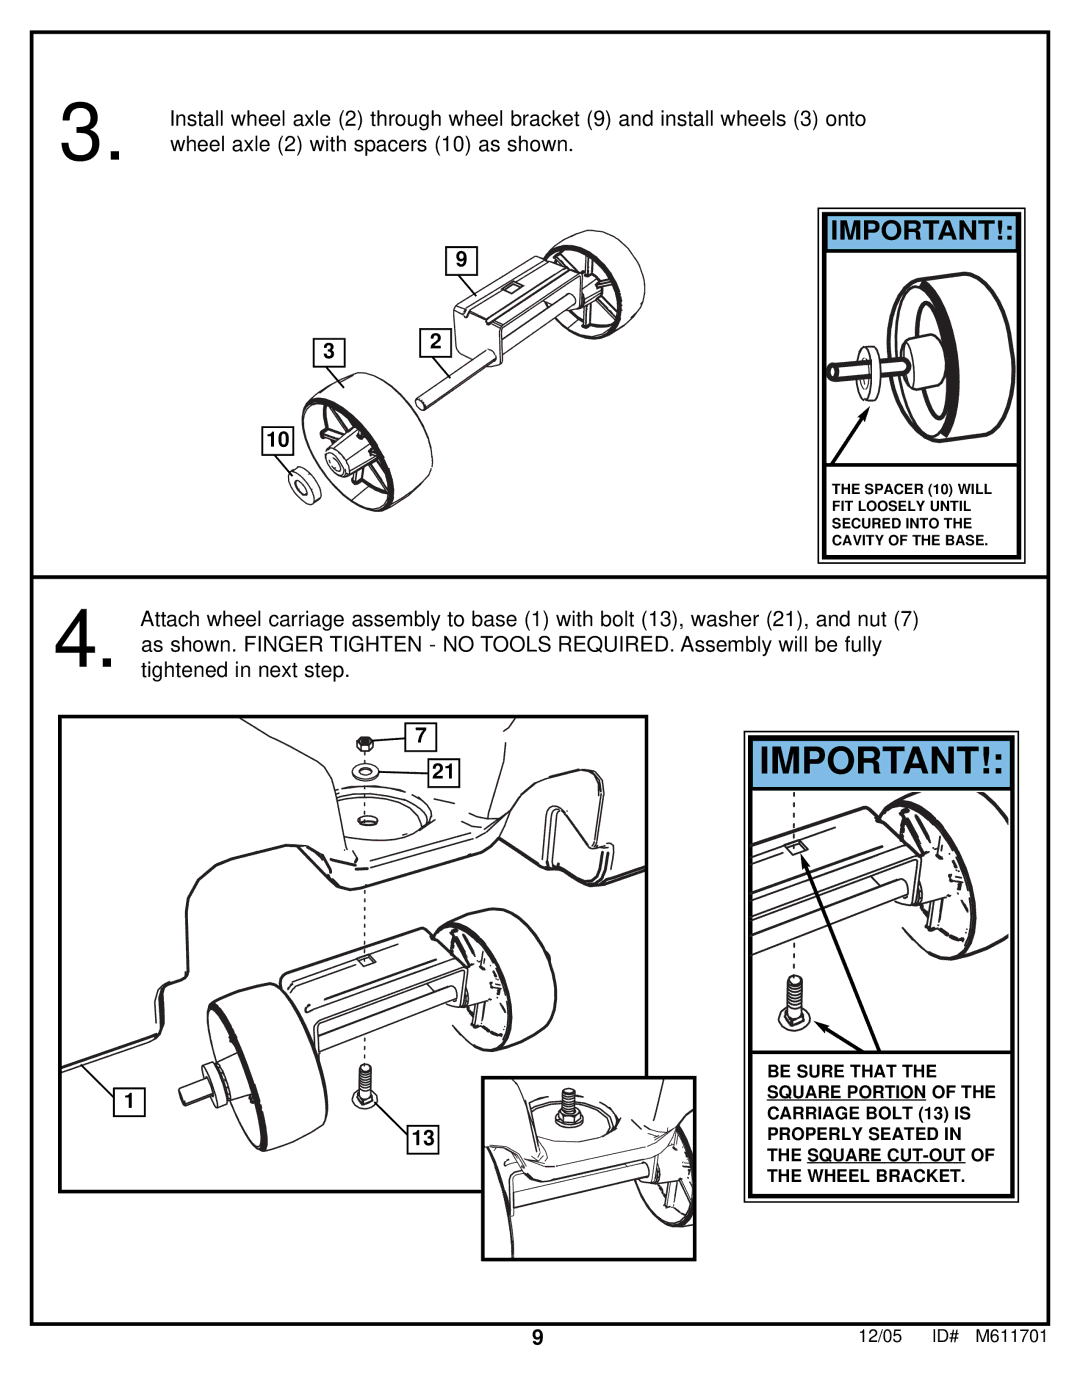
3. | Install wheel axle (2) through wheel bracket (9) and install wheels (3) onto |
wheel axle (2) with spacers (10) as shown. |
3
10
9
2
IMPORTANT!:
THE SPACER (10) WILL FIT LOOSELY UNTIL SECURED INTO THE CAVITY OF THE BASE.
4. Attach wheel carriage assembly to base (1) with bolt (13), washer (21), and nut (7) as shown. FINGER TIGHTEN - NO TOOLS REQUIRED. Assembly will be fully tightened in next step.
![]()
![]() 7
7
21
IMPORTANT!:
![]() 1
1
13
BE SURE THAT THE SQUARE PORTION OF THE CARRIAGE BOLT (13) IS PROPERLY SEATED IN THE SQUARE
9 | 12/05 ID# M611701 |
|
|
|
|