2.
3.In Windows 95/98, select Network Printer.
In Windows NT 4.0, select Network Printer Server, when prompted.
4.Type in the network path or queue name of the shared printer. Click the Have Disk… option when prompted to select the printer model.
5.Click Browse… and locate the HP1220C.INF file. This file contains the printer name for you to select. The file is located on the Starter CD in Windows\PCl3\winnt\enu or Windows\PCl3\win9x\enu. If you need help, contact your System Administrator.
6.The Installation Option screen appears. Follow the instructions on the screen to complete the PC configuration process.
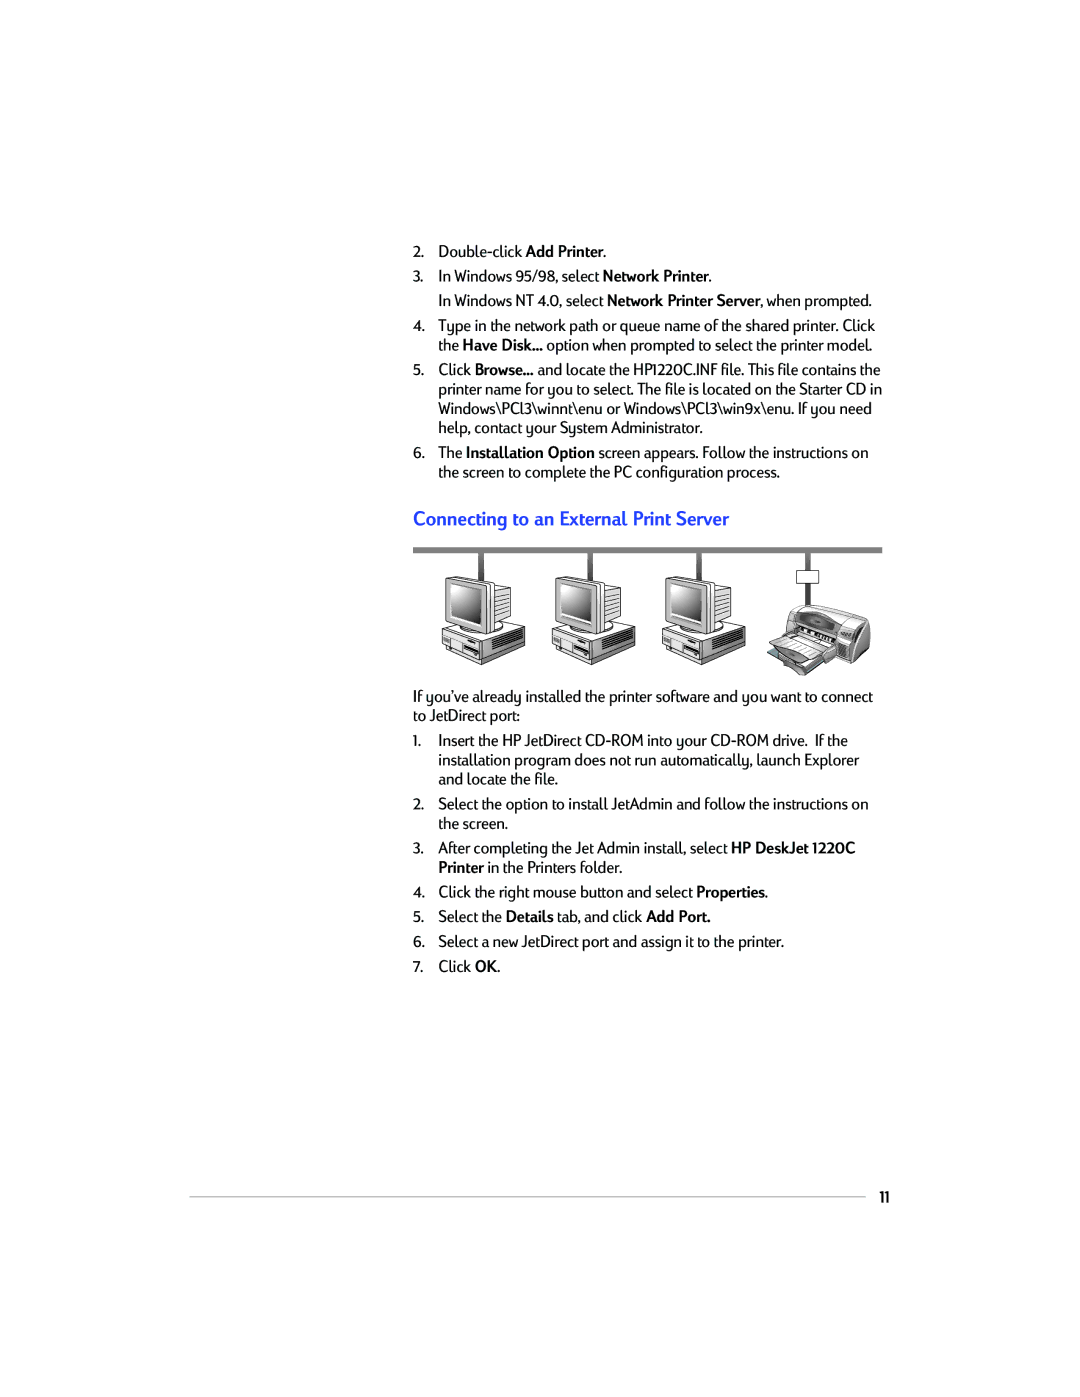
Connecting to an External Print Server
If you’ve already installed the printer software and you want to connect to JetDirect port:
1.Insert the HP JetDirect
2.Select the option to install JetAdmin and follow the instructions on the screen.
3.After completing the Jet Admin install, select HP DeskJet 1220C Printer in the Printers folder.
4.Click the right mouse button and select Properties.
5.Select the Details tab, and click Add Port.
6.Select a new JetDirect port and assign it to the printer.
7.Click OK.
11